|
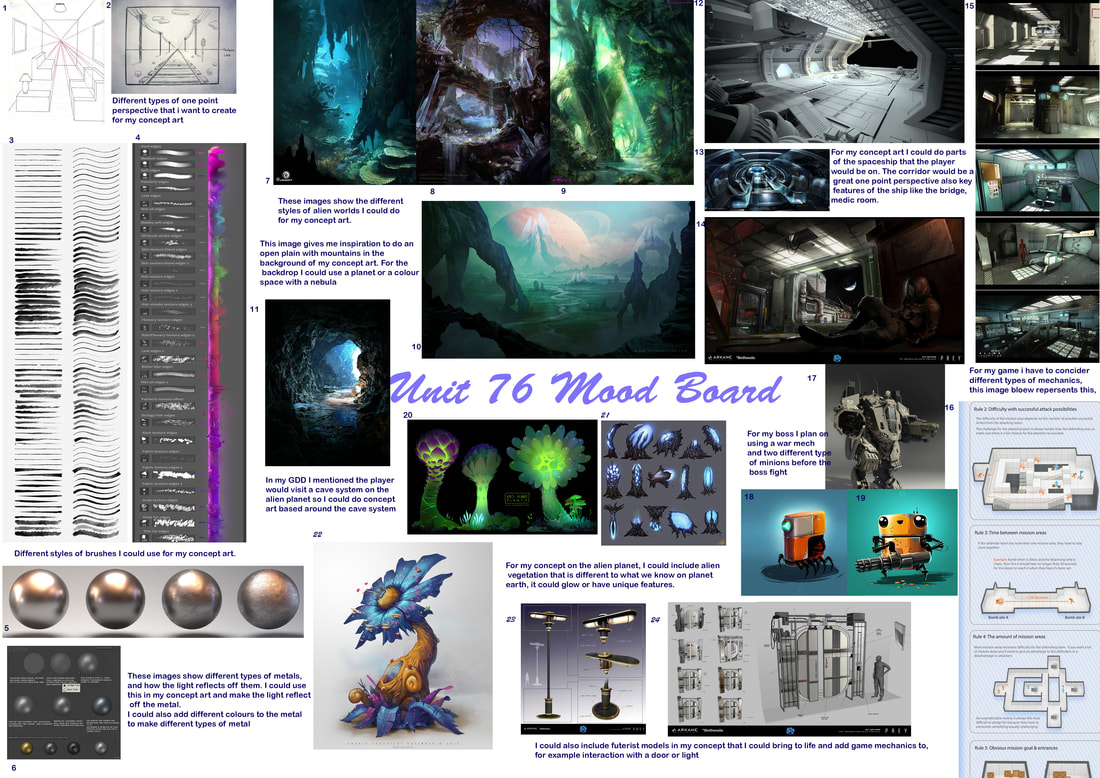
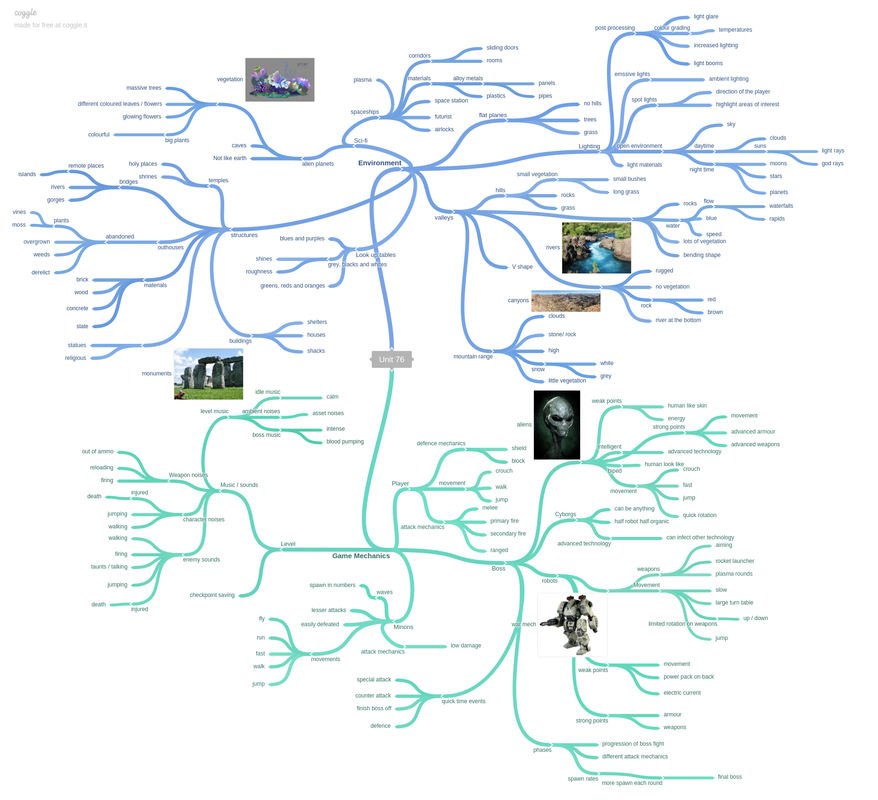
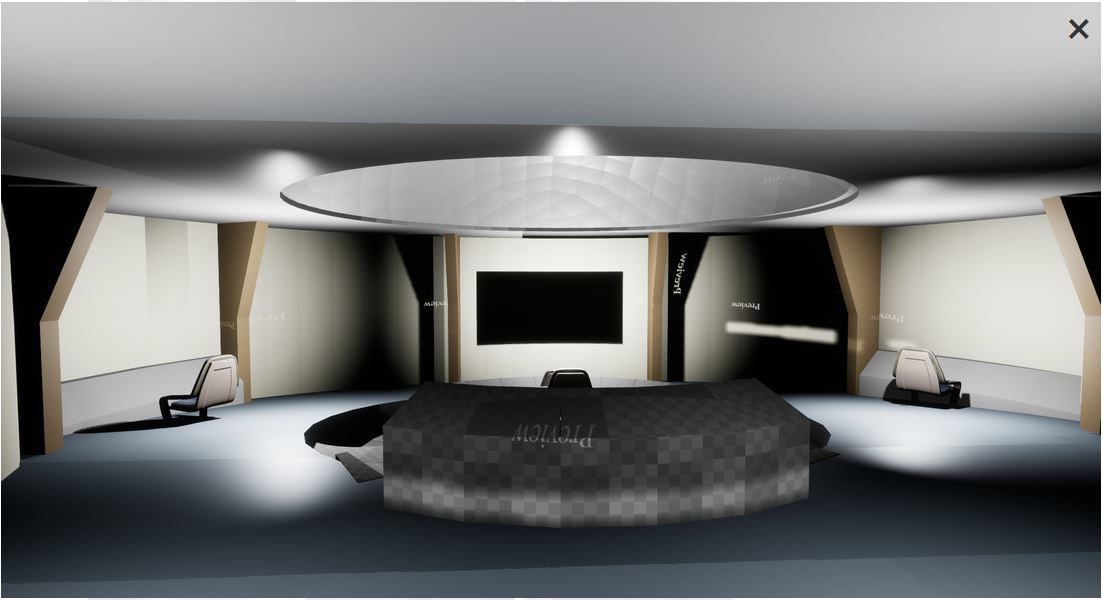
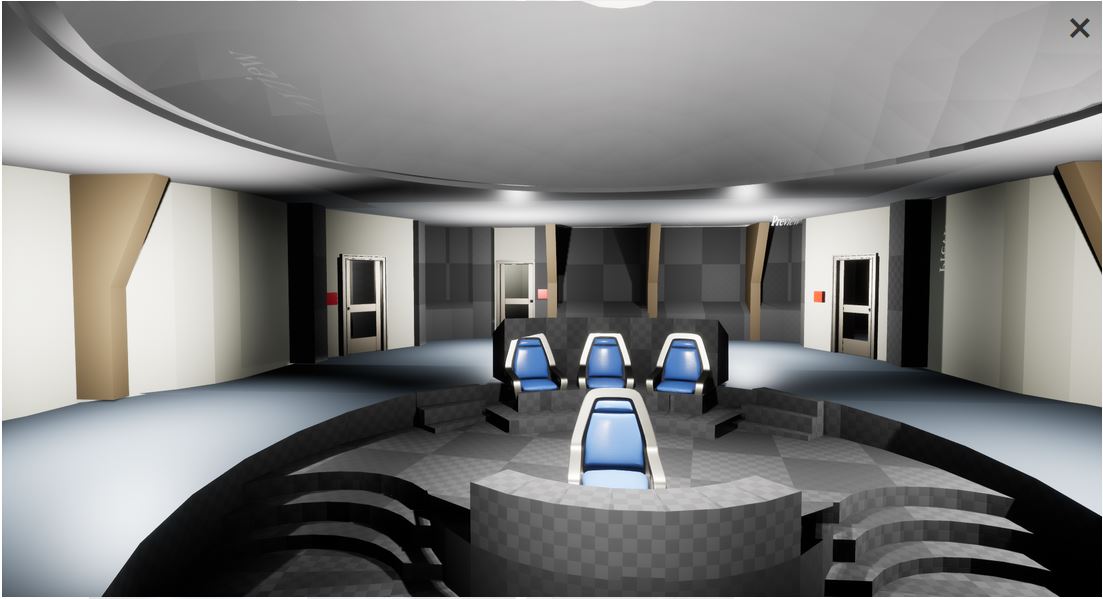
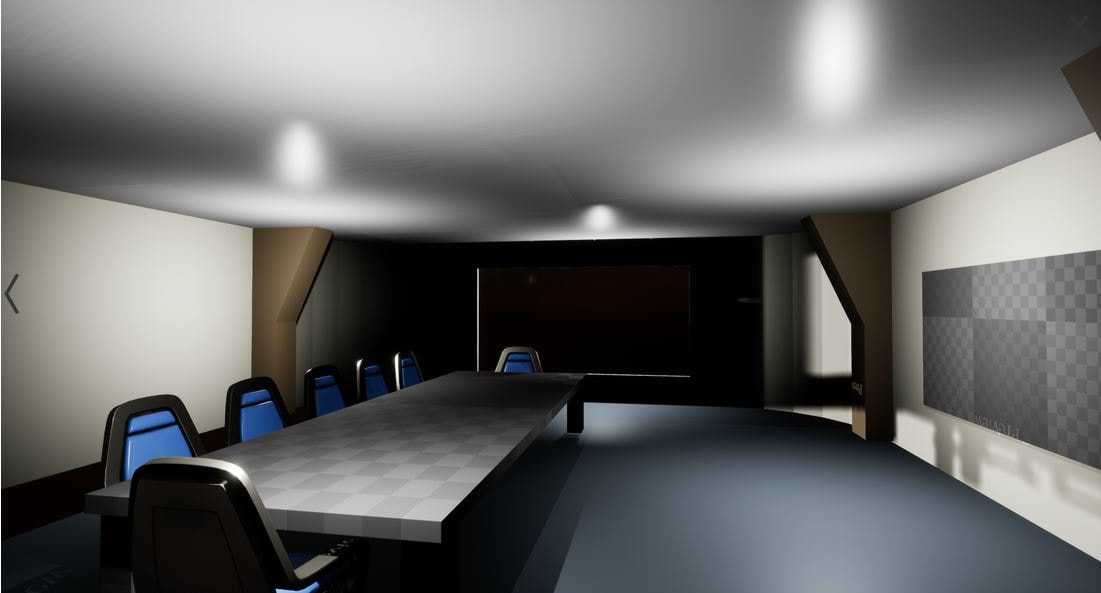
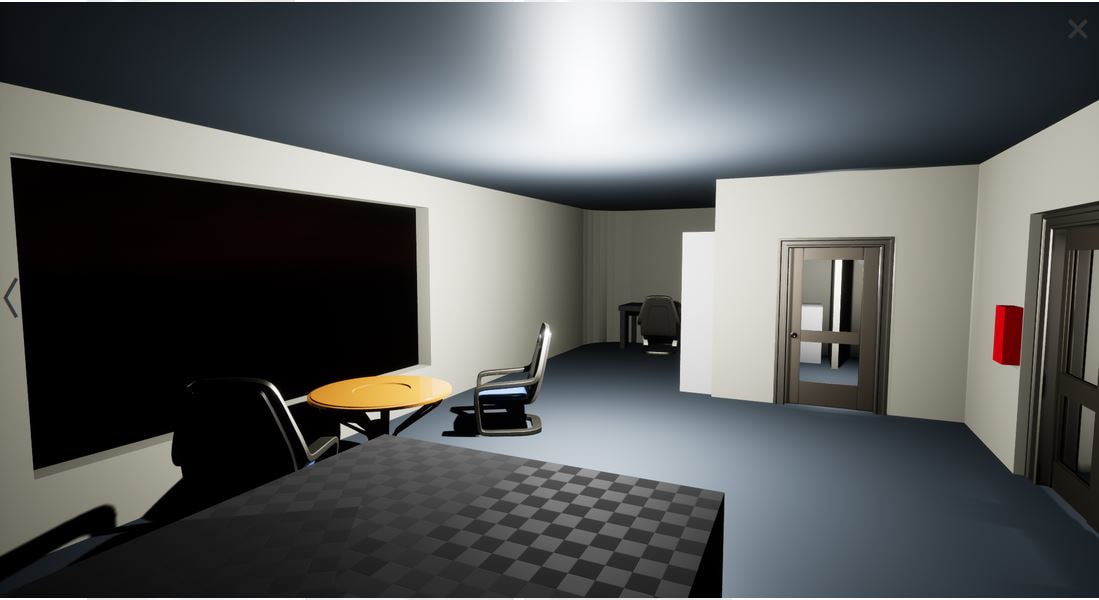
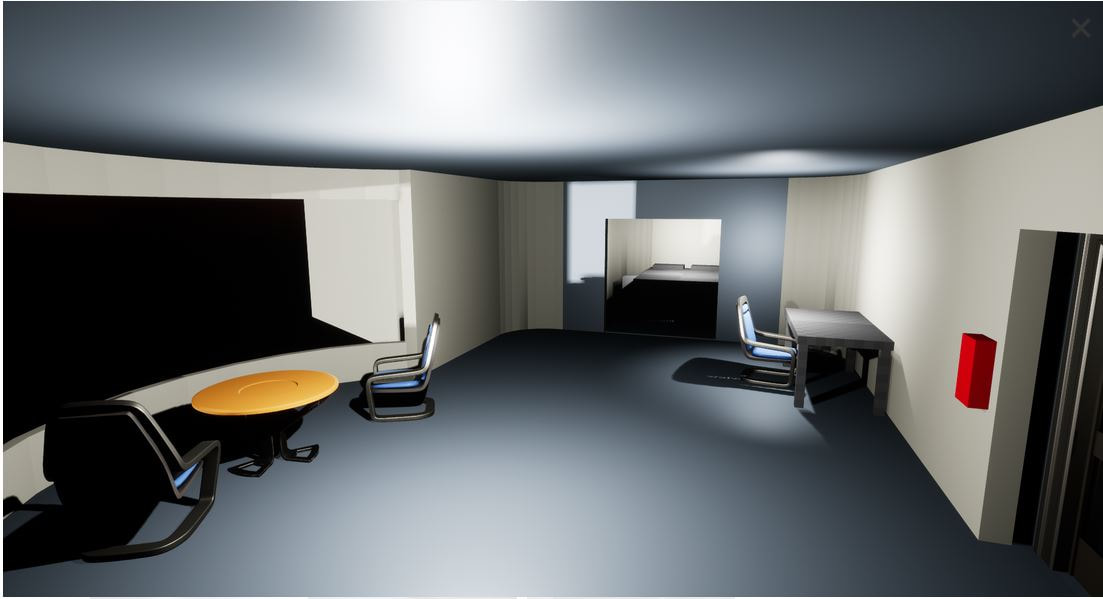
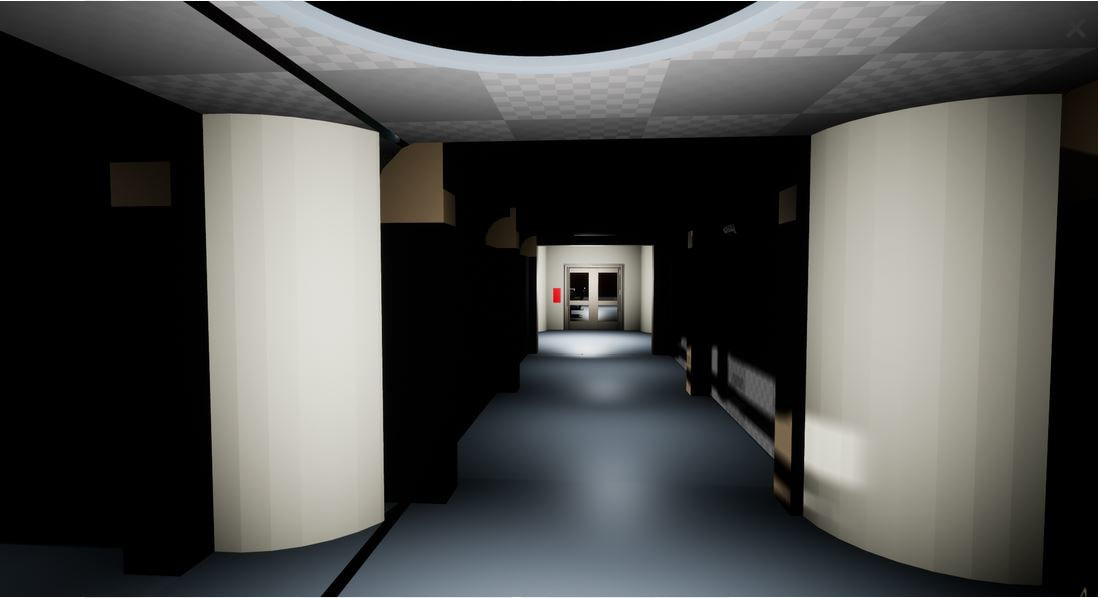
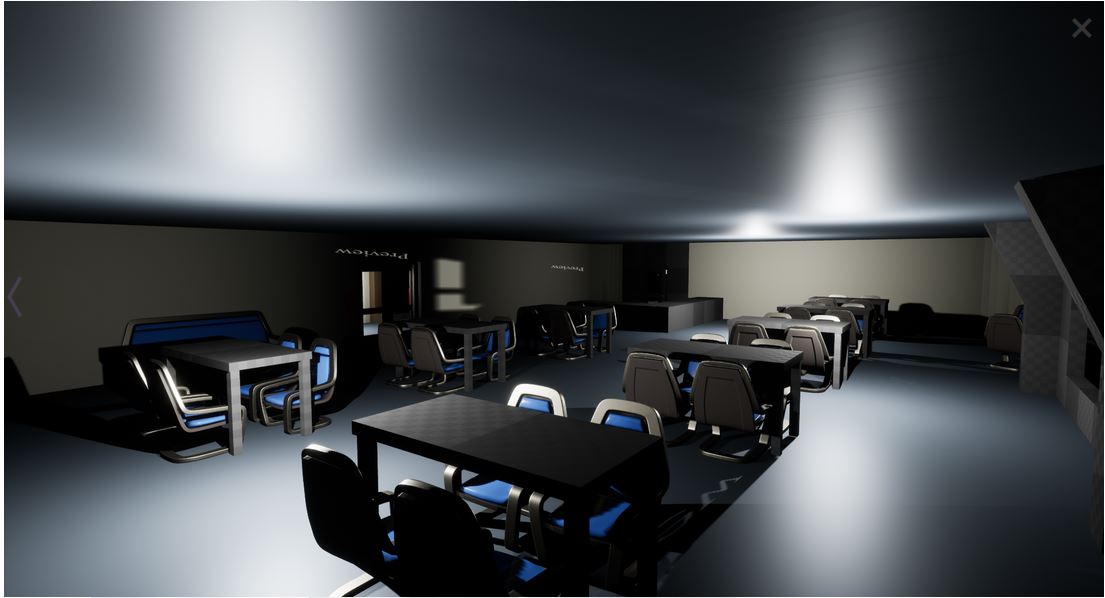
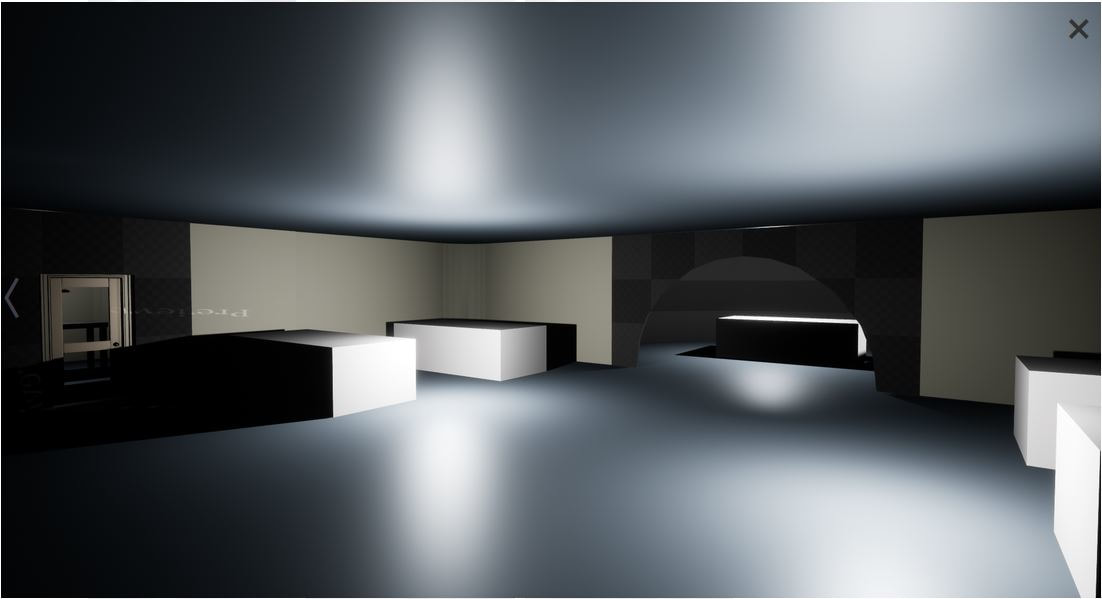
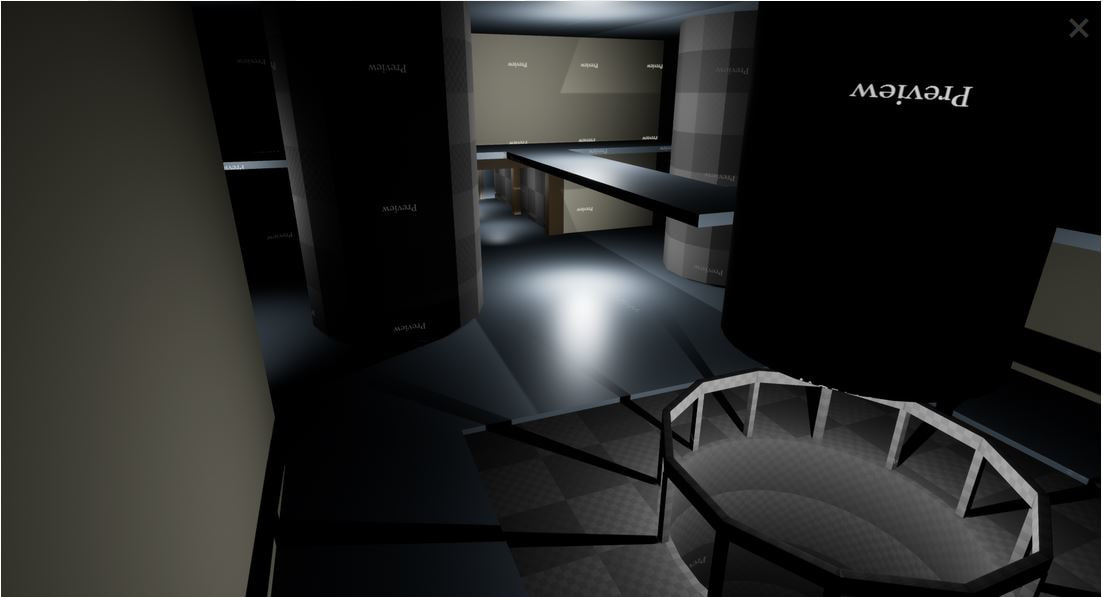
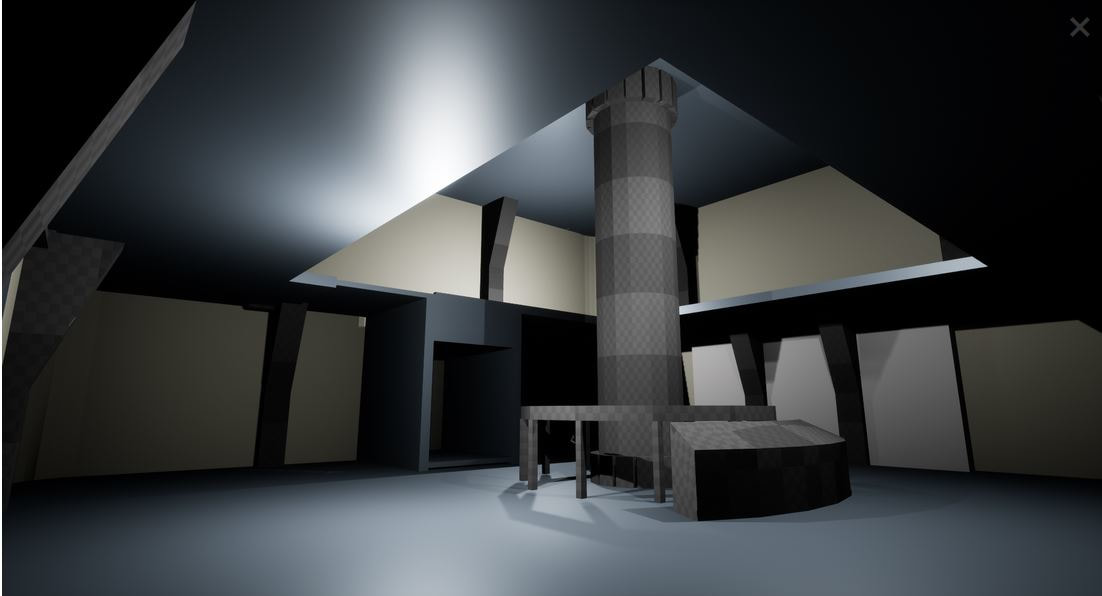
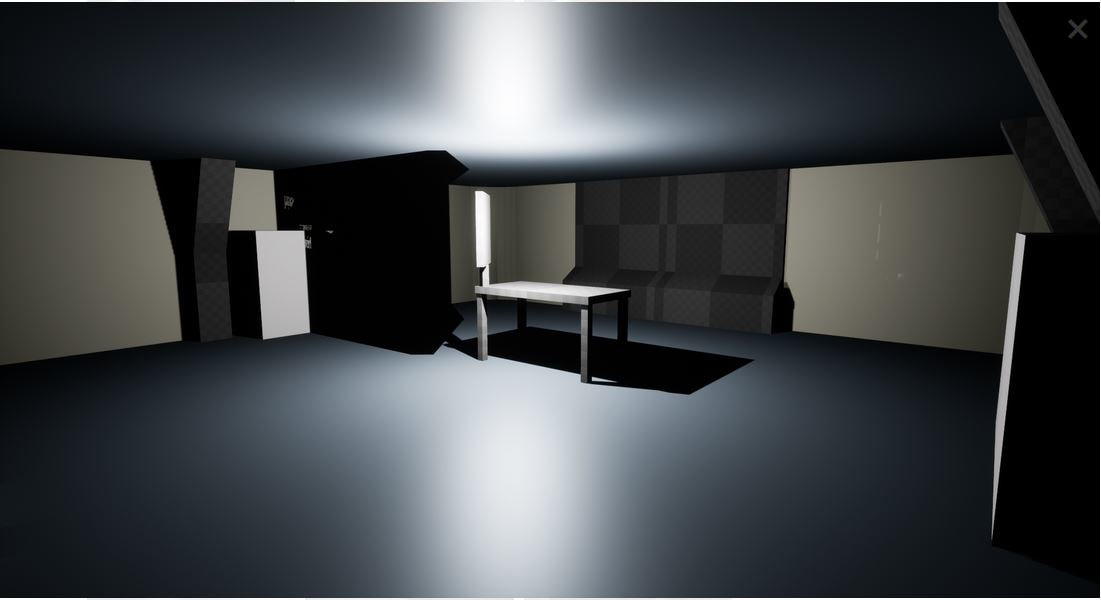
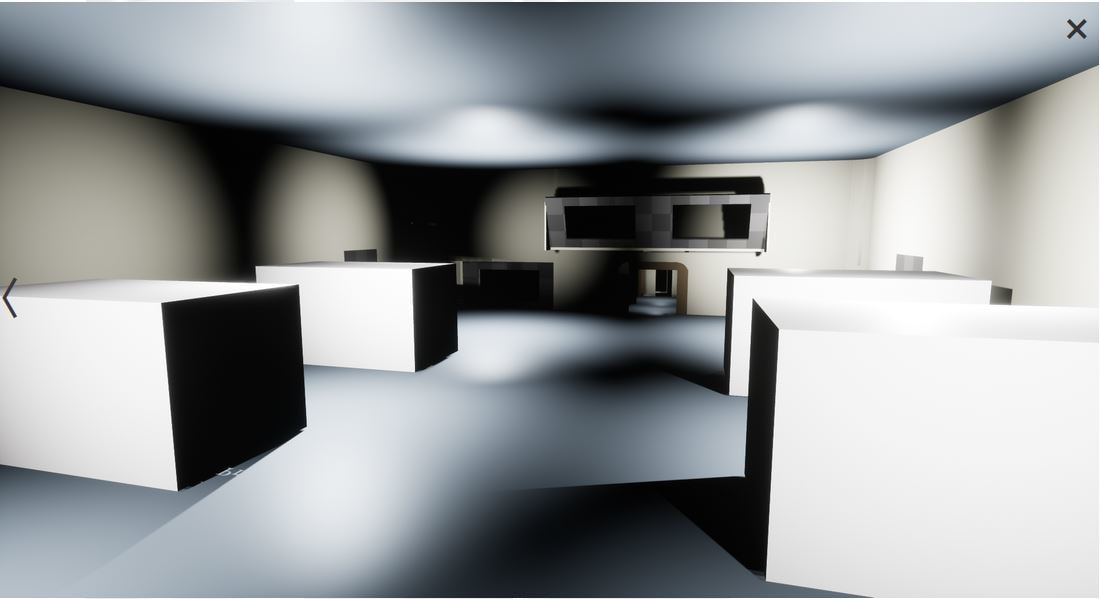
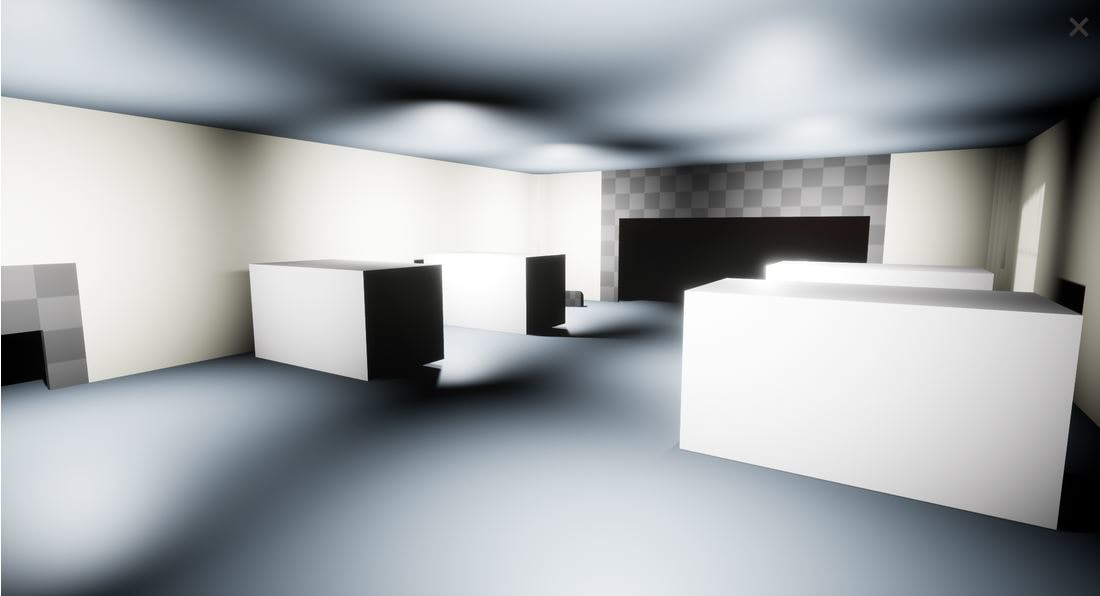
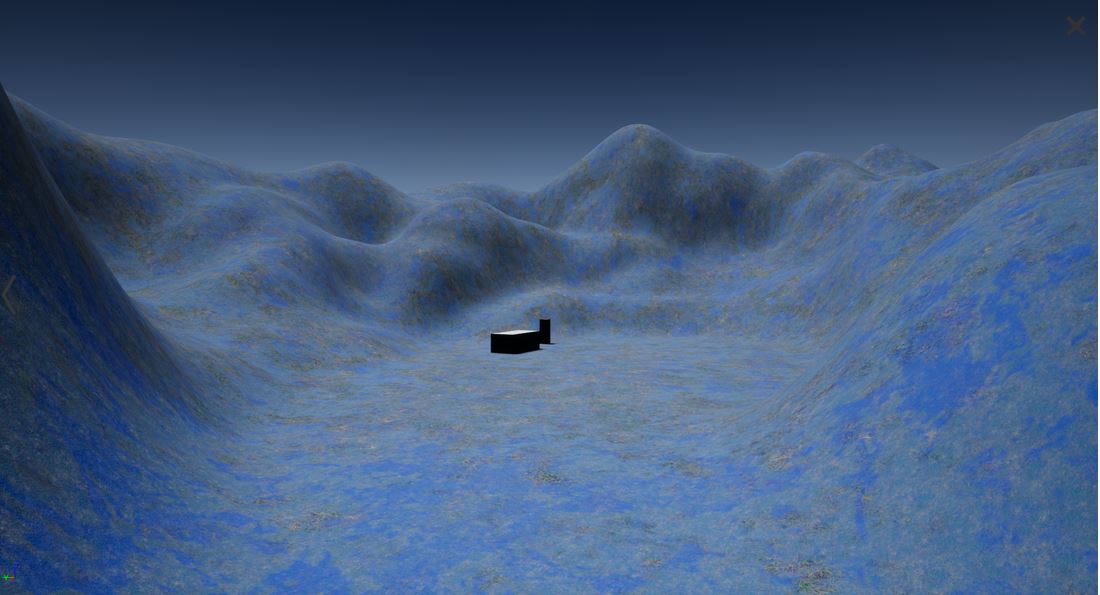
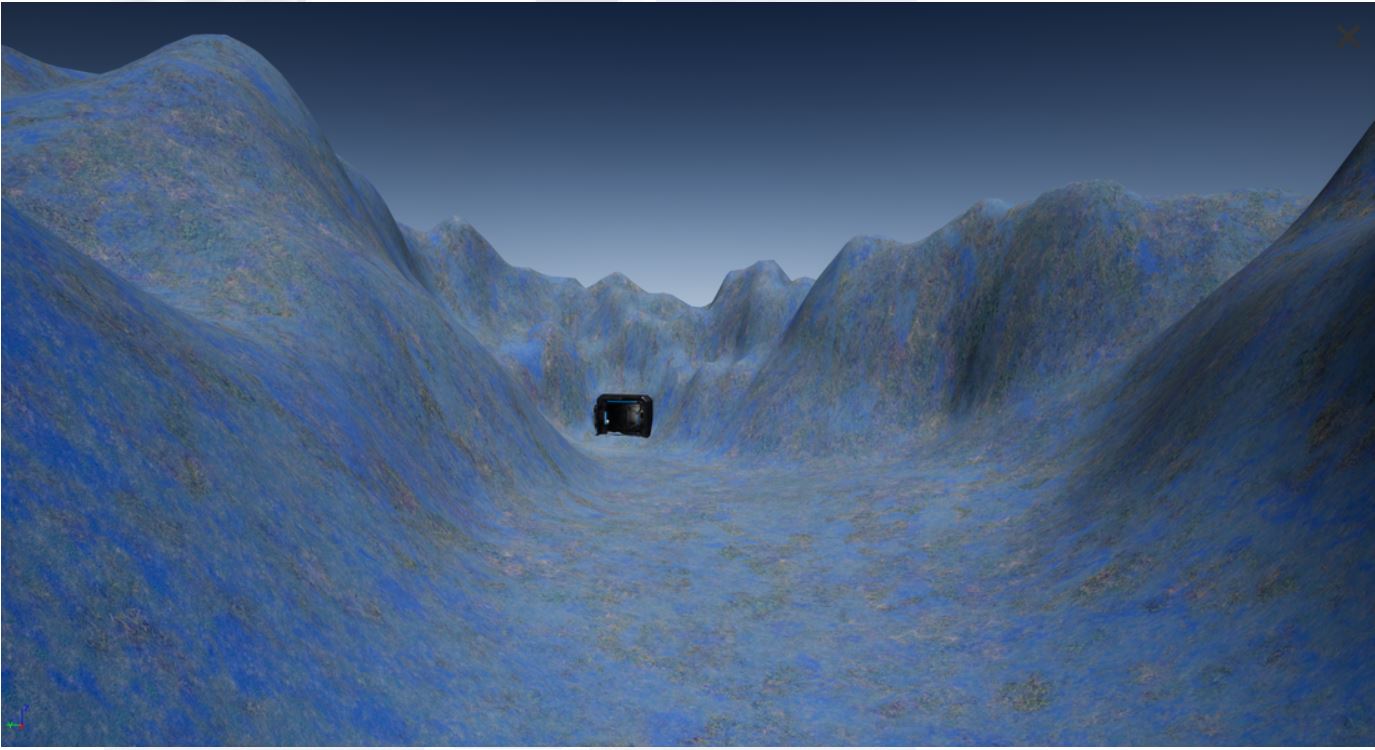
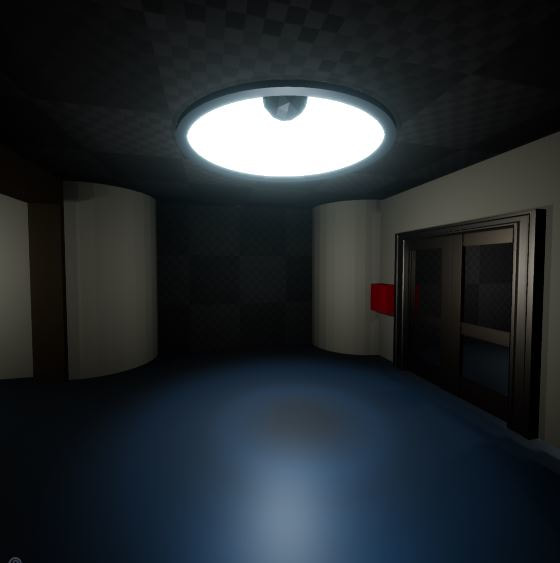
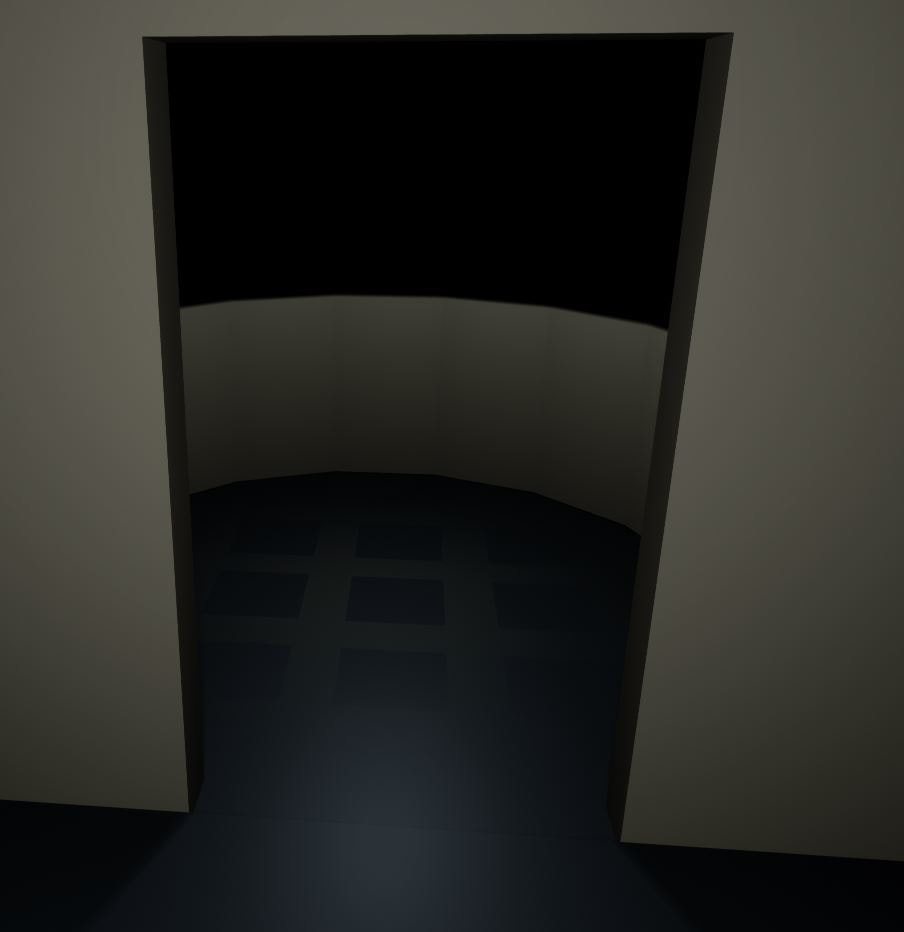
Overview The purpose of this unit is to create a basic 3D environment in block out form. From this block out the form I have to take screenshots of the environment and take these screenshots in Photoshop and composition these screenshots to look like my mood board and vision from unit 75. I have to create 3 images from the start of my encounter, the middle and end of the encounter. Once I have created the concept art I have to go back the block out and add functionality and game play. Once I have added this I will add basic lighting and simple materials that match my concept art and mood board. Time scale Task 1: Pre-production Start date 18/9/17 Finish 2/10/17 I have given myself two weeks to complete the pre-production of mind maps, mood board, research and the basic creation of my block out of the levels I am planning on creating Task 2: Adding game play functionality Start date 3/10/17 Finish 9/10/17 I have given myself the time scale of a week to add the game play functionality as I have most of the resources created from previous units and I just need to improve these. Task 3: Concept art Start date 10/10/17 Finish 30/10/17 For my concept art I have given myself 20 days to produce 3 different types of art work, I have broken down how much time I plan to give myself of each of the concept art. For the first image I have given myself 12 – 20 hours to produce this which will take around 7 days. For the second image I have given my self-6 – 12 hours to produce this which will take around 5 days. For the third image I havegiven my self-6 – 12 hours to produce this which will take around 5 days. I will have 3 days’ spare to consider peer reviewing of my concept art and to make any adjustments. Task 4: lighting Start date 31/10/17 Finish 15/11/17 For this unit I have given myself 14 days to create the lighting effects, particle effects, lighting functions and materials to my block out level. I plan on giving myself 10 days to complete this with 4- 5 days to complete peer reviewing and evaluation. Task 1 For task 1 it was pre-production task, I started off by creating a mind map to get my ideas down, for my mind map I broke it down into two major categories; environments and game mechanics. For the environments category I looked into various different types of environments that I could include in my game such as sci-fi (alien planets, space ships) different types of landscapes (valleys, mountain ranges, rivers). I broke these down to what each type would include, the type of materials and vegetation each area would have. After I looked at the different types of environments I looked into what different types of structures could be found in these area. I also looked into different lighting styles for the environments, such as; post processing styles, the atmosphere style/lighting and lighting types. For the game mechanics category, I looked at different types of core mechanics I would want to include in block out of my game that I could work and improve on. I looked at level mechanics, such as checkpoint saving, trigger sounds and animations. Then I looked at player mechanics how they would move and fight. After this I looked into boss mechanics how the boss would move and attack and looked at basic AI and behaviour trees. From here I looked at how the weapons would fire and the different styles of attacks. For my mood board I looked into ideas that I wrote down in my mind map. I started of using Pinterest just to save photos before I created my final mood board. In my mood board I looked at alien worlds that people had concept drawn, alien vegetation, already made sci-fi games and their styles. I also looked into materials I could use for my block out and concept art. I also looked into different styles of concept art painting, looking at the brushes and basic drawing techniques like drawing perspective points. Finally, I looked at different styles of lighting and the colours I could have used. Below is my mind map and mood board from unit 76 Before I started to create my block out I did some additional research for my concept art that I would be doing in task 3. For my research I looked into colour psychology, looking at the positive and negative of major colours and how it could have an influence on your art work, this also helped me when I was creating the lighting for task 4. Then I looked into shape physiology, I decided to look into this as I was creating a sci-fi styled level and the flow of shapes is extremely important. After this I looked into perspective lines and single points which would help me create my concept art. Then finally for my concept art I looked into different styles of creating concept art; digital art and composition, looking at the different styles and how each is created. After this I started to create my block out in unreal engine, I started off by selecting the map layouts that I created in unit 75 and started to block out my level to how I have drawn them. Once I got the basic layout down I started to created detailed BSP models by using different BSP and using the subtract feature to add unique shapes to these BSP. I then selected these BSP and turned them into static meshes so that I could easily change them when I create them later on. I created the alien world by using the landscaping tools and quickly block out a small hill range with a path that U-bends to make the impression that the path is longer. I then added basic solid colour materials to the walls, floor and ceiling to establish them. Below is screenshots from my block out Task 2 For task two I had to add gameplay functionality to the block out that I have just created, I had briefly touch up on some of the mechanics that I wanted to include in my game from unit 75. I started off by adding all the input keys that I will be using for my game and added a console controller for future adaption. After adding the input keys, I then draw how I would have wanted my camera for my game, I decided instead of having 4 camera I decided to have two cameras for first and third person view and then use an enumerator for the third person camera and when I selected the name it would offset the shoulder camera using a location node to offset it. Then I added key binding so that I could swap between the two shoulder cameras and then swap back between first and third person. A video of this can be seen below Once I had created my camera system I wanted to create a custom interaction system as I had problems when I used other methods in previous tasks that the player could not interact correctly with two cameras as the method I used suited more the first person camera. I started off by looking into line trace as I wanted to use a line trace to trigger the interaction on hit. I decided to use the line trace with a capsule on the end as this will give me a large radius to interact with blueprints. I started off by creating a blueprint interface as this will be my new interface action node and from here I went to the project settings and added a new object channel and trace channel which will show up in the collision detail tab. I then went to the character blueprint and created a new function. In this function I started off with an event tick, as I wanted the line trace to fire from either first or third person I got reference to these. I placed the line trace by capsule into the function and then I used select node to determine if the player is in third or first person and to get the world location of the camera. I then used my enumerator to get the variables for another selection function, in this select function I set the distance the line trace would fire for each camera. I then added them together and added them into the start and end pin of the line trace. I then added a break hit result and added my blueprint interface to the hit actor as well as promoting it so I could set it once it had been hit. I then used my interaction action input key I created before and called the promoted variable and connected it to the player interact After I got the core mechanics working for my player interact system I created a basic door system that I could walk up to and press the interact key to open the door. To create this, I created a new blueprint and added door models to the blueprint. I then went to the default tab and added the newly create player interaction so I could call it in this blueprint. I called the node in the event graph and then added some basic code to open a door. A video of this can be seen below After getting my interaction system working I was able to adapt on this and I started to create more complex blueprint systems I wanted to use a button system to open my doors. To do this I created the same process as the door but instead of adding blueprint code I use an event dispatcher to call the doors and other mechanics such as lights. I tested this system and I noticed a small error, not that it wasn’t working. The problem is that the radius of the line trace was small and it was hard to hit the button. The solution I came up with was to make the radius box large and slightly extend the line trace to make sure it hit the interaction system even if the camera was not pointed directly at it. After this I created a similar system to turn on lights which can be seen in a video below:
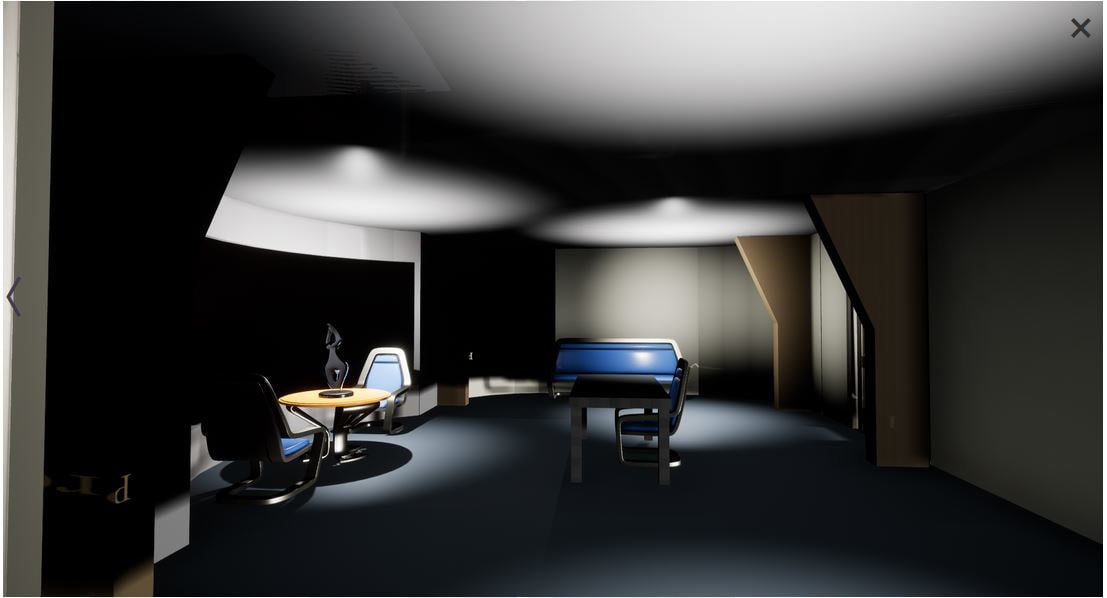
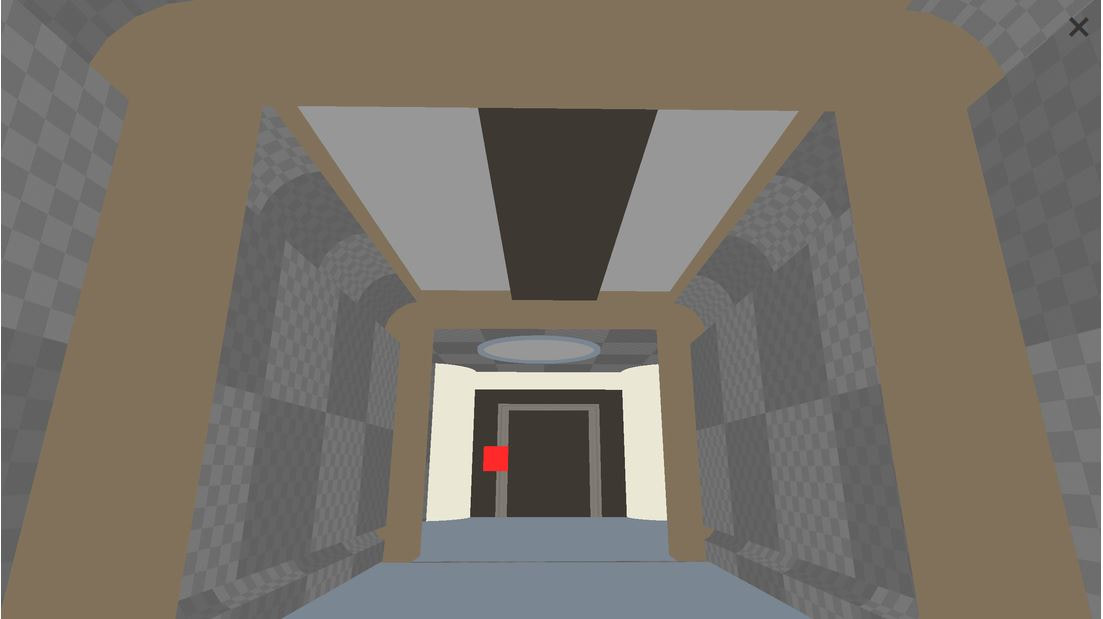
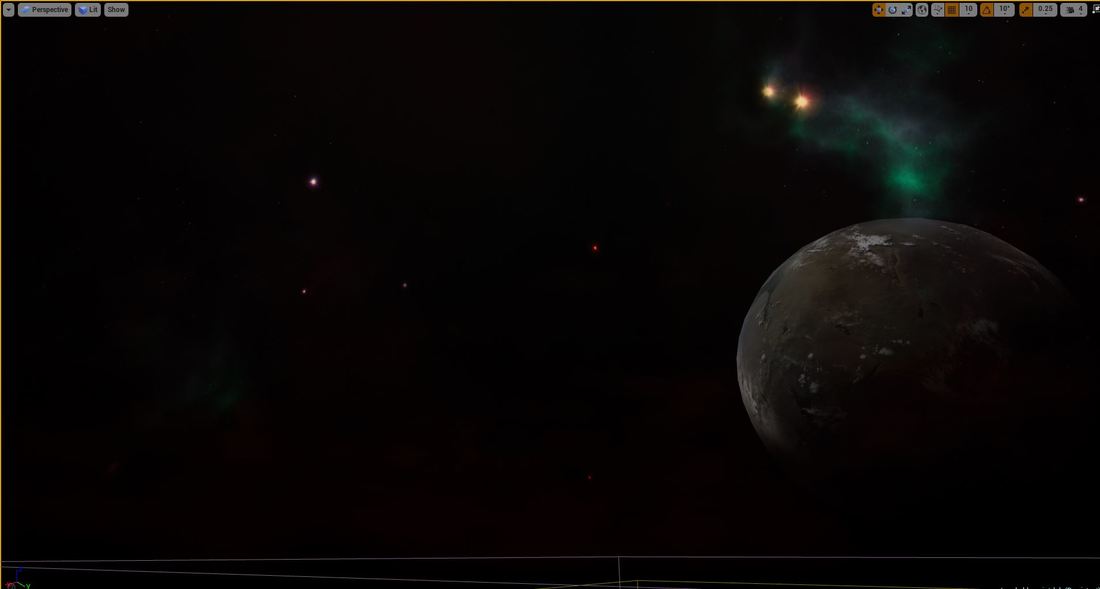
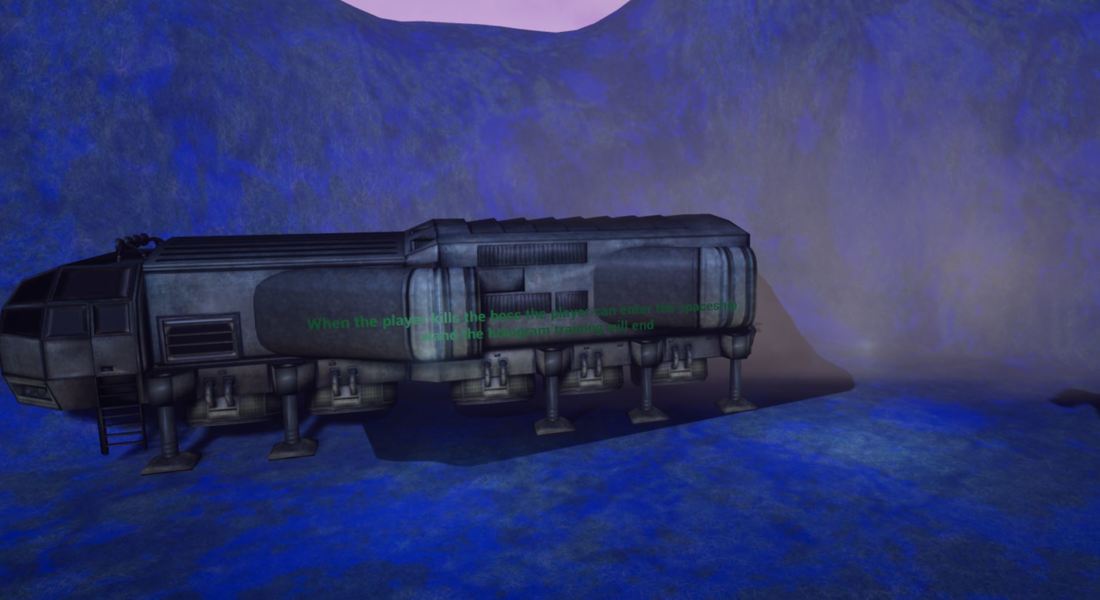
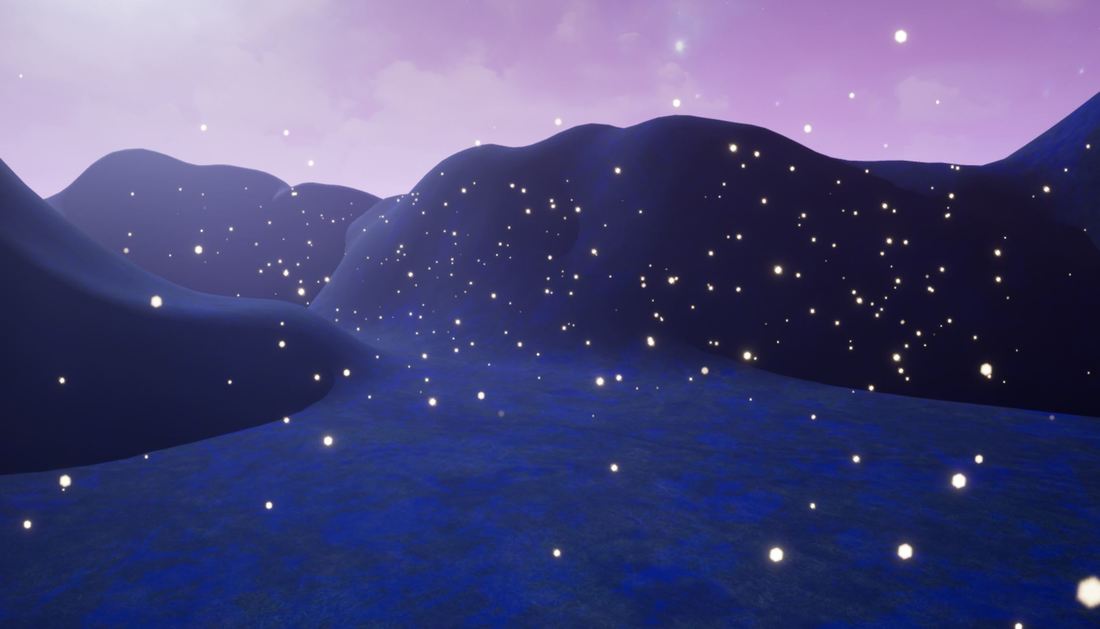
Task 3 For this task I had to choose three images from my block out and create concept art from them, it had to show the flow of gameplay from start to finish with the boss in the final image. For my first image I decided to do my corridor to show the direction the player would go to start the mission. I decided to do this concept art as digital art. I started off by drawing perspective lines to find the vanishing point, from here I started to draw basic outlines to create the basic look of my corridor. I used the pen tool to create the outlines and then I merged these layers to create the final layer. I then created a new layer and filled it light grey to help me see the outlines, I then created a new layer and added more details to create panels and lights. After creating the outlines, I then used a new layer and selected the lights I just created and filled them white to create the illusion they are emissive lights. From here I started to select part of the corridor using the magic wand tool and created a basic metal texture to using different shades of colours to add depth. Once I had these areas fill with the material texture I used the dodge and burn tool to add light and shadows to each area. I then wanted to add more depth to the concept art, to do this I downloaded custom brush tips of metal panels and grids and I placed them around the corridor to add more depth and realism to my concept art. After this I added text using the perspective lines to get the right direction for the text. I then used image adjustments to add a post processing effect type on top of them image. After this I wanted to add lighting to the concept art, to do this I started off by creating a new layer and used a white brush to paint where the lights are and then I added a Gaussian blur to give the impression of emissive lighting. I then used IES profile brushes to add unique light detail and to add realistic lighting I used the lighting filter to add more depth to the lighting. Below is the final image of my first concept image. 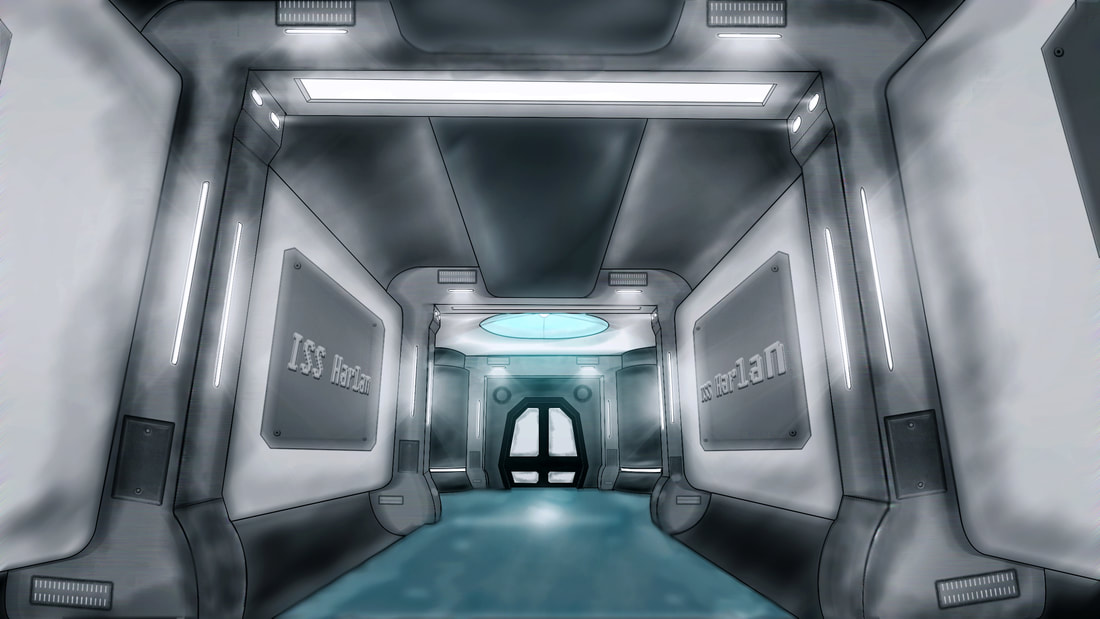 For my second concept art I have decided to create a photo composition, this will be for my middle phase of the gameplay flow. I based this concept art work at the start of the alien world. I started off by looking for reference images, once I found the images that I want to use I placed my screenshot from unreal into Photoshop. I started off by separating the sky by using the pen tool to select around the mountains once I had selected the sky I cut this into its own layer so that I could make selection for mask quicker. I started off by adding the sky image and selecting the empty sky with the magic wand tool and then selecting the image and adding a black mask to this to only show the selection, I then did this with the photo of space and lowered the top sky photo opacity to make the stars appear though. I then edited a planet image that I found by using the colour range selector. I selected the background using this method and delete it. I then added the edited planet and placed it between the skies. I then changed the levels and brightness/contrast to this layers to make them blend in more. I then added the dust road to my concept art and added a black mask to it and drew the type of path I wanted to have on my concept art. I then used a dirt brush tip and used the eraser tool to remove parts off the path to show the grass though. I then repeated this process for the mountains range and used a dirt brush tip to lightly remove parts of the mountain range. I then changed the levels, curves and brightness/contrast to make this blend in. After this I edited the images of alien vegetation that I found by using the colour range to remove the background and then I placed them in the concept art duplicating them and using the transform tools to warp and make them smaller. I did the same with the minion NPC and transformed then to make them look like they were running down the hill side. After this I repeated the process to add a group of characters to represent the player and the team. I then changed the levels, curves and brightness/contrast to make all this blend in. After this I added emissive light like I did before in concept art 1 by adding brush strokes behind the light sources and using the Gaussian blur to blur them and then I added lighting effects to add detail lighting to the concept art. I asked for peer review on my concept images and a few people commented that I needed to add more shadowing to this concept imaging, from the feedback I added shadowing to the concept art. I used simple techniques such as burn tool and using the paint brush to add casted shadows on my concept art. Below is the final image of my second concept image. 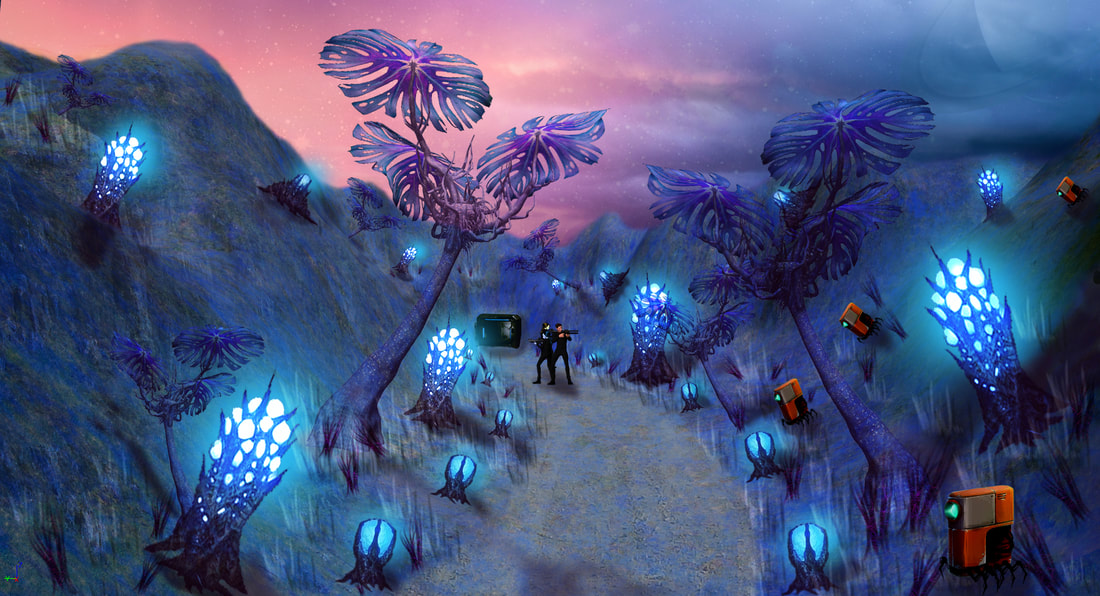 For my final concept image, I decided to do a combination of both digital art and photo composition. For this concept image will be at the end of my gameplay flow and show the boss. I started off by gathering image resources. I used the same methods in concept image 2 to create the sky with the stars and planet, the mountain range and gravel path. Using masks and brushes to create the effect that I am looking for. I then imported a spaceship, I edited the space by removing its background by using the pen tool and inversing the selection to delete the background. I then used a perspective transform edit to position the spaceship on the concept art so it followed the lines of the perspective point. I then used the clone tool to remove old geometry from the block out. I used the magic wand tool to change the hue/saturation of the selection on the spaceship to add the colour of the sky reflection on the metal. I then placed a dust image behind the spaceship and used a black mask and a brush to add a dust cloud. I then brought my war machine into the concept art and I then added brightness/contrast and curves adjustments to blend the war machine into the scene. I then added a shadows underneath the war machine and spaceship. I then placed in the vegetation like I did from the second concept art and I then added emissive light behind these using the Gaussian blur and then I used the lighting effect to add more detailed lighting. I wanted to create more realistic shadowing for my concept art so I followed a YouTube video on how to create realistic shadows, I started off by duplicating the tree and then using the warp transform to change the shape of the tree and then I added blending effects to the tree to make it solid black and then I change the layer blends to remove certain dark shades and lowered the opacity. I then used a brush tip of grass to added the effect of grass, I changed the giter and spread of the brush and made it use multiple colours. I then added my characters to the concept art and arranged them to make them look like they are in battle with the war machine and I then created a custom beam effect in another document I then added this to the player’s gun to add to the effect that the boss is been fired at. I added smoke effects to the players’ guns and added fire exploding to the bosses’ gun to give the impression it was firing. After this I placed explosion marks on the ground to give the impression of fired rockets from the boss. After this I added a post processing effect to the image changing the overall brightness/contrast/ levels and curves. Below is the final image of my last concept image. 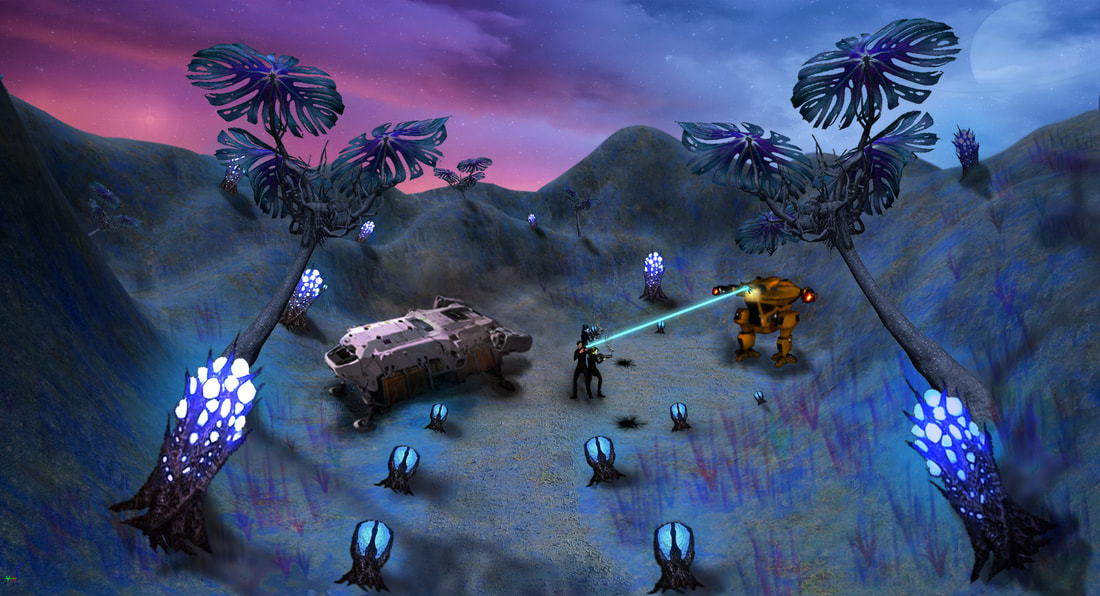 Task 4 For task 4 I have to add lighting effects to my block out level, for this I will look into different styles as lighting effects, such as: atmosphere, post processing, lighting, light functions and particle effects. I also plan on adding materials that give the impression of what the scene will look like at its final stage. I started off by creating a mood board to get my ideas of the lighting styles that I was looking for to add to my block out. In this mood board I looked at different atmosphere sky such as space and alien planet concepts. I then looked at particle effects and the light the emit, I also looked at IEs profiles and light functions. After this I looked at different types of post processing and materials I could use. This can be seen below:  I decided to start with the atmosphere for the space part of my block out, I found a large photo taken of space and I imported this into unreal engine. I duplicated the sky blueprint and materials so that I could edit them. I then edit the atmosphere material and added the space texture to where the stars should be and lower opacity to around 0.75. I then created a sphere in Maya and cut it in half and imported it into unreal engine and applied a texture to give it a planet effect. To turn the atmosphere dark, I turned the source light upside down and the lowered the intensity to show the planet and space. For the alien planet I added the blueprint that I created for the space and placed it into the atmosphere I then changed the horizon, cloud and overall colour to make the sky more purple/blue. Then I added exponential height fog and changed this to a purple colour to add more of a mist effect to the game.
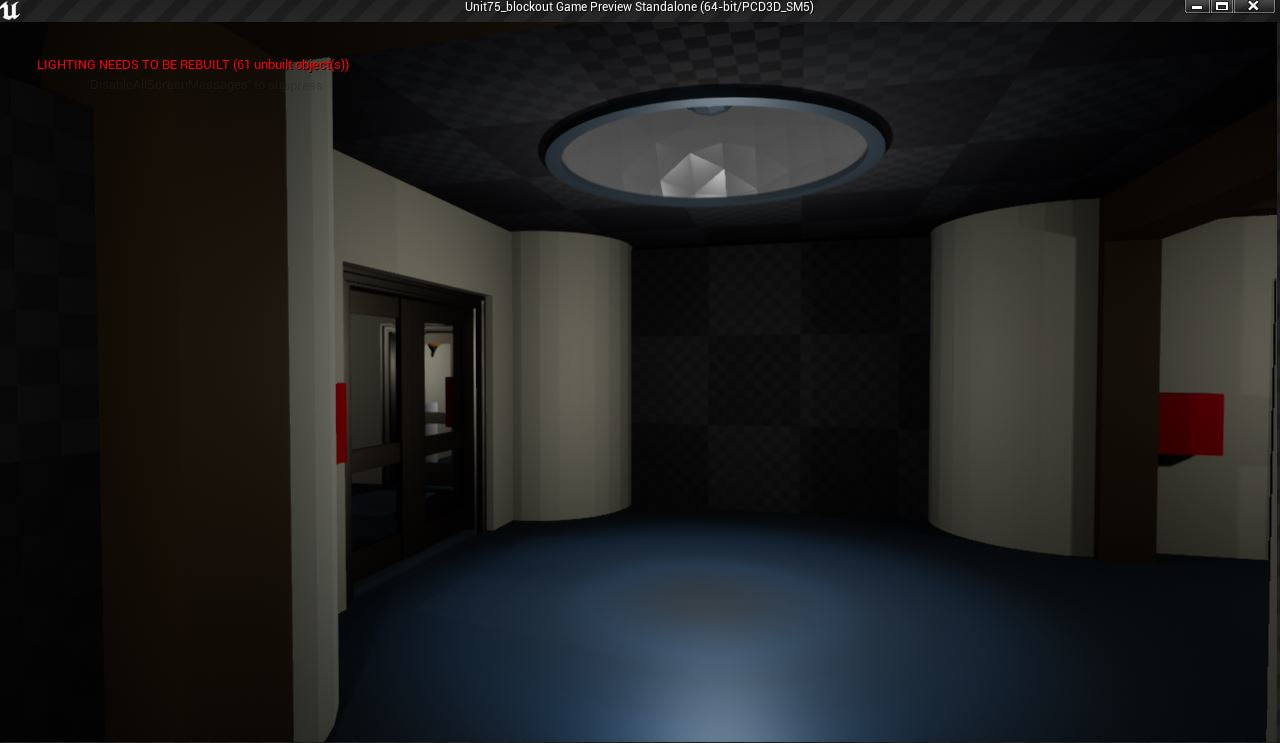
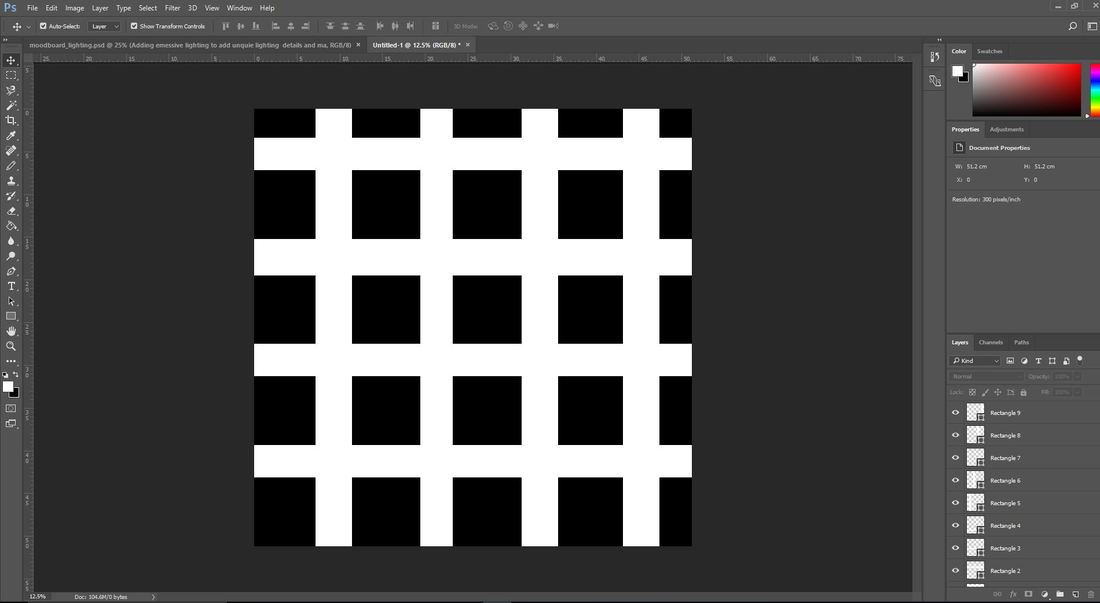
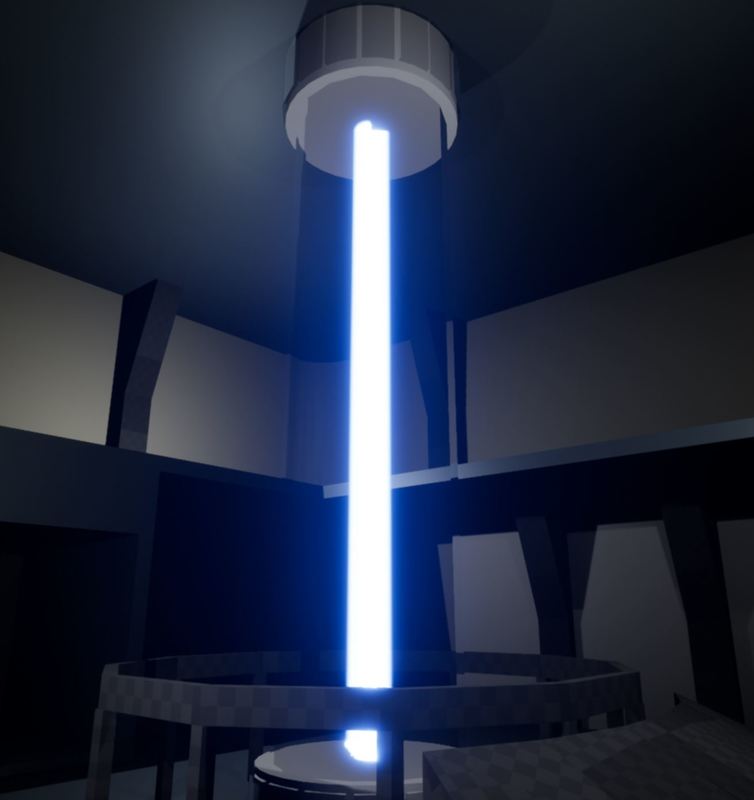
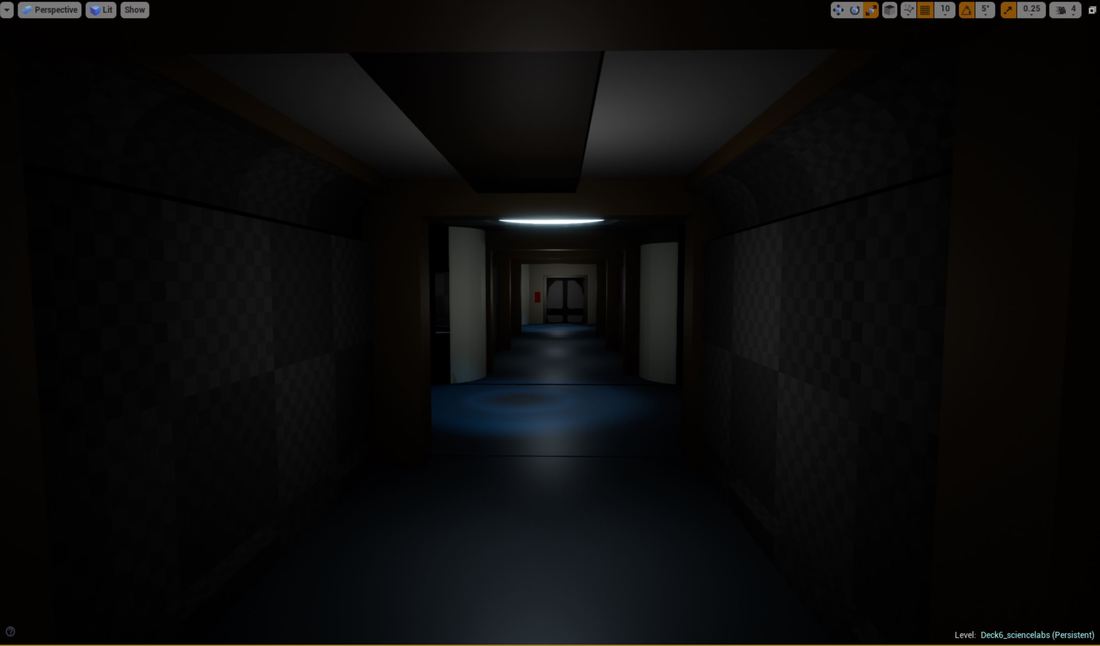
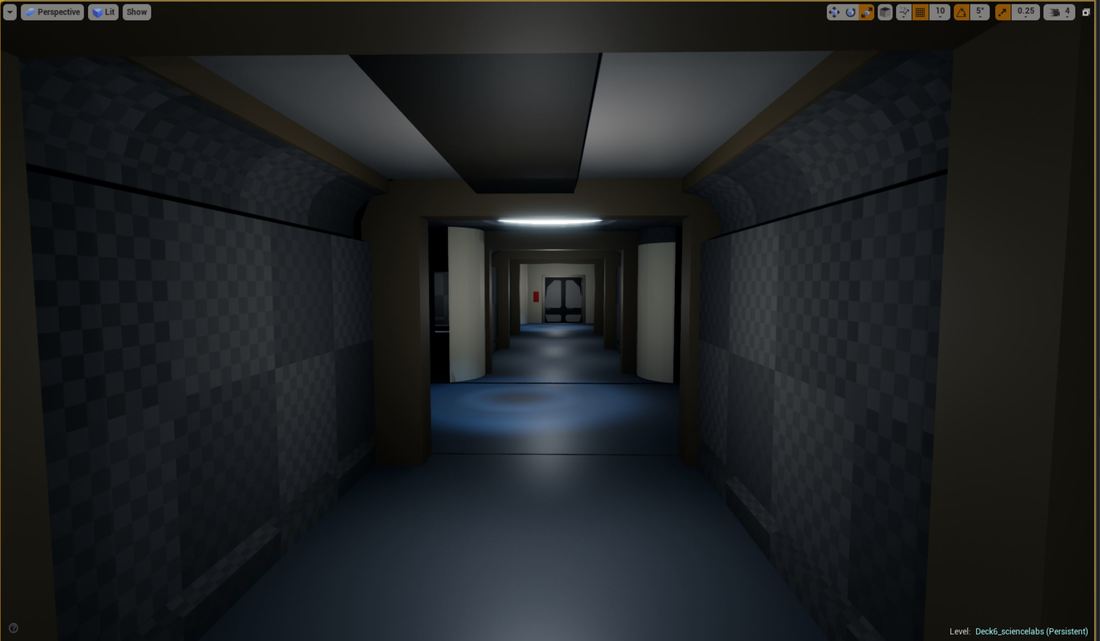
For lighting I adjust the lights that I already placed in my level to give a more sci-fi look, I then added spot lights at certain points in the corridors and changed the light colour to blue. I added IES profiles that I downloaded. IES profiles are realistic light emission that are saved into a texture file. I added one of these IES profiles to my spot light and adjust the light settings to add a subtle effect. Above these spot lights I had a ceiling light, I created a simple emissive material to added to the effect. I then wanted to create light functions, these are materials that use greyscale textures to read what light should be emitted and what should be blocked. I started off by creating a simple black and white grate texture in Photoshop to add the effect that the light was beaming though a grate. I then wanted to create a more advanced light function, I wanted an fan rotating so I used the same method of creating a black and white image in Photoshop and in the material I added a rotator node to the texture and set a speed variable to control how fast the light function is moving. This can be seen below in the video As I didn’t have enough time in my project schedule to create my own particle effects I decided to use free ones provide by unreal engine and edit these as this is a quicker process and fits into my timescale. I started off by going to the contents example and migrating a beam particle effect over to my project and I started editing it. I removed the source to make the beam straight but and reducing the roughness to add a slight jitter. I then increased the size of the beam, and edit the material to produce a more intense emissive light. I then found a dust particle effect from infinity blade project and I migrated this over, I didn’t do much edit to this particle I just scaled it up and changed how much dust is produced. I then placed this behind my spaceship I finally took a gold particle effect from the same package and edited it to spawn more particles and remove an glowing effect from the base of the particle I repeated the process off editing the material to make a stronger emissive light. For post processing I wanted to create global post processing system that I could use for each level I started off by adding a global colour grading I changed the saturation to a light blue and then I increased the values of the contrast, gamma and decreased the gain. I then added images effects to change how the camera reacts with the light so I added a slight vignette and bloom to add a blur effect to the light. I also added an auto exposure to auto adjust to the light system. From here I added an depth of filed to slight blur the materials in the far distance. Below is screenshots of with post processing off and on Conclusion
Overall I think this unit development went well, I was able to produce everything I had planned for in the pre-production and the time scales that I have set myself worked extremely well. I was able to keep to my time scale and I felt that I gave myself some extra time in areas as I wasn’t sure how long it would take me to do to find out that I had finished well under the time scale I set me which gave me more time to improve what I have created. I am extremely pleased with how my mechanics turned out in my block out. I was able to create a custom interaction system that is based on my camera which helped my how my player interacts with the world. I was also pleased with how I created the lights that warm up like a normal light before flicking to on. I liked how all my concept images have turned out I learned new Photoshop techniques for painting and photo composition. I am extremely pleased with how the second and third image turned out, I like the mood I set with the images I found and I felt I was able to create the environment I was looking to create.
0 Comments
Leave a Reply. |
Archives
June 2018
Categories |


 RSS Feed
