|
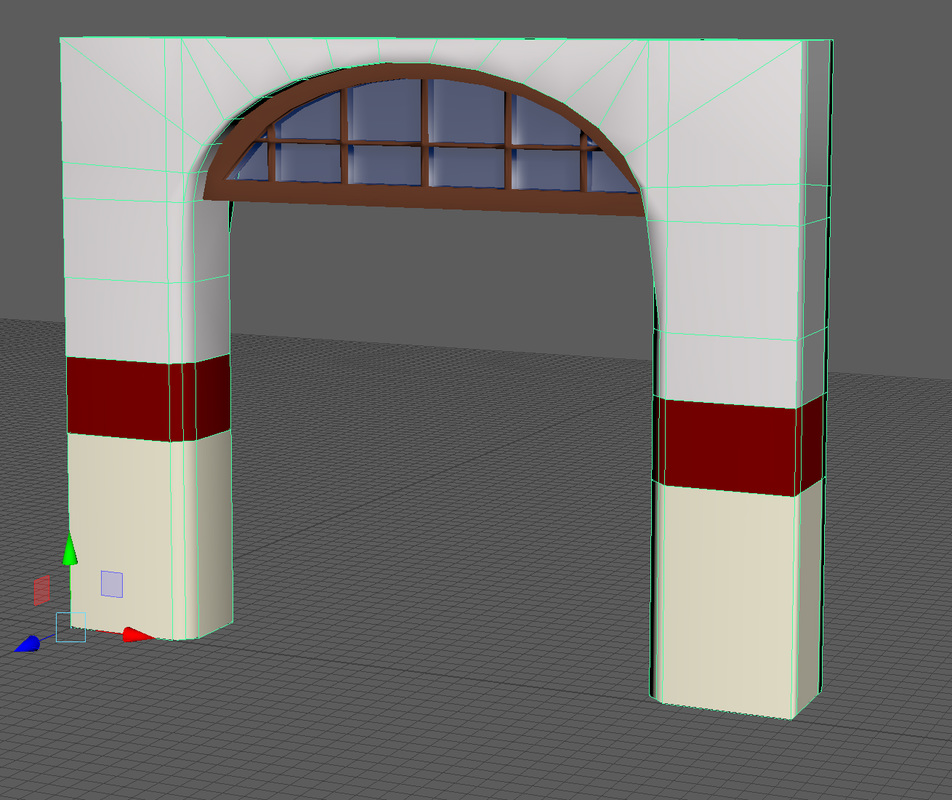
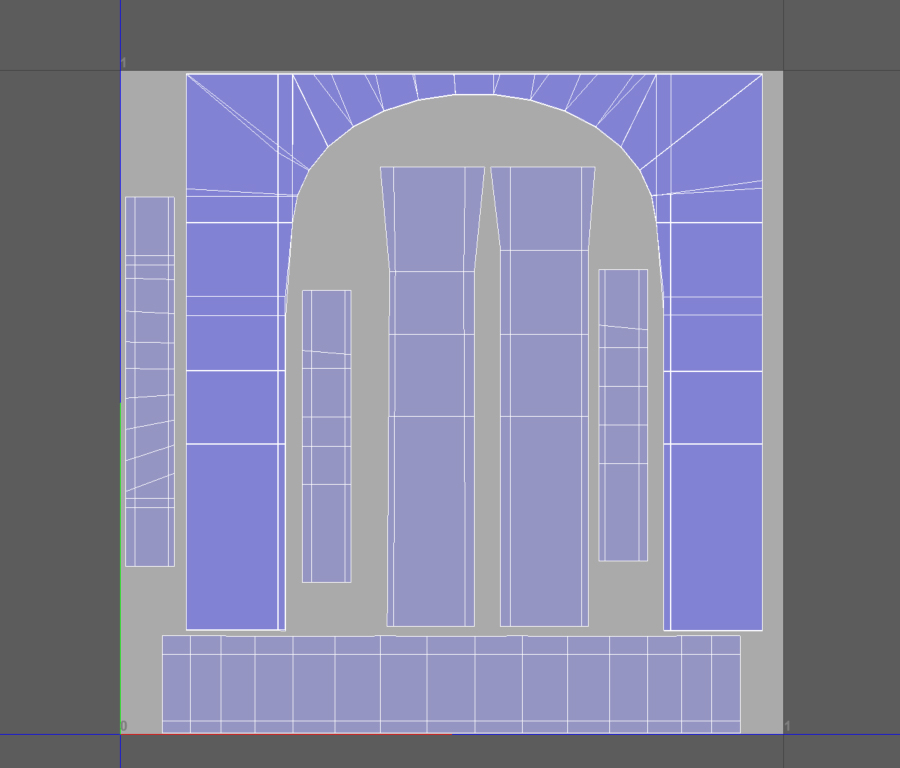
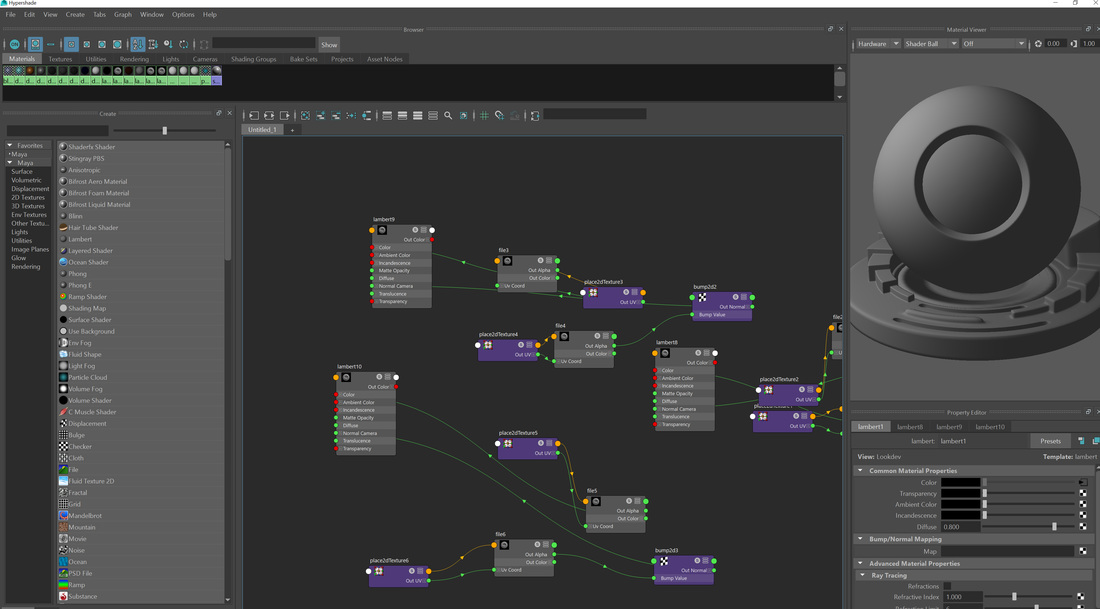
I made a simple arch inside of Maya, put the pivot on the bottom corner and move the window arch axis to the same position as I wanted this to snap into the same place in unreal engine. I made UV, I overlapped the main arch as I know both sides of the archway are going to be the same, so I saved more UV space and will get a better texture resolution. After I created the UV's and lightmap I wanted to do a high to low poly bake onto my arch what I did was take my mesh into substance painter, baked a blank normal map onto the mesh and applied a concrete material and used an alpha brush with minus height on it to create cracks and broken off the concrete. If I did this in mean I would have to have a very high poly mesh, but using a texture I can keep my poly count down and have a mesh that looks like it was high poly. 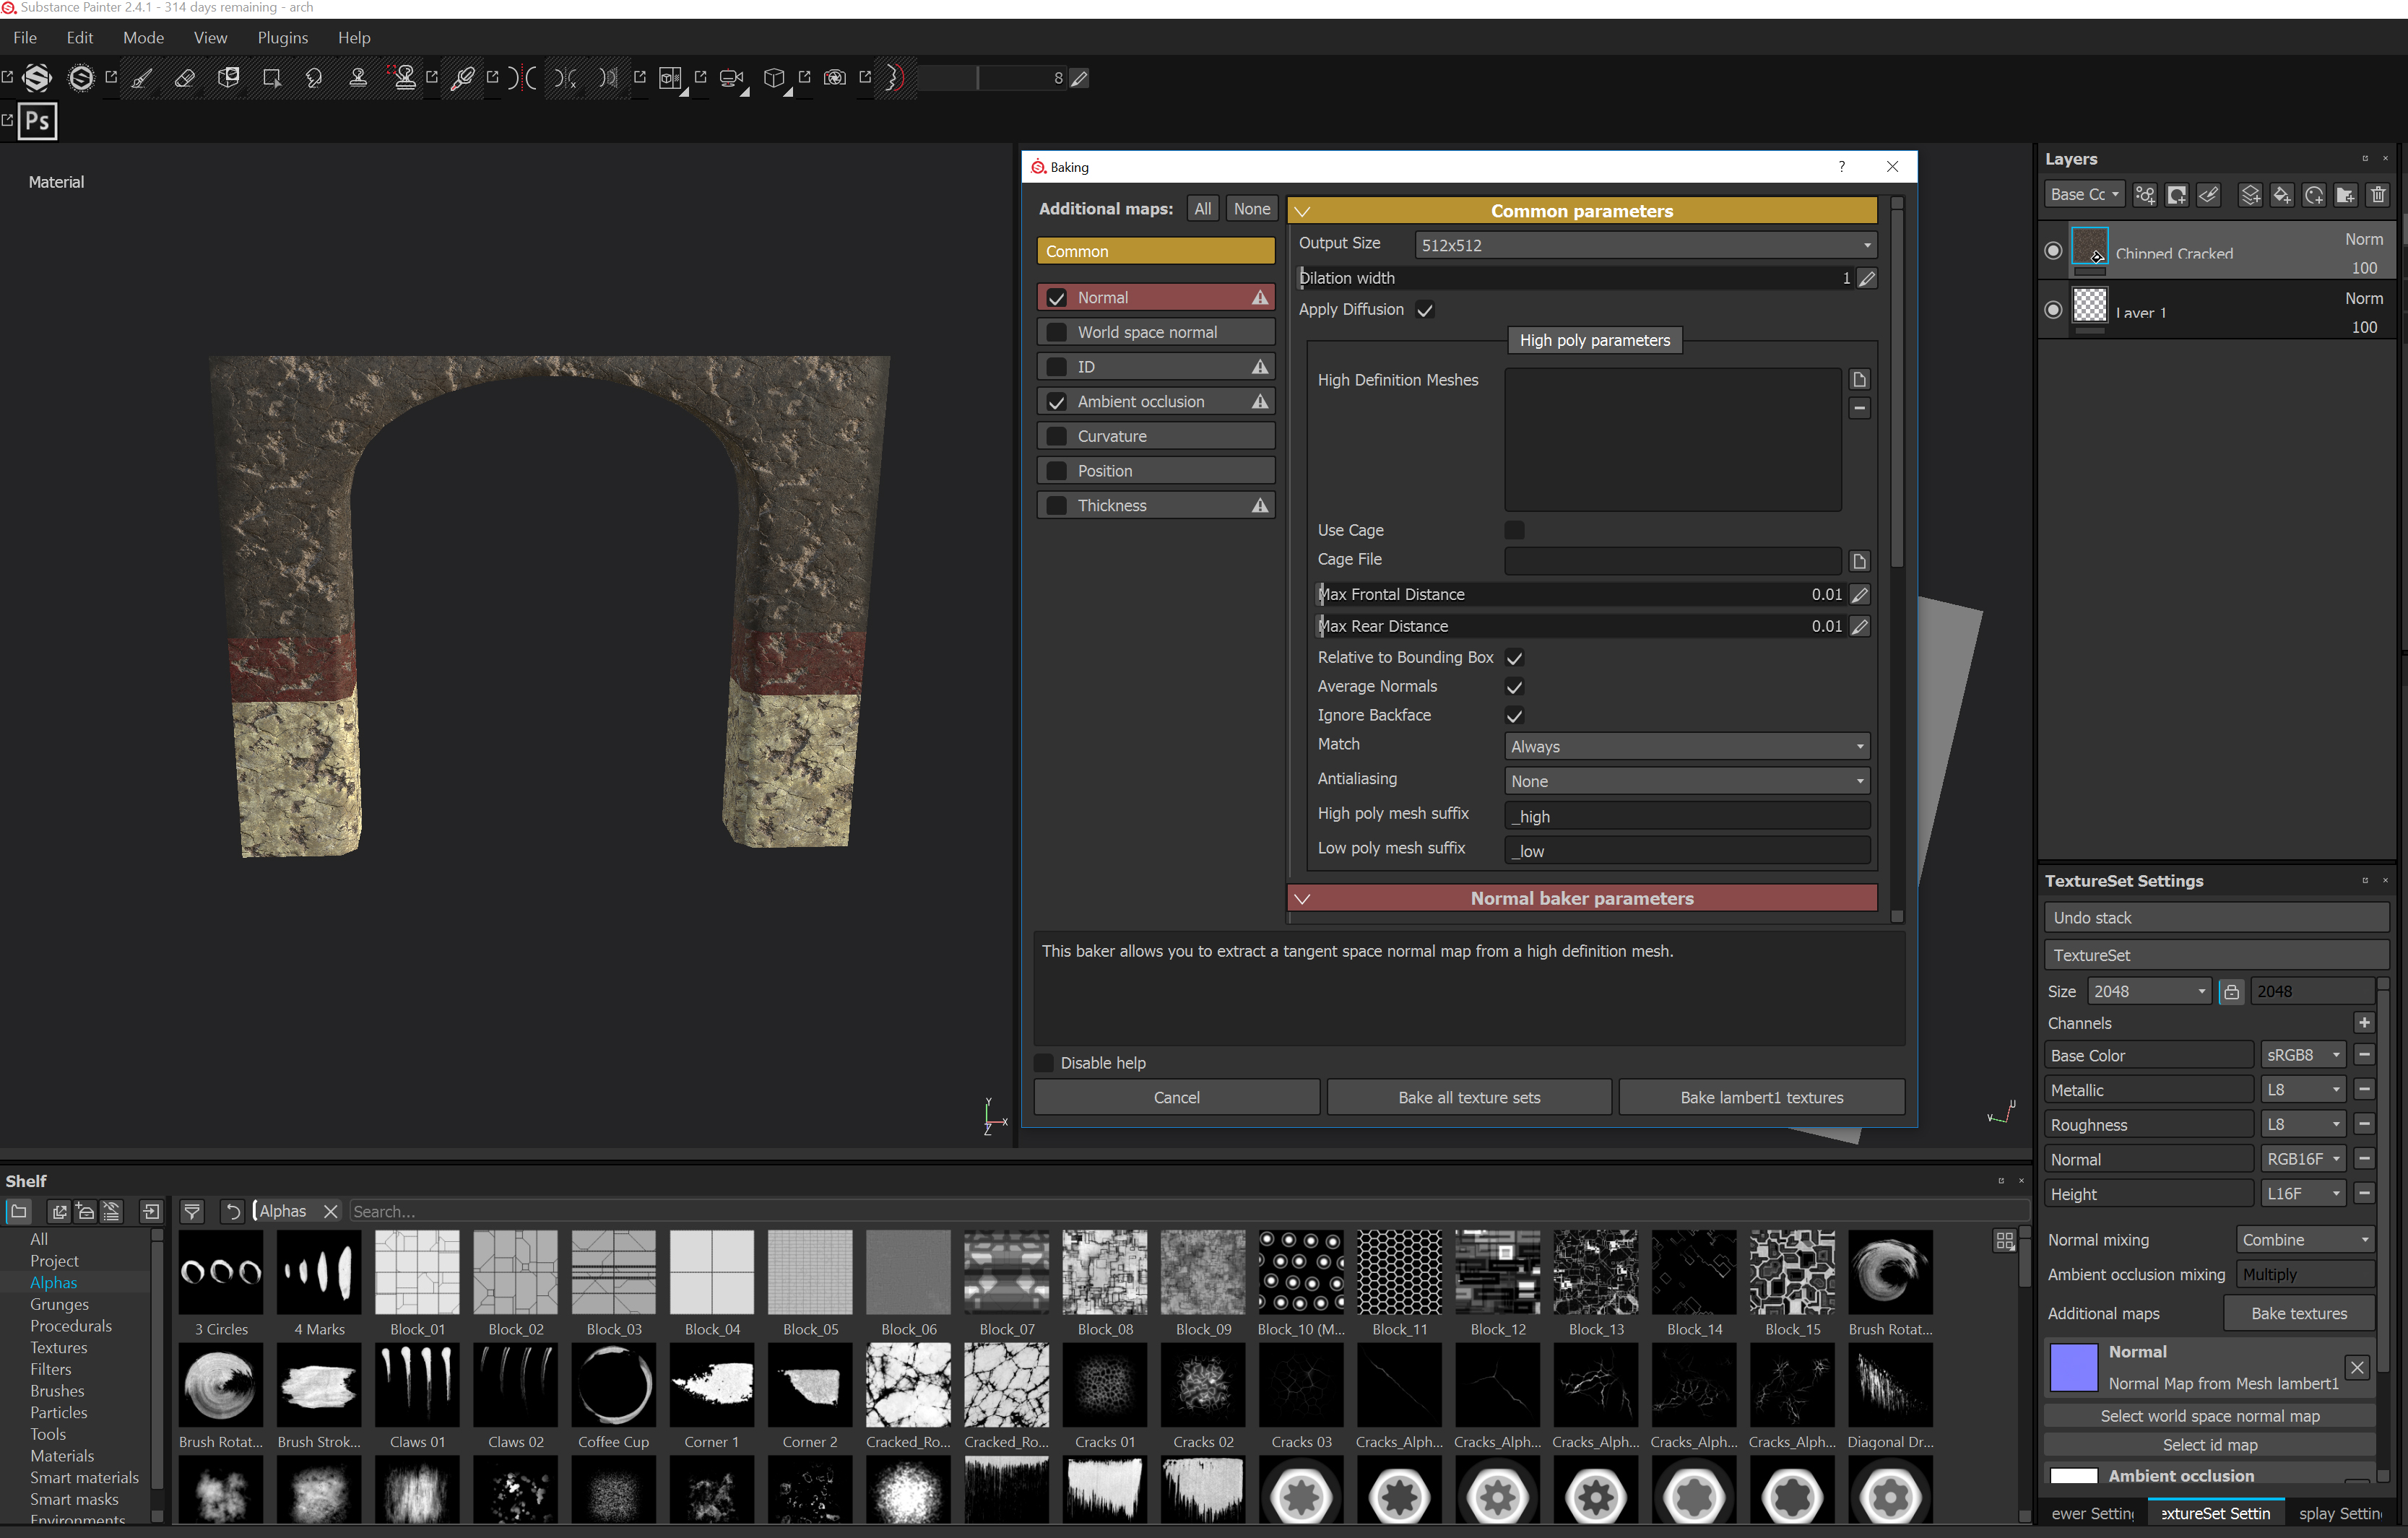 After making my textures in unreal, I took them back to Maya and applied them to the lambert textures via hyper-shade and did a quick render to see if my normal maps were working. Then I imported it all into unreal and applied the textures to the materials along with ambient occlusion maps 
0 Comments
Leave a Reply. |
AuthorWelcome to my blog about my game design and 3D modelling work Archives
December 2016
Categories |


 RSS Feed
