|
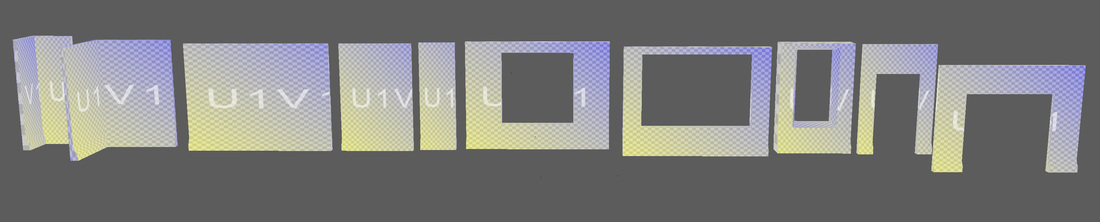
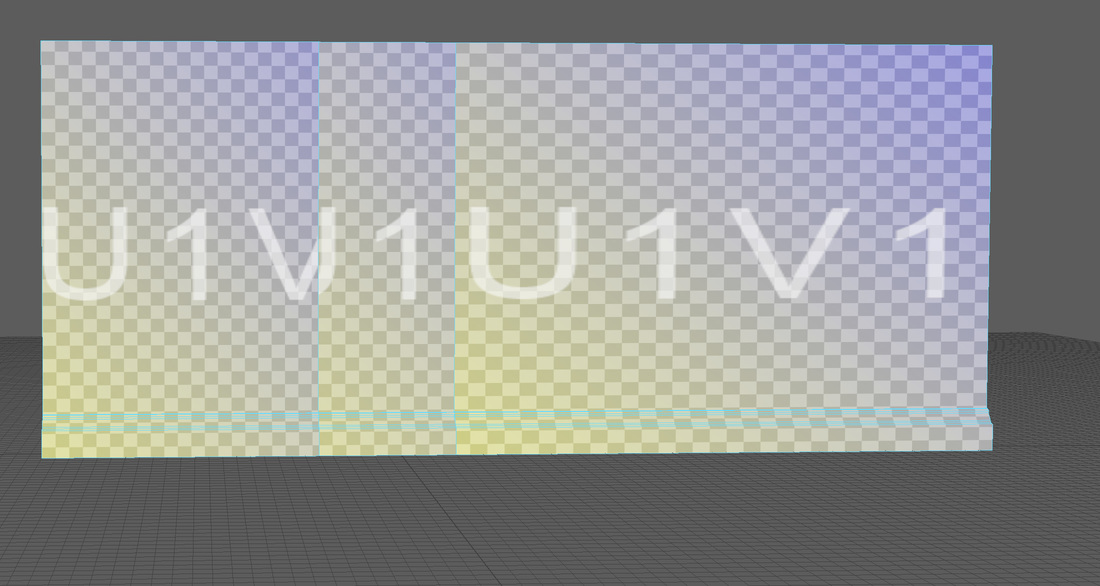
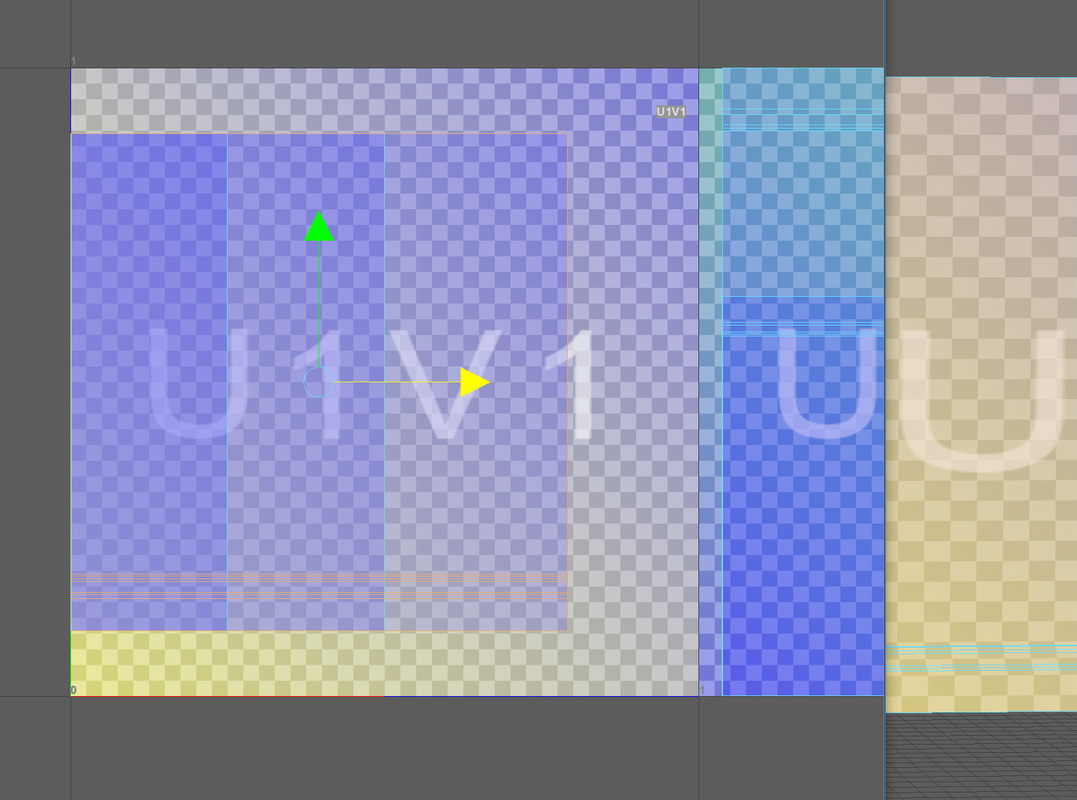
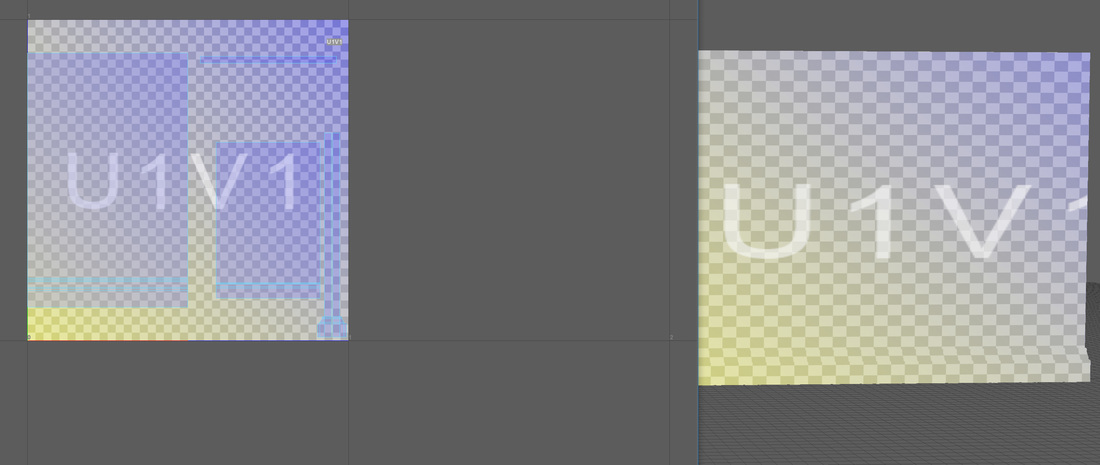
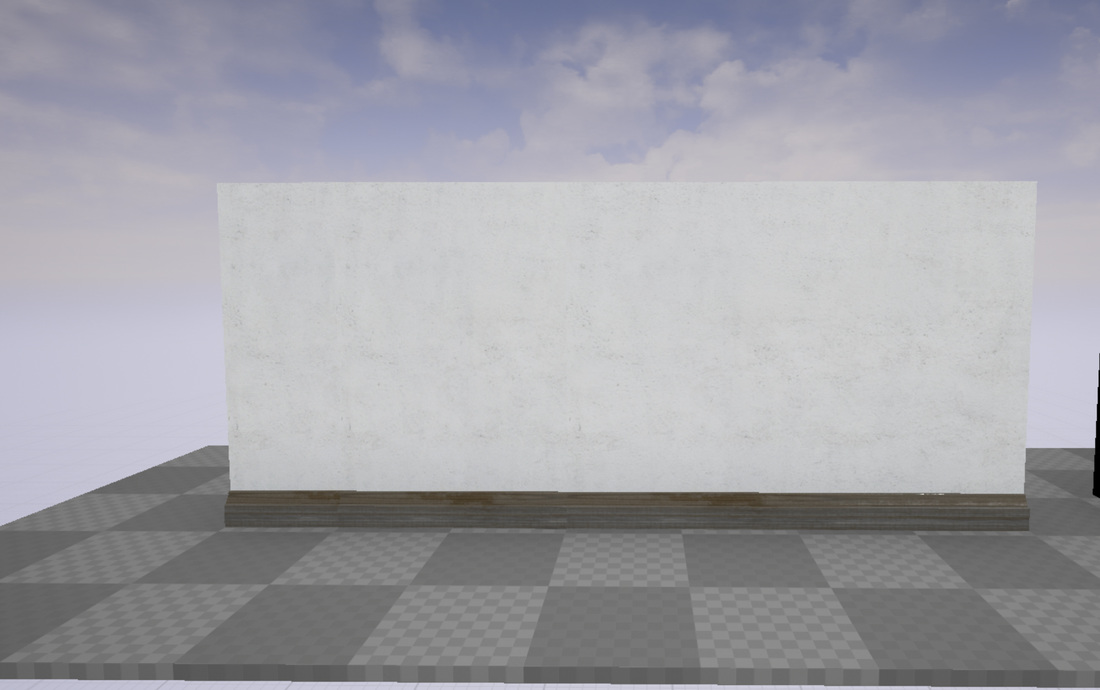
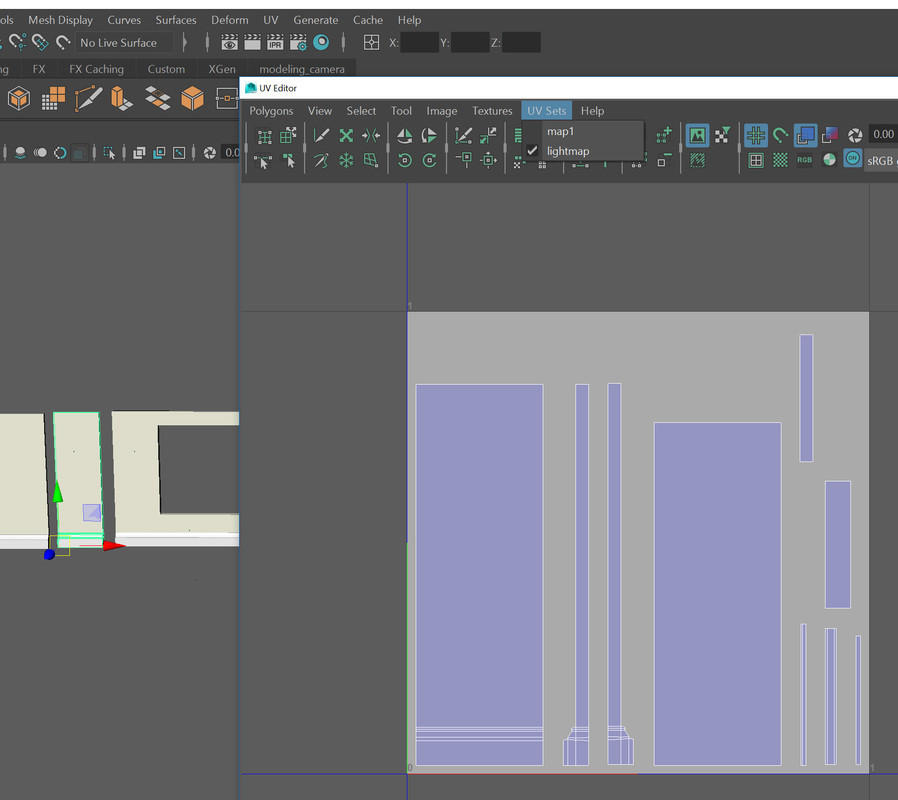
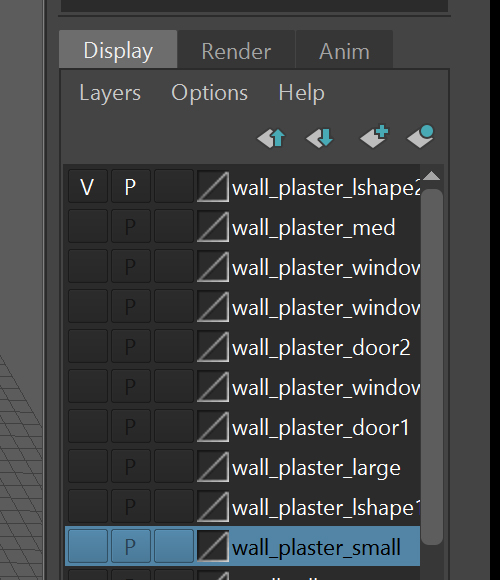
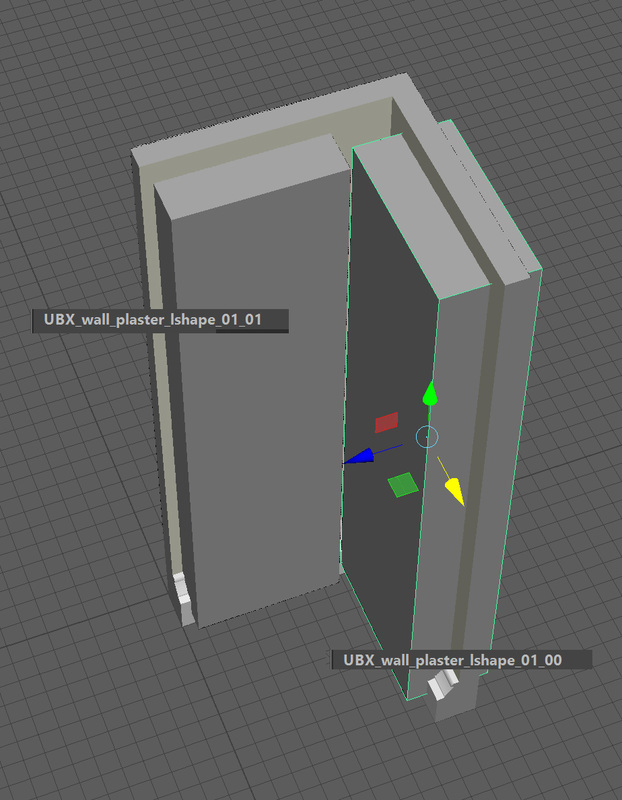
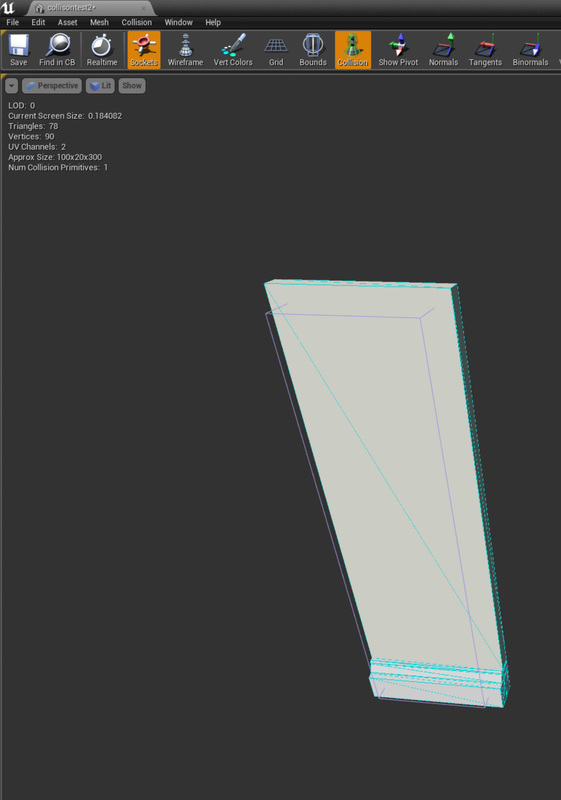
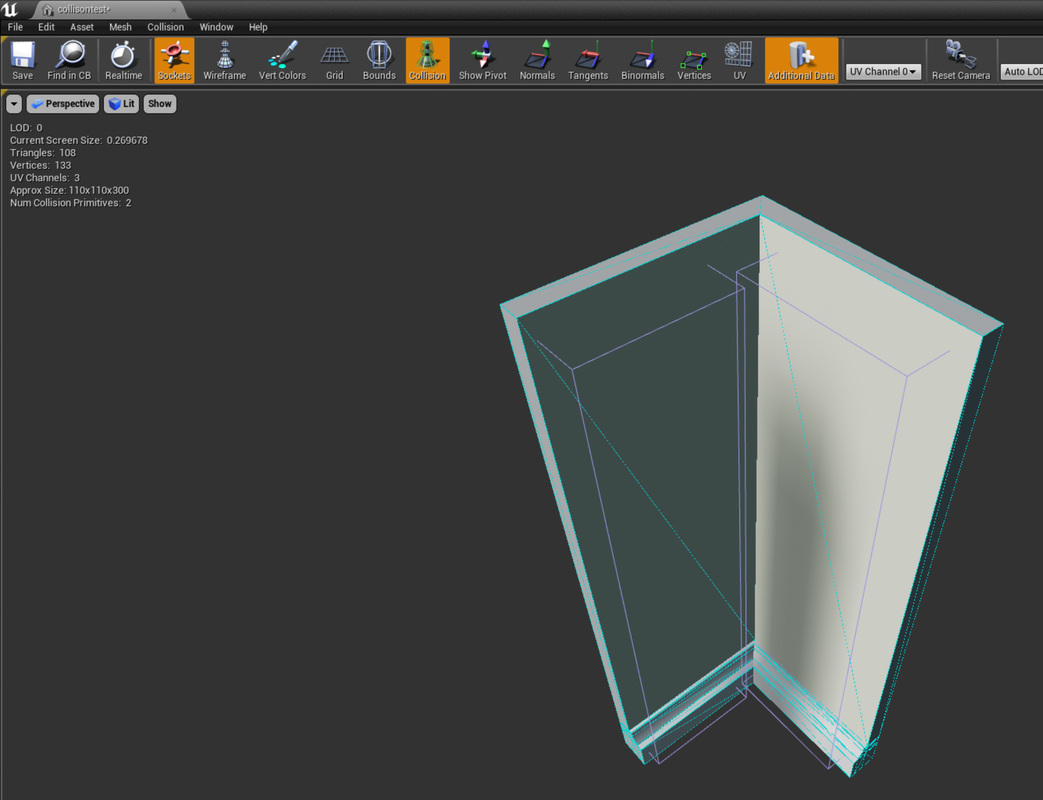
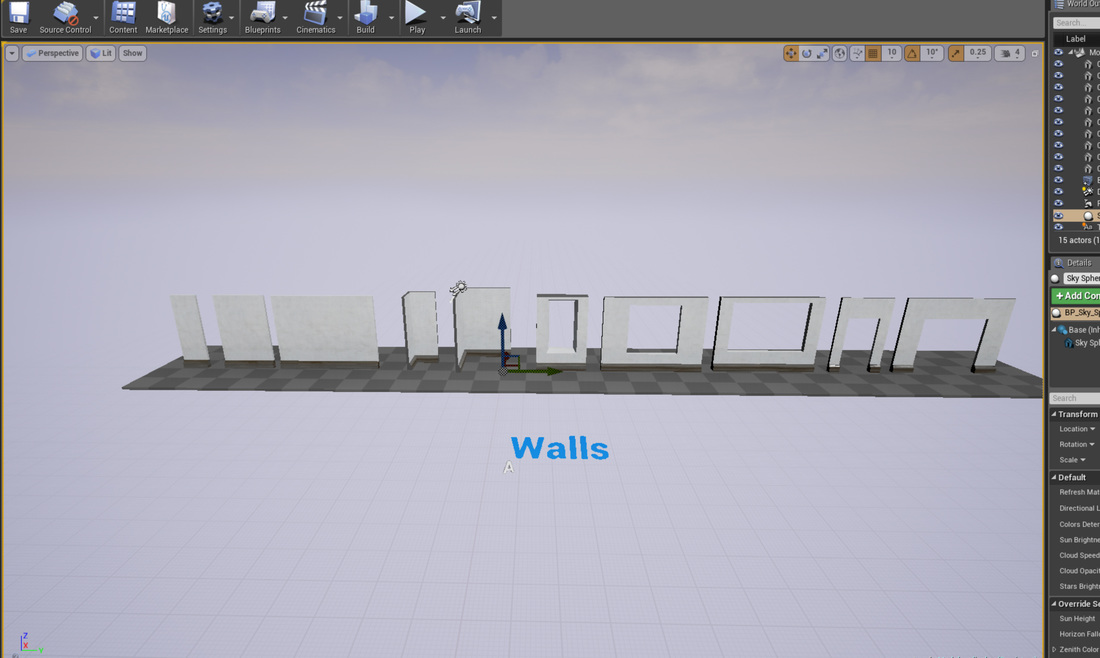
After I created the basic mesh for my walls, I needed to snap it to the grid and move the pivot, make UV and lightmaps for the models, create coalitions and place a tolerable texture on the models. What I did first created UV maps for the wall models, as shown below in the photos For the basic wall I need to line up all the UV for each wall so they are the same height and snapped to the same part of the UV grid to minimize seams appearing in the textures when in game. I did this by lining all my walls up together and lined them up by using the UV grid and making sure the squares are the same size and in right patten. Then I moved the UV shells so they are on the same part of the UV texture grid. I place the remaining wall parts that would not be seen by the player in the remaining space and scaled down in size, as shown in the photos above. for the windows I decided to overlap the top and bottom and the left and right sides of the inside part of the window as I plan that these will have the same texture and to optimize the UV space so that there would be more detail in the textures once the textures are applied in unreal using a simple base material and 'texture coordinate' node the walls are close to no seams, they are very slightly visible to completely get rid of these I would have to apply a texture on top of the UV in photoshop or in substance. For the lightmap I copied the UV into a new UV map and called it lightmap, then I went to layout and changed the space options to 2% and pressed the layout button to space the lightmap UV out to prevent shadow bleeds, when the UV in the lightmaps is to close and clash with each other and cause a shadow bleed After I created the lightmaps I placed each wall into its own layer in maya and place the pivot on the bottom left hand corner and zeroed out the axis so that they were at 0,0,0. After I did I created a simple square collision box for each of the walls and named the collision box with UBX_ (model name) _01 so unreal engine would know that it is a collision box and for what model. For the L-shape wall, windows and doors I needed multiple collision boxes, I did this by the same principal of using UBX_ (model name) _01 but after adding _00, _01 etc. (UBX_ (model name) _01_00) for each box and unreal will place those collision boxes with the right model in the correct order. After I made them in Maya I did a quick export to unreal to see if the box where working and unreal recognised and made a collision box from the mesh I made in Maya. Once all the maps and collisions were done in Maya I exported all the walls to unreal and applied to materials from substance as a base mesh, the wall texture I used is seamless and only shows a slight seam when the walls are together. I will be replacing the textures with a custom seamless texture in the near future. I made sure the textures could be titled by adding a 'texture coordinate' node to UVs inside the material editor
0 Comments
Leave a Reply. |
AuthorWelcome to my blog about my game design and 3D modelling work Archives
December 2016
Categories |

 RSS Feed
