|
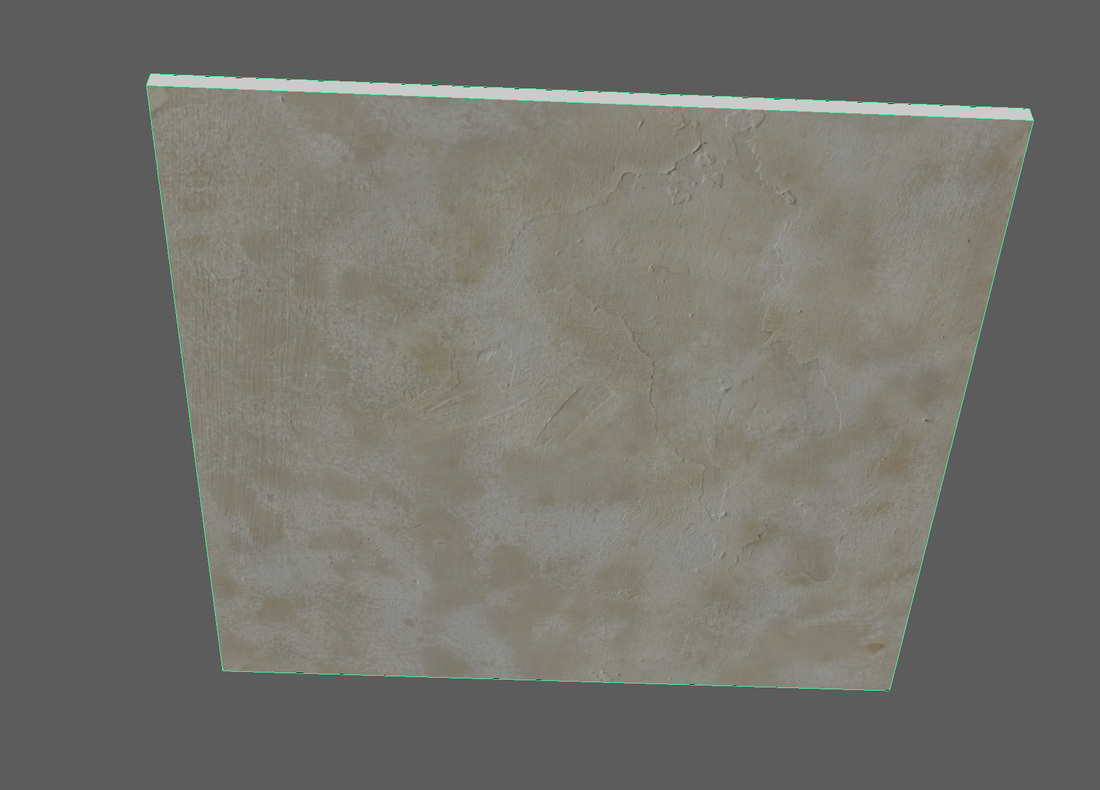
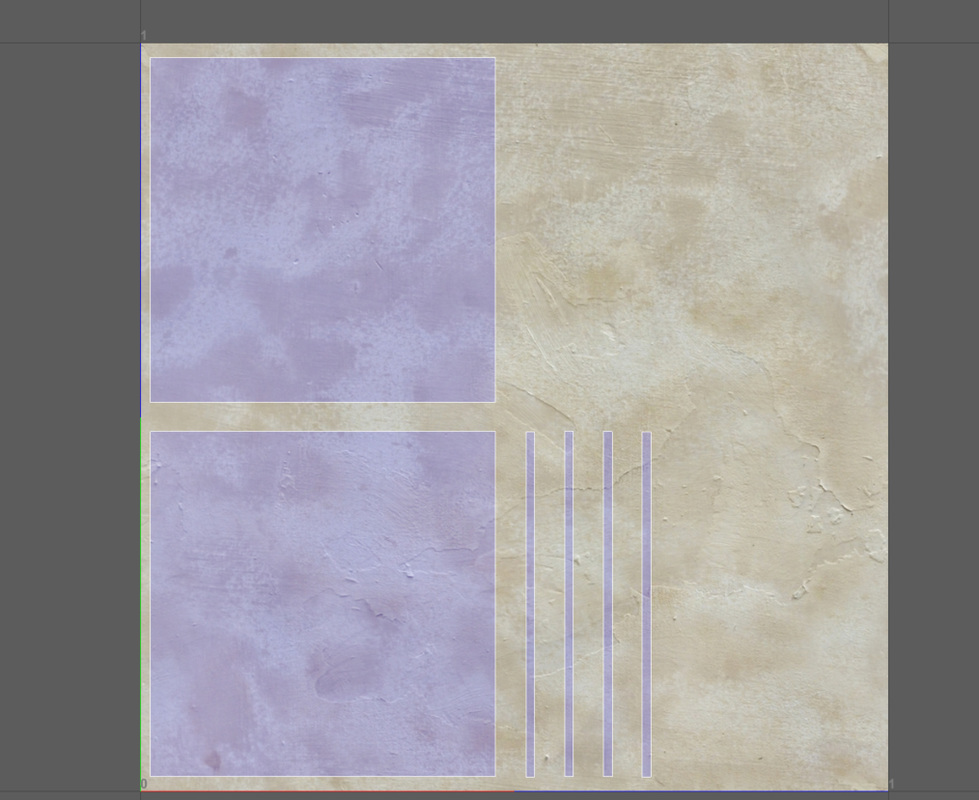
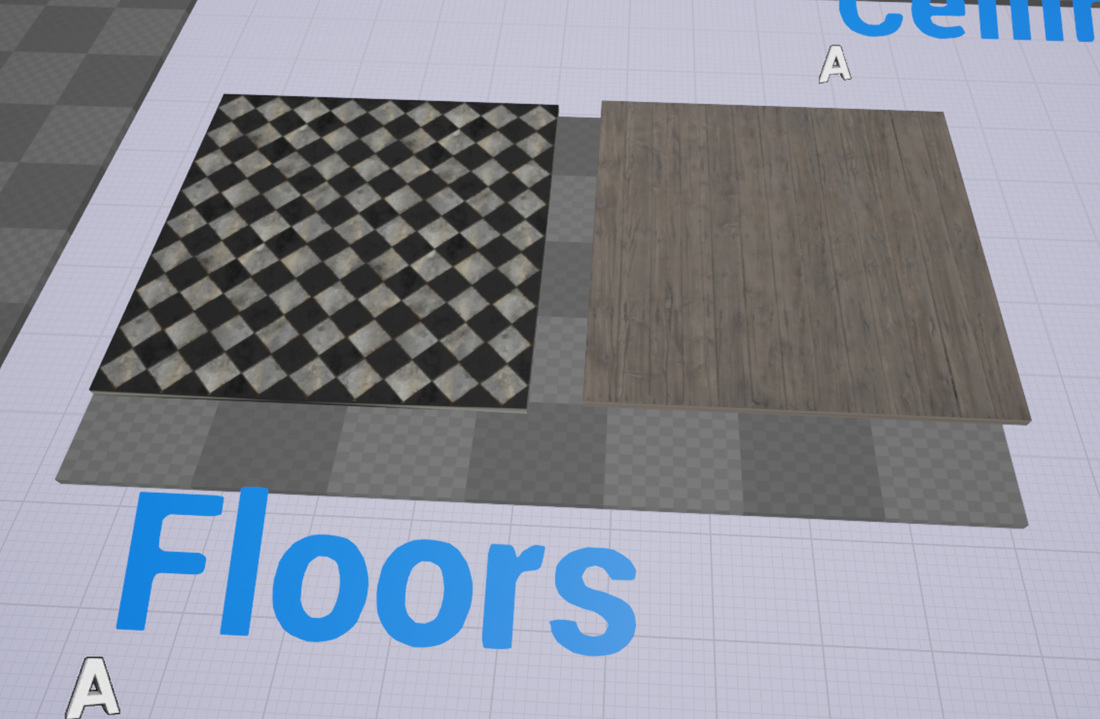
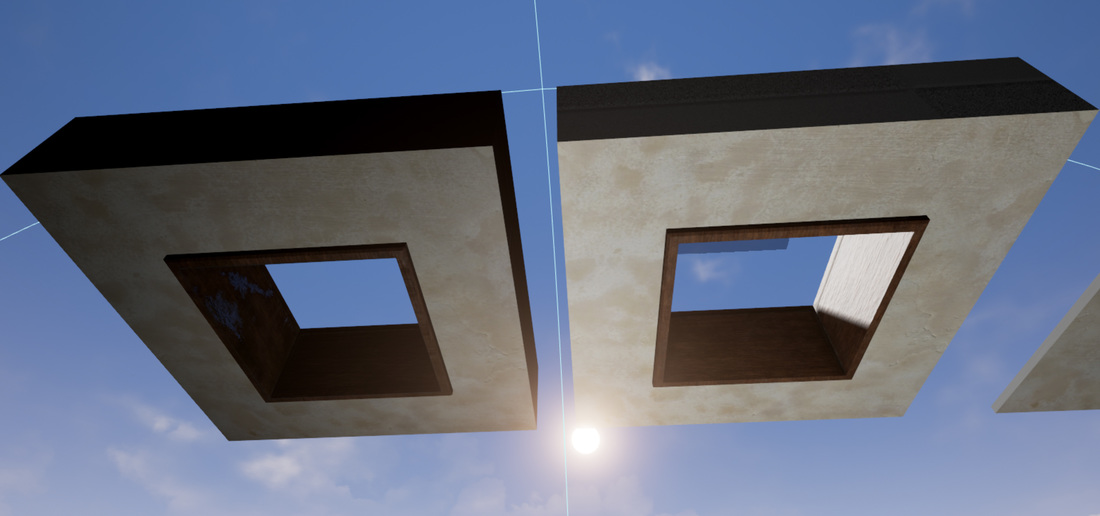
For the floors and ceilings I started off with just a basic square 400 by 400 and 10 height, and imported the texture I wanted to use inside of unreal. I did this so I can get the UV scaling right as I want to make these tileable and don't want that much of a seam. I adjusted the UV so that they would snap to the grid.
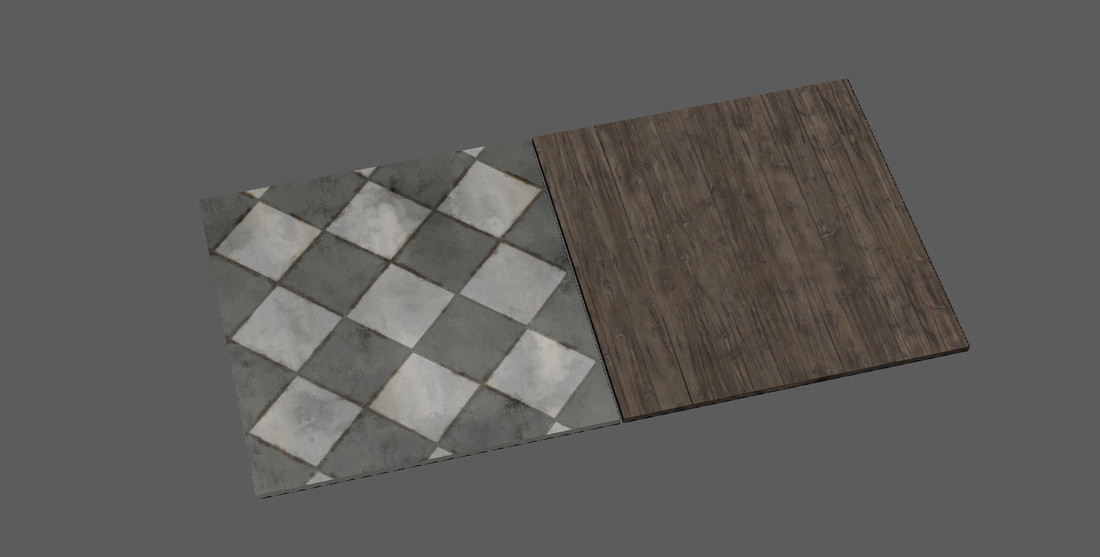
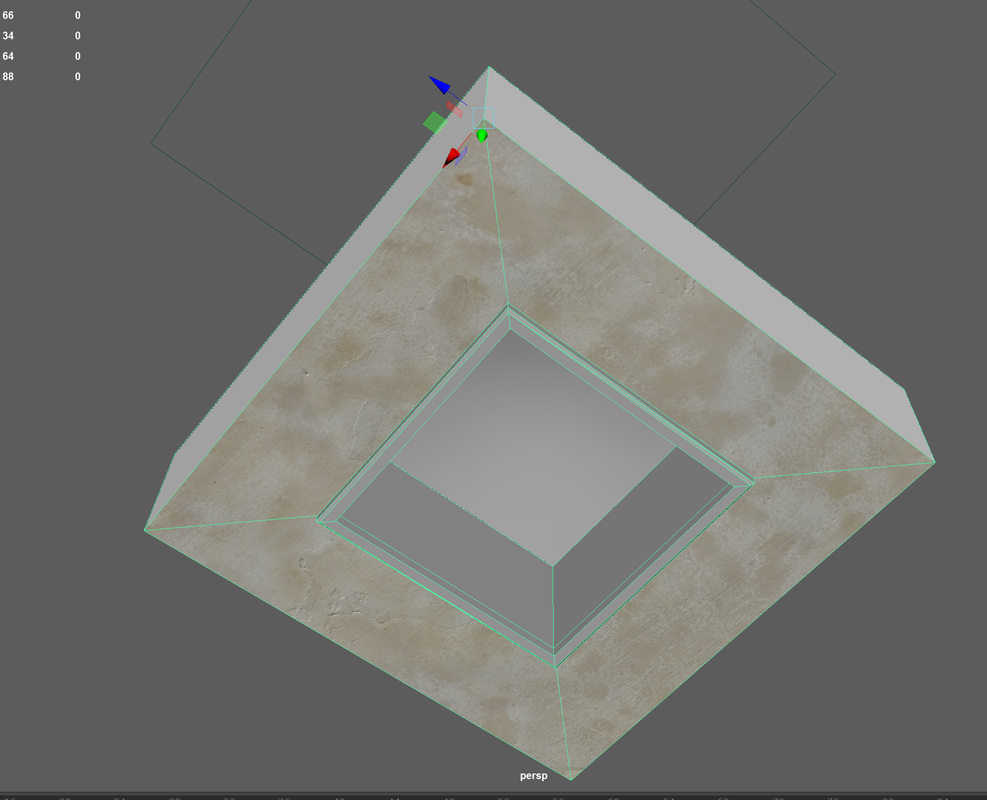
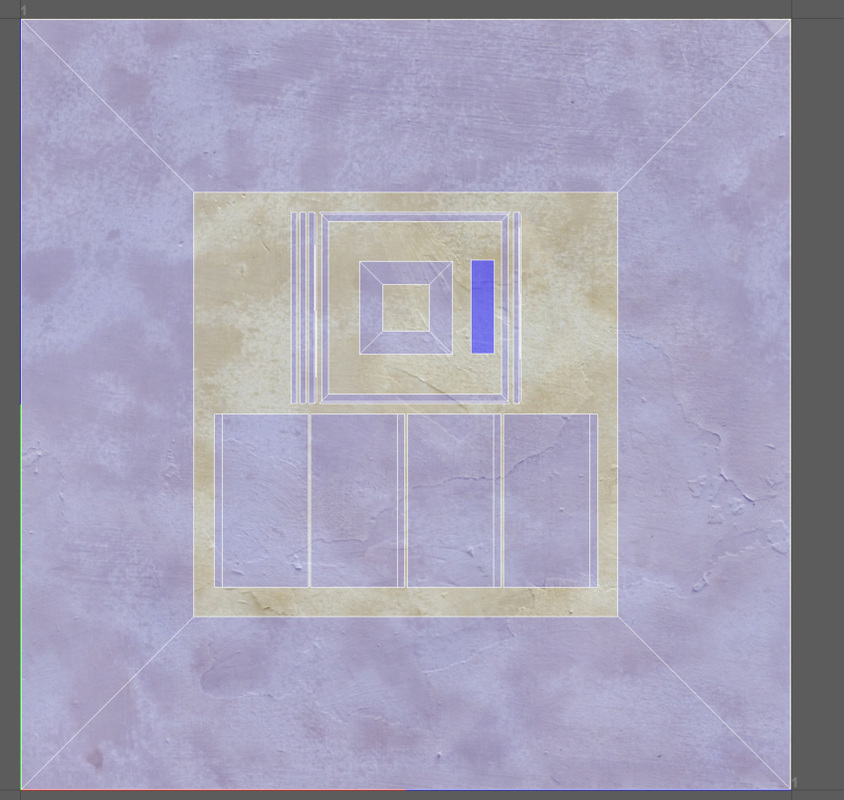
Once I did this I created a new UV map and called this lightmap and used the 'layout' function to give them 2% space between shells. I imported the meshes into unreal created the materials for them and tired out the materials to see if there was a seam or they didn't line up, the tile floor texture took a while to line up and had to apply a 'texture coordinate' to the UV in unreal to make them scale properly. While in unreal, I also added a 'square collision box' around the meshes.
1 Comment
1/8/2024 12:08:02 pm
Optimize your animation workflow with our advanced automated rigging solution. Streamlining character setup, our tool delivers sophisticated rigs with minimal manual effort. Whether you're a seasoned animator or just starting, our system enhances productivity, allowing you to focus on the creative aspects of character animation. Experience a seamless and time-saving approach, ensuring dynamic and engaging character movements while revolutionizing your animation projects with the precision and efficiency of our automated rigging technology. Leave a Reply. |
AuthorWelcome to my blog about my game design and 3D modelling work Archives
December 2016
Categories |

 RSS Feed
