|
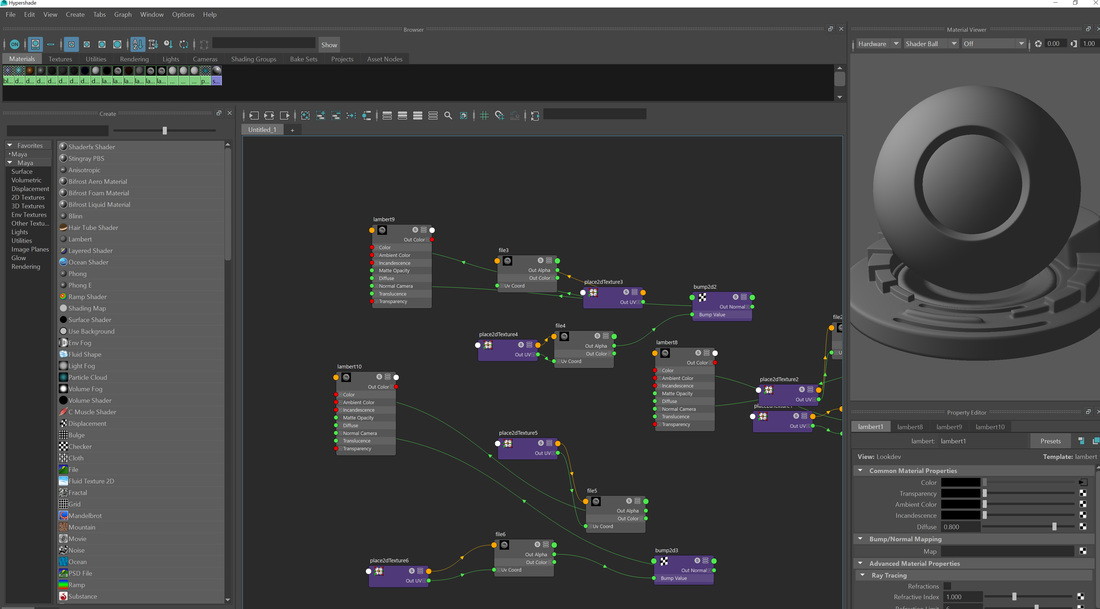
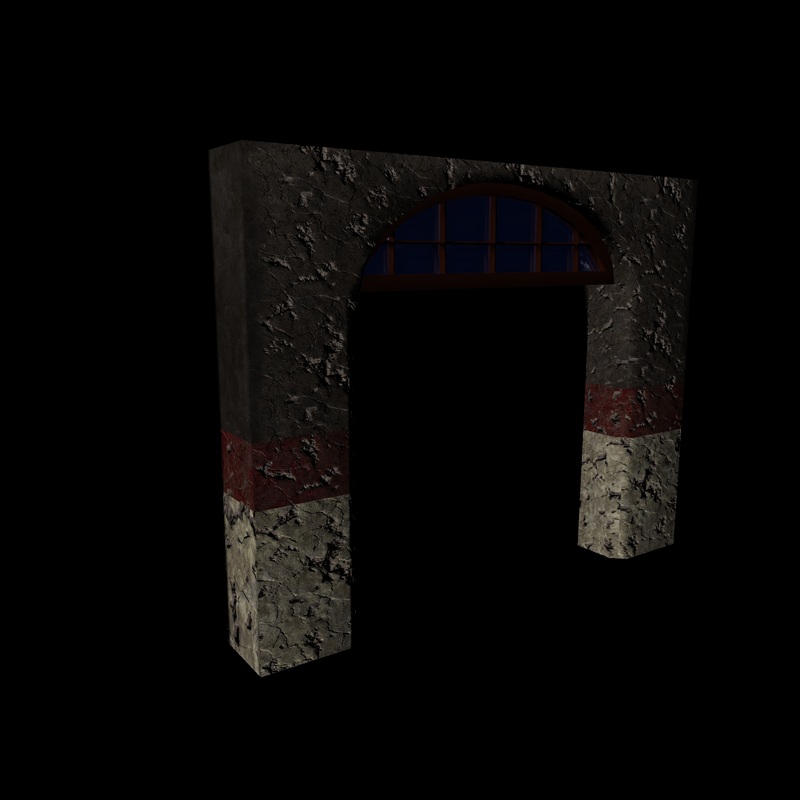
For each assets I wanted to create normal maps so that my assets appear to have higher geometry than it actually does, helping performance. Normal maps, add extra detail that is fake geometry, it creates an illusion of depth. It does this by using RGB information not like bump or height maps that use grey scale information. Using the RGB information it corresponds which the XYZ coordinates inside 3D software like Maya or unreal. it uses this information to tell the 3D software which direction the normals are oriented to give the meshes shape and depth. How I created my normals for my modular pack was inside substance painter, I made a diffuse texture map and I baked a normal map of this creating extra geometry and depth. I did this by baking my model beforehand by clicking on 'bake textures' in the texture set settings, and increasing the output settings and baking for all the materials. Then I was able to add depth with alpha brushes 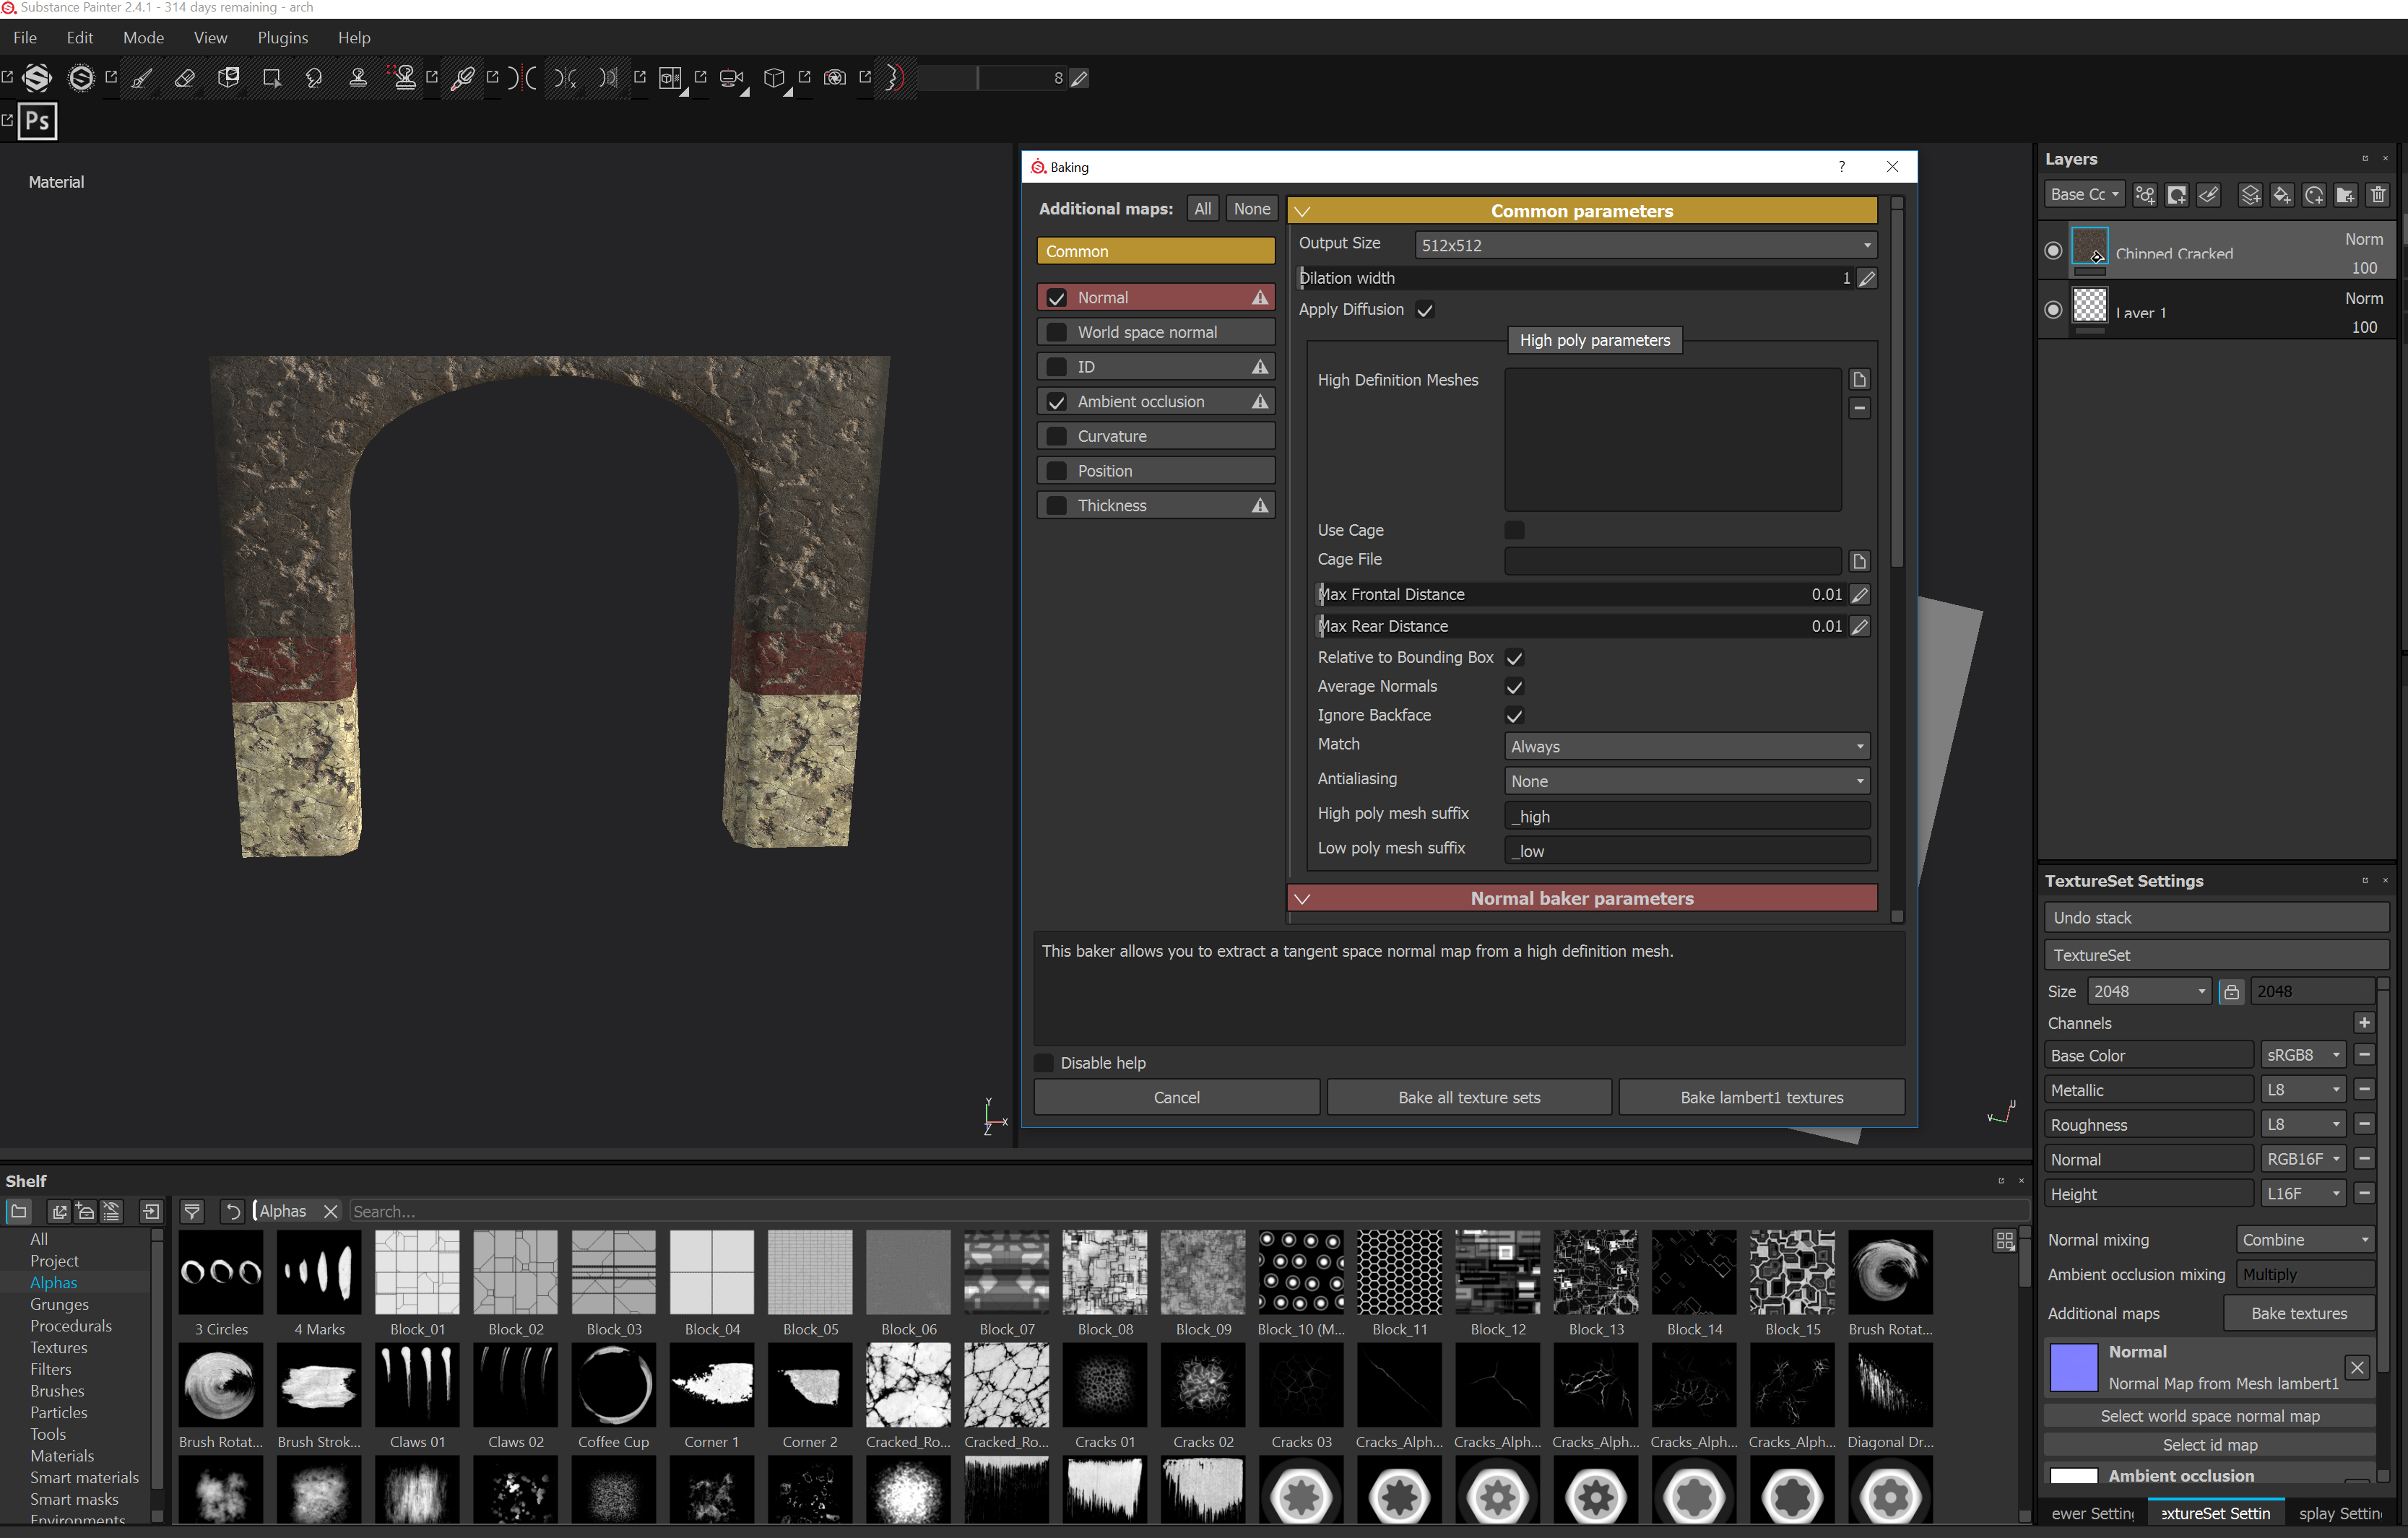 Once I created my normal maps I went back into Maya and applied my diffuse map and normal map to the lambert texture via hyper-shade I did this to check for any errors of the texture not fitting onto the mesh correctly and did a quick render of it.
1 Comment
1/8/2024 12:05:01 pm
Leave a Reply. |
AuthorWelcome to my blog about my game design and 3D modelling work Archives
December 2016
Categories |
 RSS Feed
