|
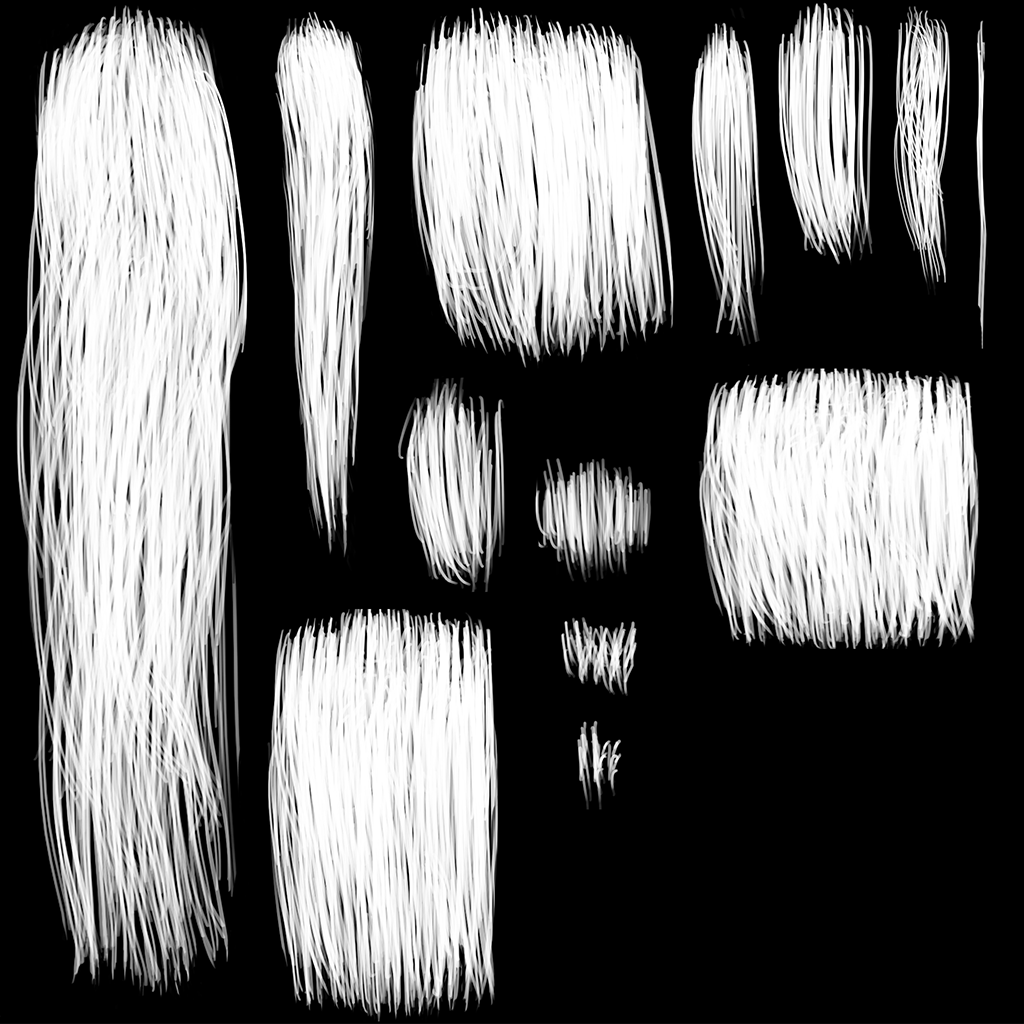
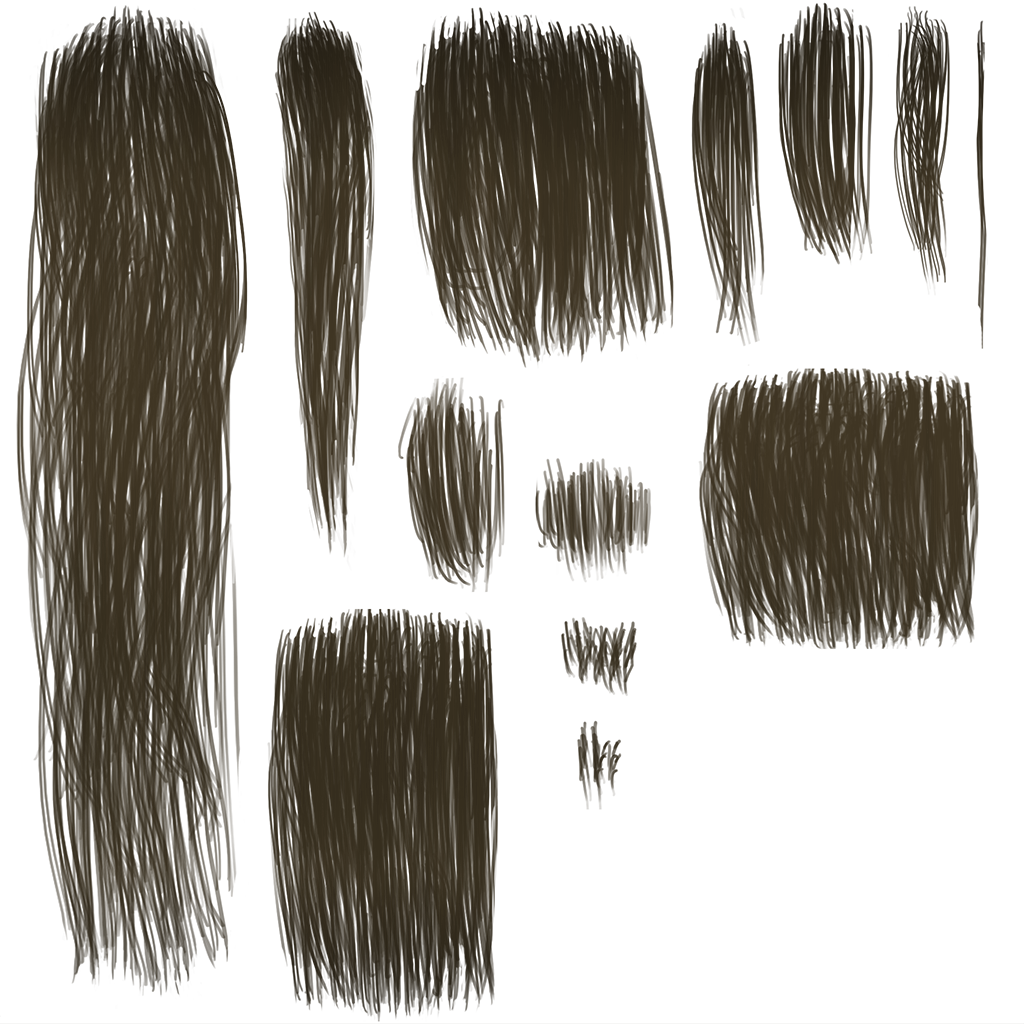
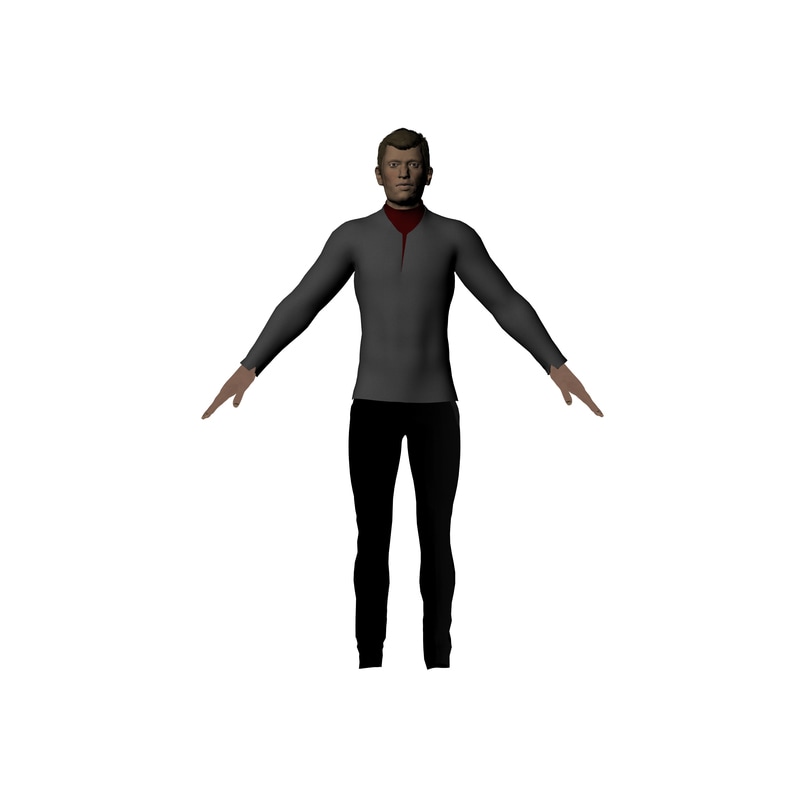
I wanted to change the character so that I could use it for my unit 75 brief and continued to develop it next year, I started off by using marvelous designer, I wanted to get realistic clothes. I started off by using the default character in marvelous designer and then I created an outfit for the model, making it look sci-fi. Below are photos from marvelous designer 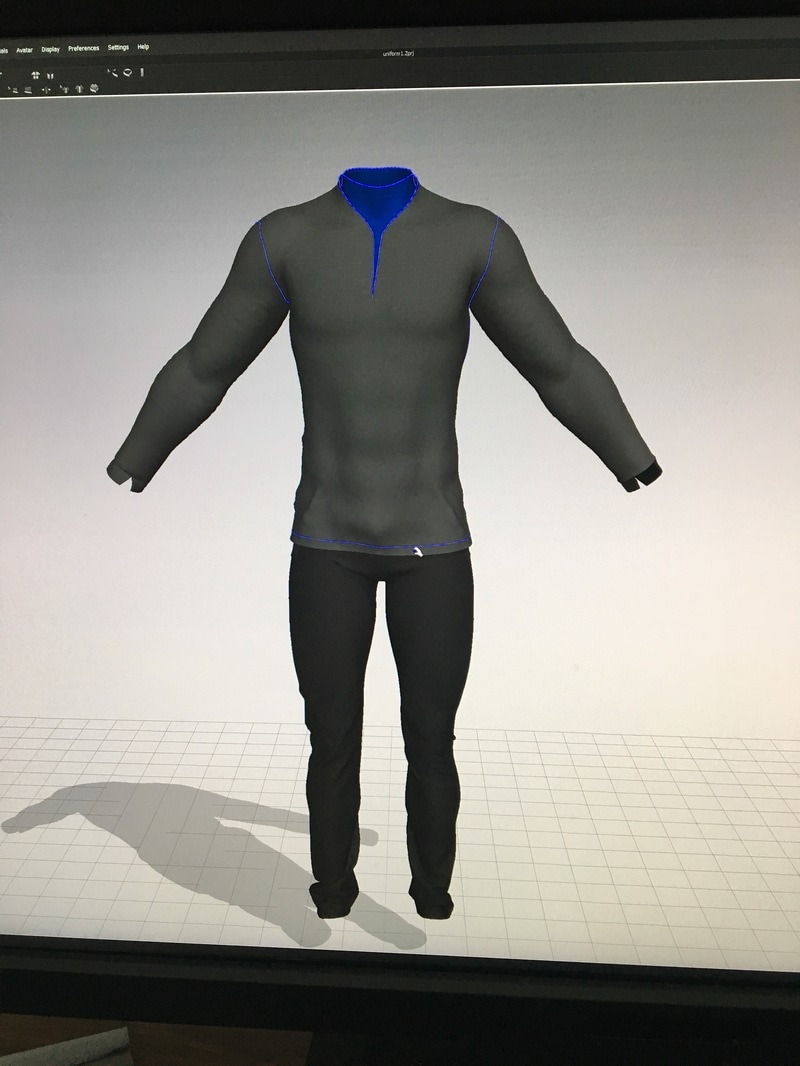  After this I took it into Maya and used the quad draw tool to turn it from high poly to a low poly asset. 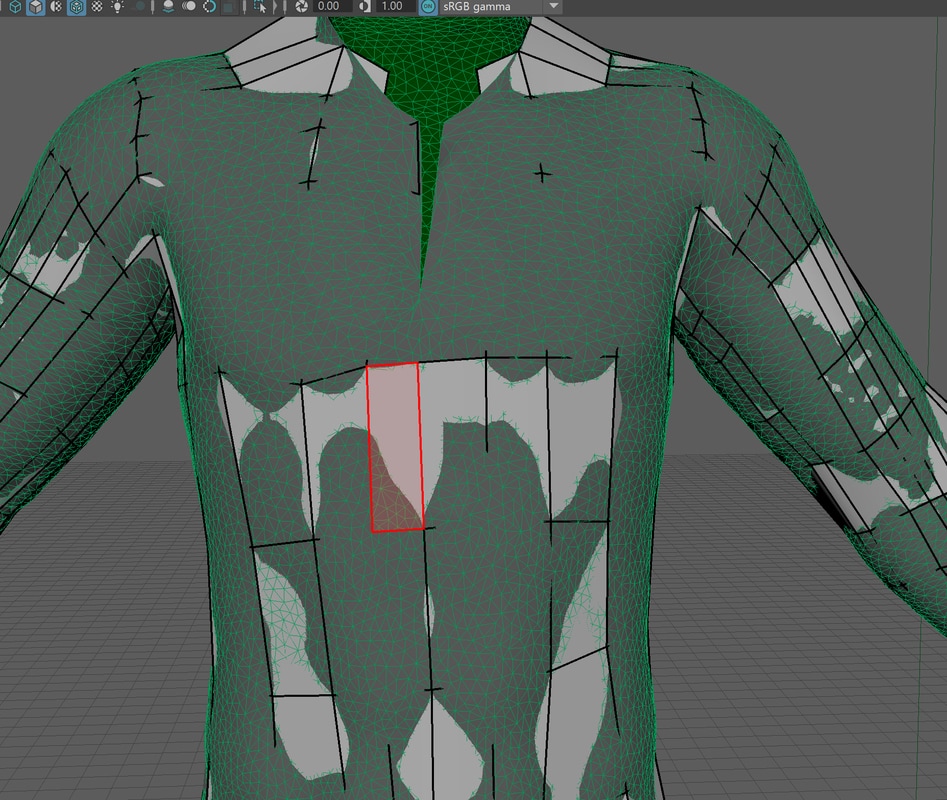 After I finished the quadrawing of the highest asset I then had a very low poly asset that was not sitting flush to the live mesh so I smoothed the mesh and relaxed it with the quadtool so it lay flush on top of the live mesh. After that I imported the head of the model of the old character and placed it into the neck hole. 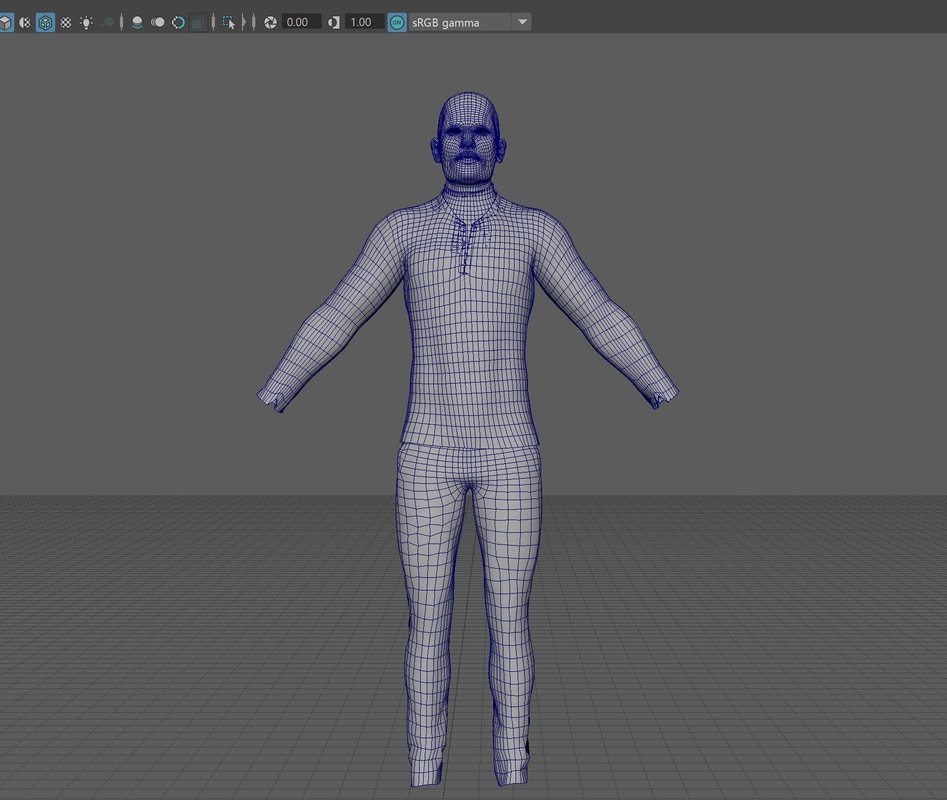 I then took each part of the outfit and went into substance painter and baked the high and low poly so I got some of the clothes wrinkle details and then I applied a texture to the outfit and I applied the defuse and normals inside of Maya and did the same with the head as well.  Hair For the hair I started off by using a square plane and then I added extra edges to the plane and moved its vertex about, and I then made sure the UV's were made smaller and placed to one side  I then started to place it on my character head, I used different sizes, when I created a bigger or smaller size I would move the UV to a new space in the UV square as I wanted to have a different hair pattern to this part, I then exported a UV snapshot of the hair UV to photoshop and used a brush to draw lines in different angles to crate hair patten and added different colour tones as well. From this I made a black and white version for opacity and found a hair sample on the internet and made a normal map from this 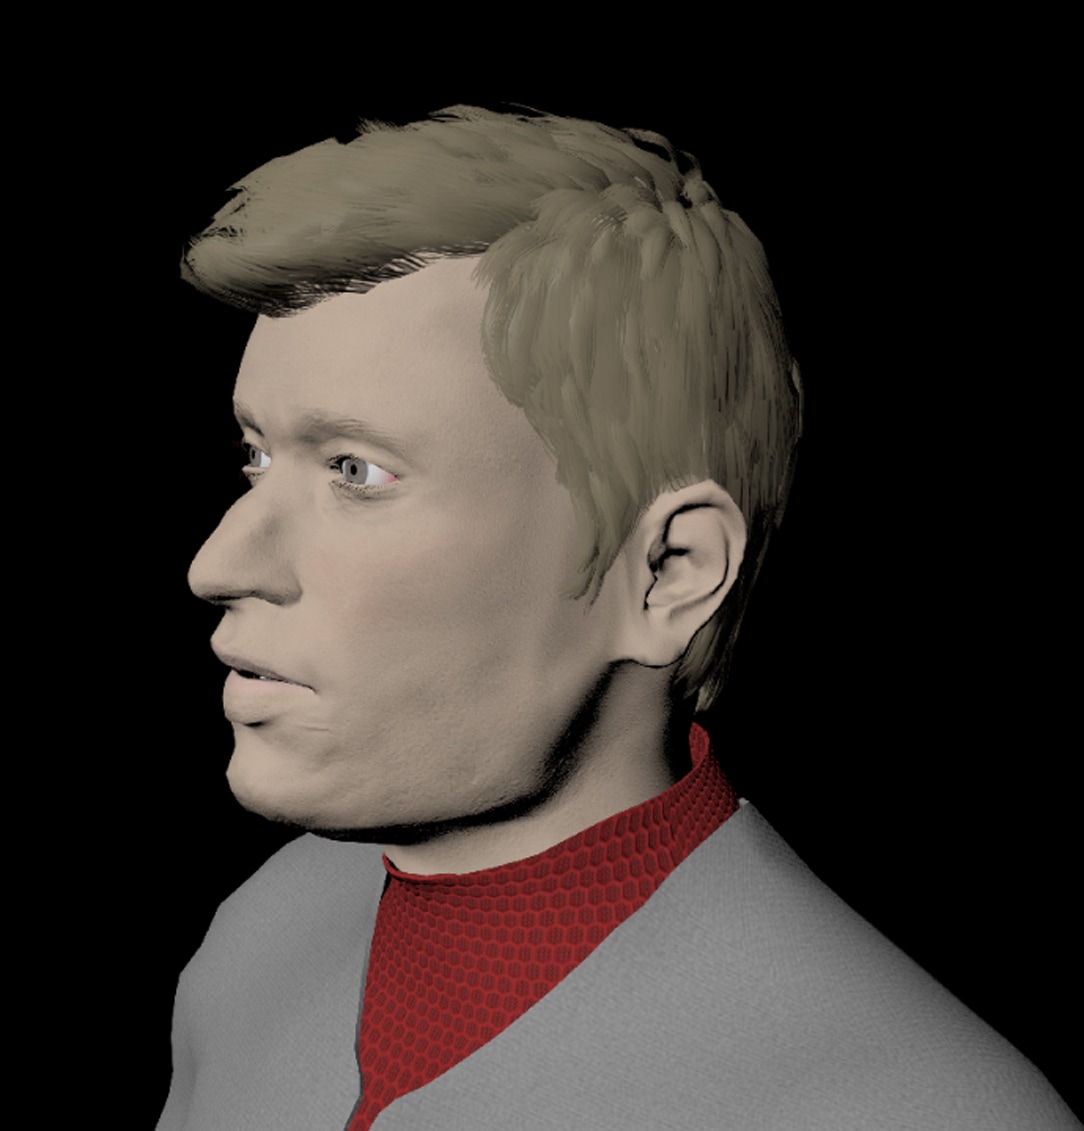 Hands I started off by creating the hands from a square and adding extra lines using the edge loop tool, I then extruded from the ends to create the upper hand, then the fingers and thumb 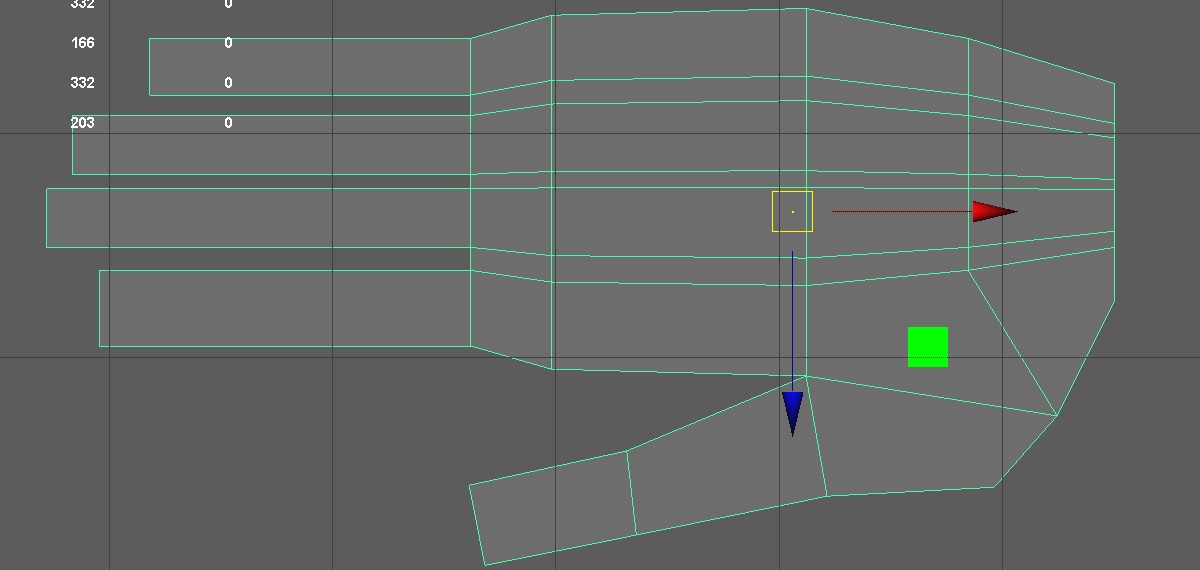 After this I started adding extra edge loops to the hand and moving the edges and vertex to create a more rounded hand 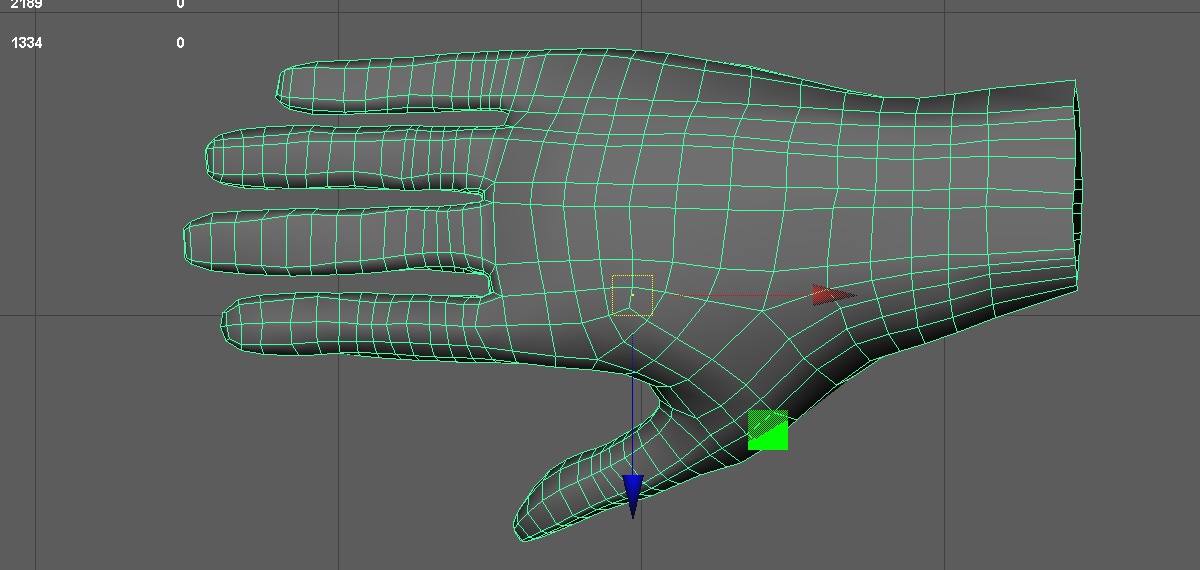 I then duplicated this and created a high poly version and took it into substance painter, and did a quick bake on the hand and applied a quick texture with nails. I then went back into Maya placed the hands on the shirt and used the mirror geometry tool to copy over to the other side. 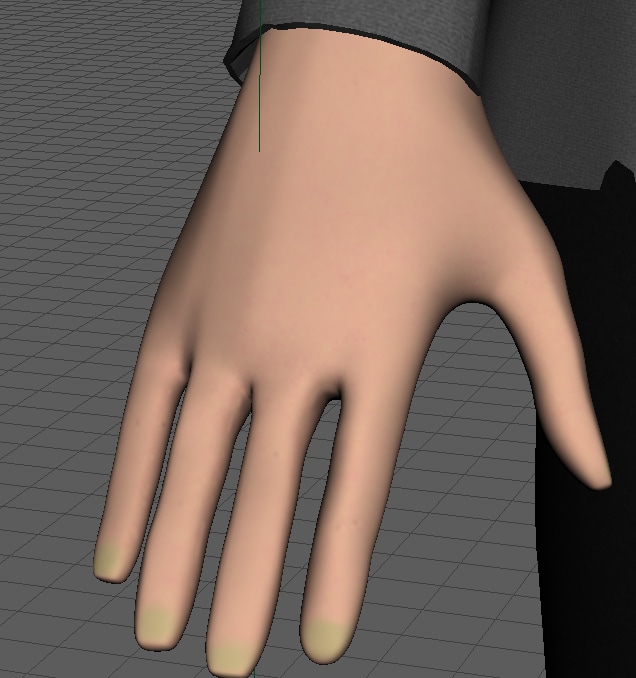 Quick Look Dev renders My new character is nowhere close to complete it still has a lot of work to be done, but I thought I would do some quick renders to see how it is looking. from the look dev renders I was not happy with the hands and it will be something I am going to work on to improve Conclusion
I have ran out of time to complete the new model before task 2 deadline, so it is something I am going to work on over the summer holidays so I will have a complete character to start animating with next year. I wasn't happy with the hands and I will be able to improve on them as I will have more time to improve the models, I will also create boots for the character as this is the only major modeling left and the rest of the time will be improving the model and textures as I still don't think it is up to my standards of my previous work.
0 Comments
Leave a Reply. |
AuthorWelcome to my blog about my game design and 3D modelling work Archives
June 2017
Categories
All
|


 RSS Feed
