|
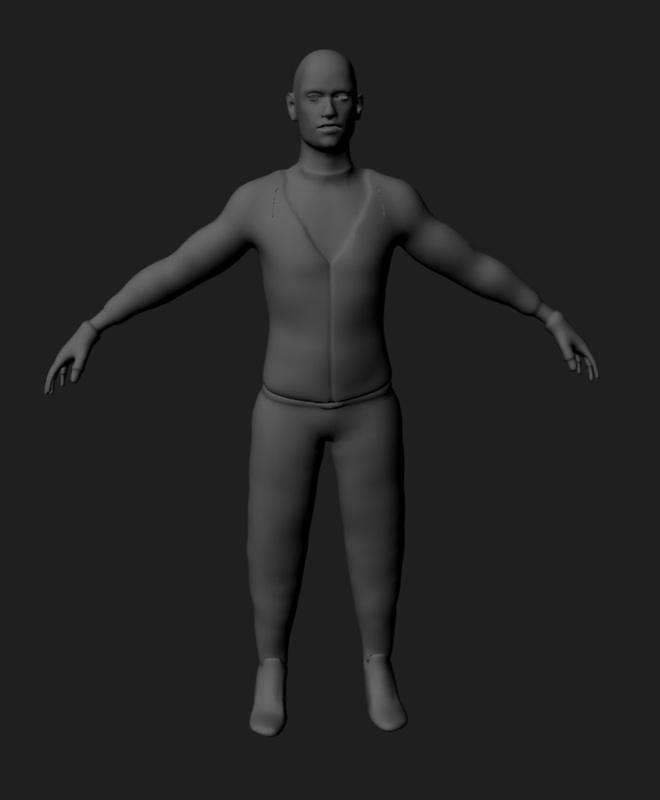
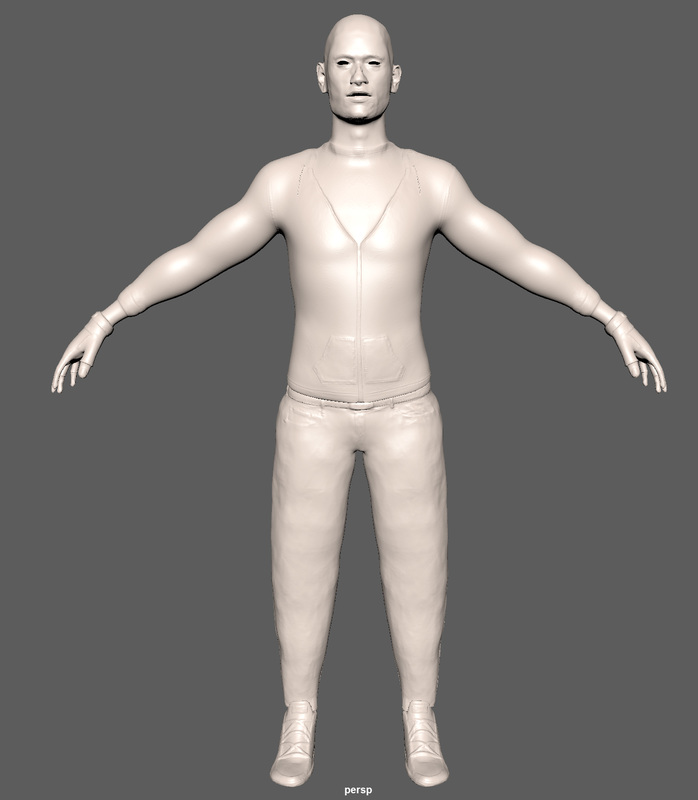
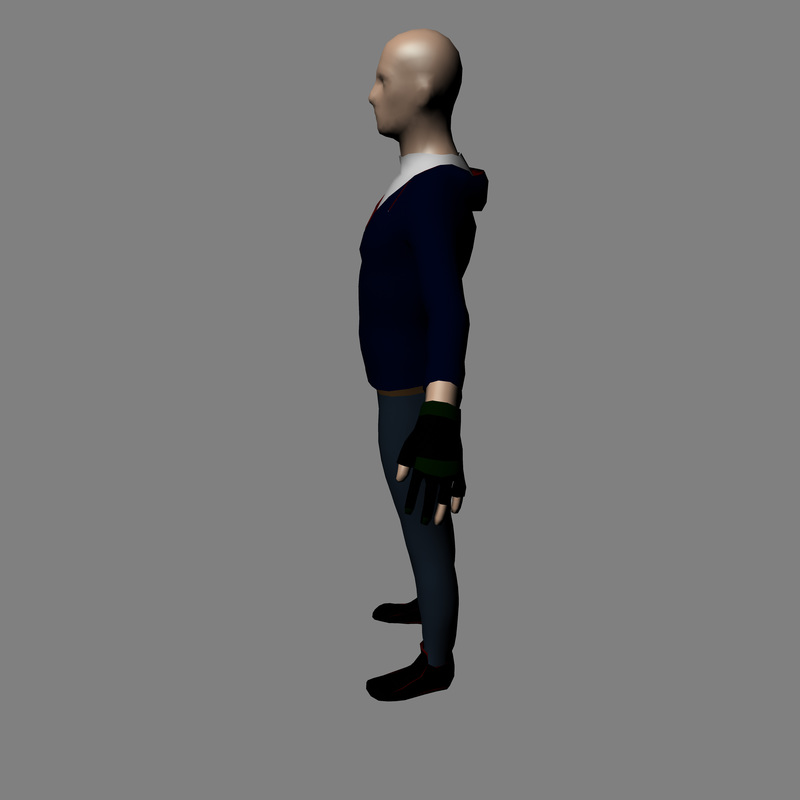
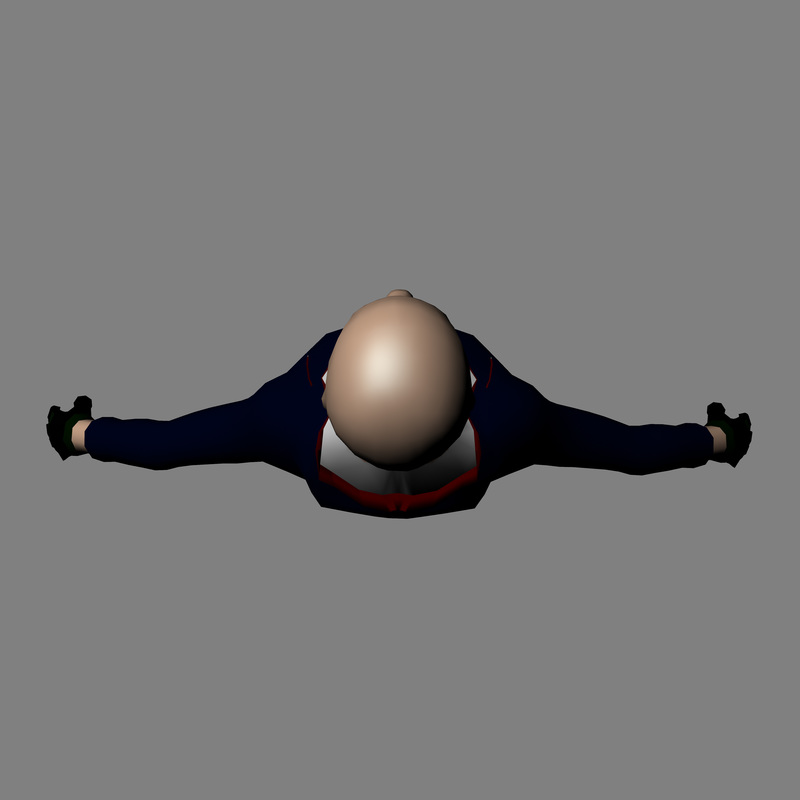
Blockout As I only had a short time to build a character, I couldn't build one from scratch in Maya as first planned. So what I did was use the pre-made character that comes with Mudbox, I used the pose tool to move the arms into more a T-shape position. Then I exported the model I have edited into Maya which gave me a basic base to add the cloths and other features on top. Instead of designing each clothes separate I decided to extrude of the body on the faces that would be the edge of the cloths then my target welded the top of the face that was extruded back to the body and the bottom part would give me an edge as shown in the photo below 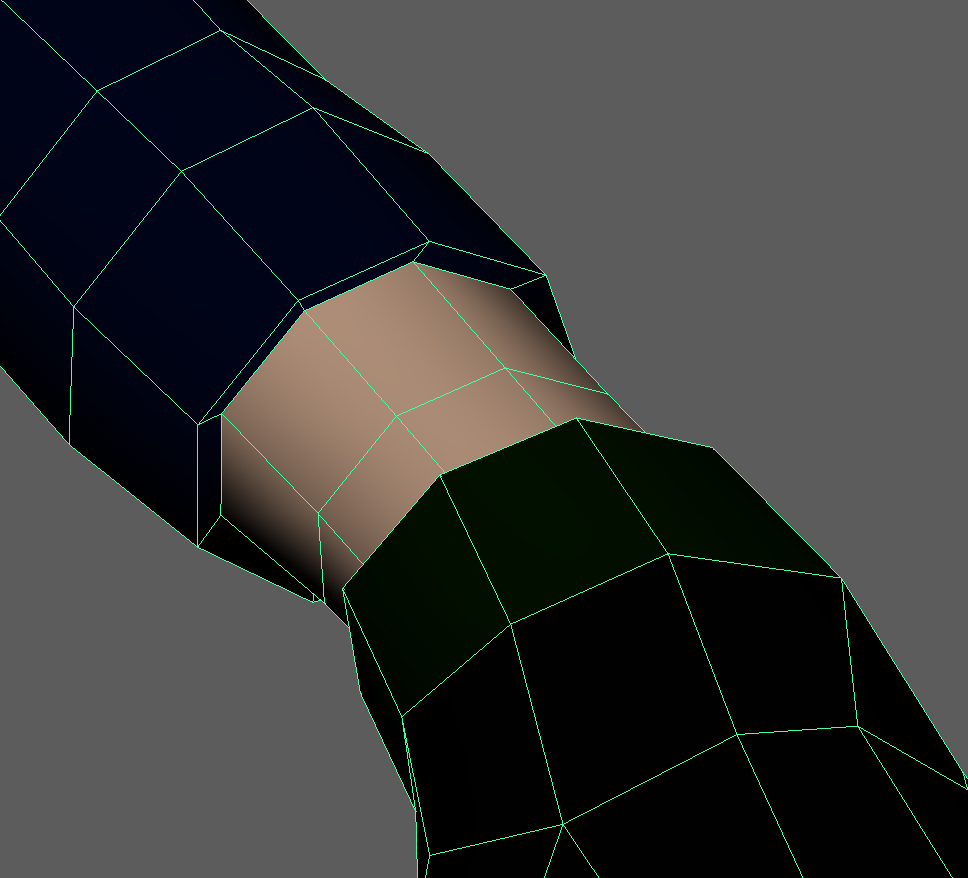 I used this method on all the edges of cloth items to give the illusion that the model has cloths on the mesh. using the smooth tool helped me a lot after I extruded faces to make the hood of the hoodie instead of using vertex and edges and lining up each one to make the mesh less bumpy the smooth tool help do this twice as face to take out the dump and make the mesh more flat, combining this with soften edges under mesh display so helped take away the sharp edges after extruding
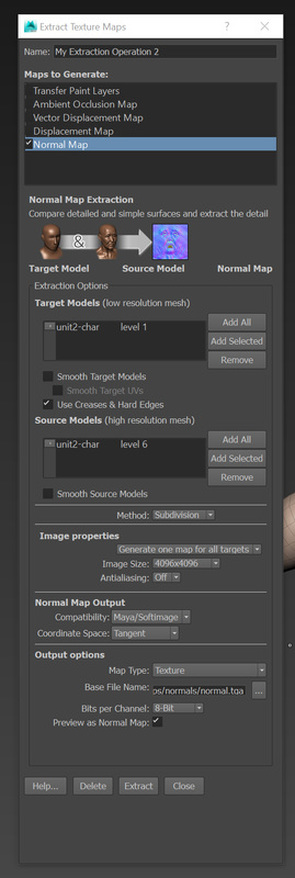
Uvs Using the model for me was quite straight forward, even for a novice in this area Maya has some tools to help speed up this process. Creating a plane for the whole model and then using split UV on the edges I wanted to separate from the main planar. Once I had all the UV separated i used the unfold on the shells, realigned them so they were in the correct position and then I used the smooth tool on selected UV to relax or unfold them if they were overlapping. having the UV made early one meant I didn't need to quad draw over my model at a later stage cutting out the time of quad drawing and just using a low level poly mesh and a high poly mesh to do a bake as the UV are already in place Sculpting This is the area that slowed me down the most and where I spent the most time on my model, using tools like bulge and grab helped me get the basic shape quiet, quick, using the wax tool to fill large areas was quick to get more definition into the model. with the symmetry turned on the x axis this helps massively and sped up the this process very quickly as I didn't have to do each side separately. Once I had the basic sculpting complete and I wanted to add finer detail I found vector displacement maps and stencils were very helpful as I didn't have to create the parts from scratch, I could just sculpt on top of these displacement maps and stencils on to my high poly mesh and the detail would transfer though with made this process a lot quicker High to low poly bake Once I exported my character back to Maya on a lower sub division I needed to create a normal map to get all the high poly details onto my low poly mesh, this is a straight forward process now with Mudbox by selecting my highest sub division and using the tool extract texture maps from the sub menu UV and maps. In this window I just selected normal map and exported it. Back in maya I created a lambert texture and added a node that connects to the normal map and it placed all the details of the high poly mesh onto my low poly mesh. Texturing my original plan what texture my model inside Mudbox and paint texture, straight onto the model, but I would have to resource all the textures and edit them in photoshop first. In the end, I decided to use a program called substance painter 2, which comes with a library of textures already and smart materials that are a combination of materials in one and you can change the setting inside, the material, this was very help for the skin as I could just fill the skin areas with this smart material and customise how I wanted it to look. I could also paint alphas onto the mesh e.g buttons that I missed out in the sculpting process. I found this program was extremely quick to the method I was originally going to use and only took a matter of a few hours to texture my whole model and export different maps (new normals, height, roughness, AO maps) of the model which it created for me in the program which saved me more time as I would of had to manually make these in Mudbox and export each one
1 Comment
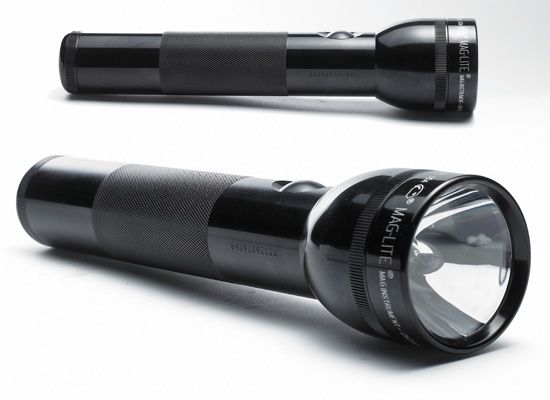
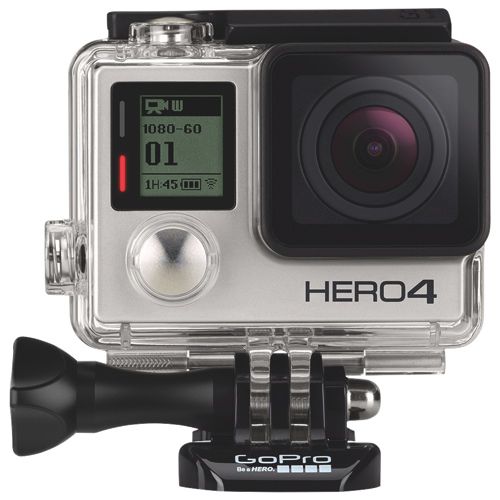
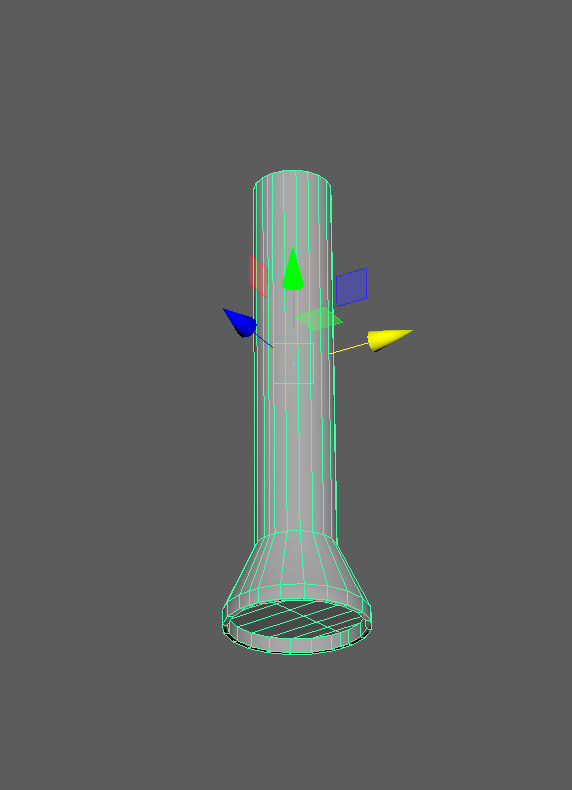
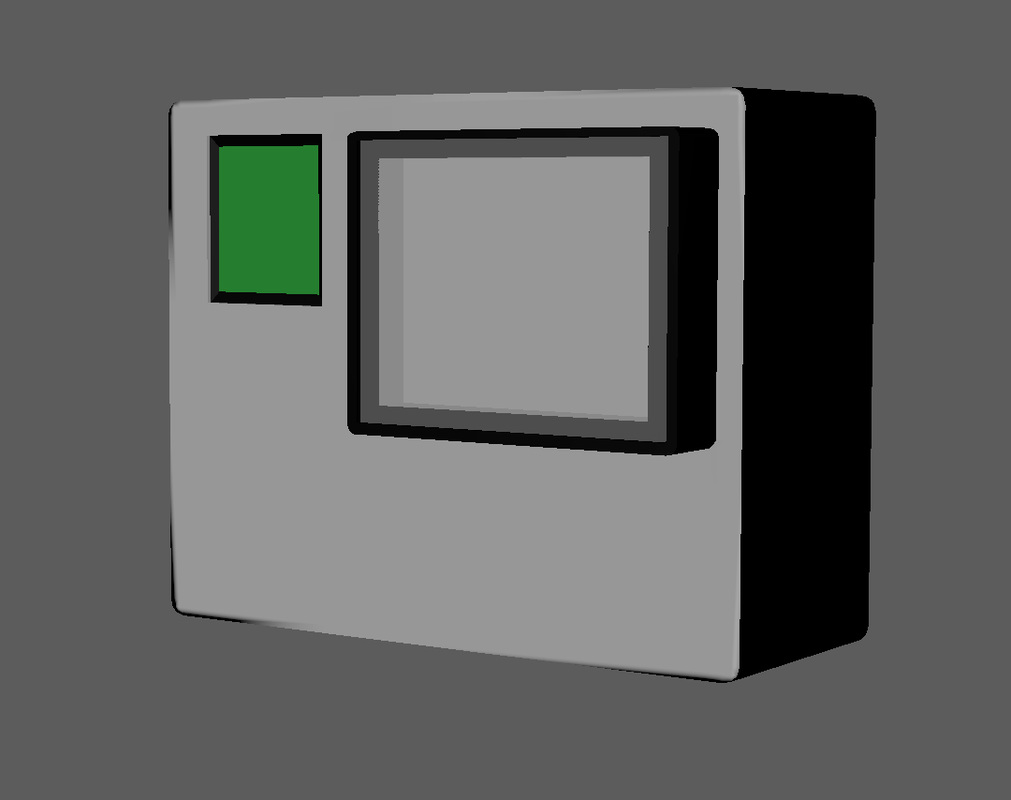
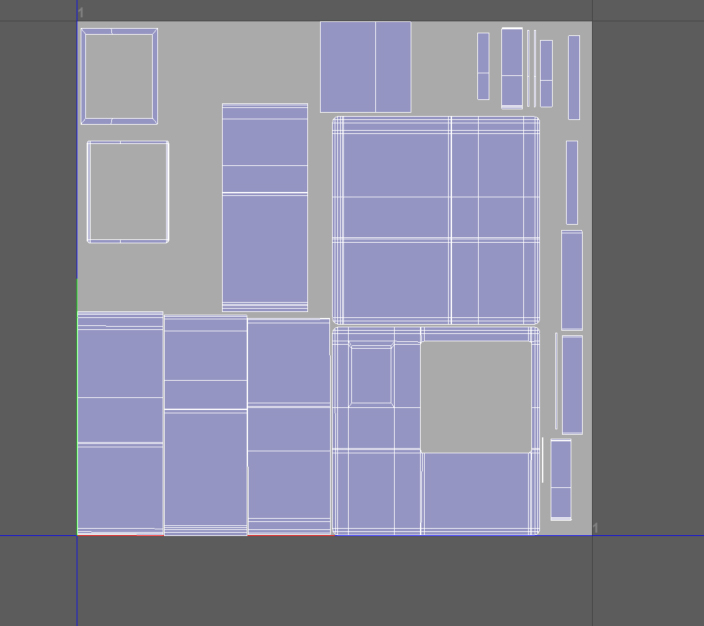
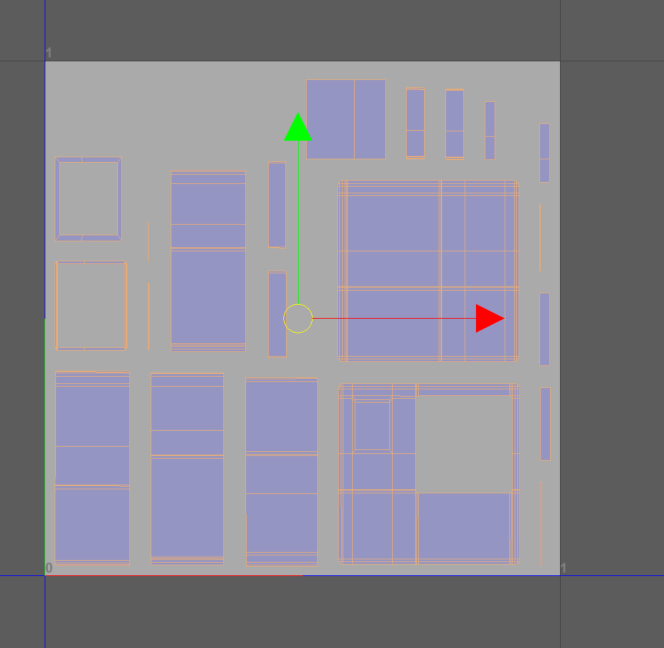
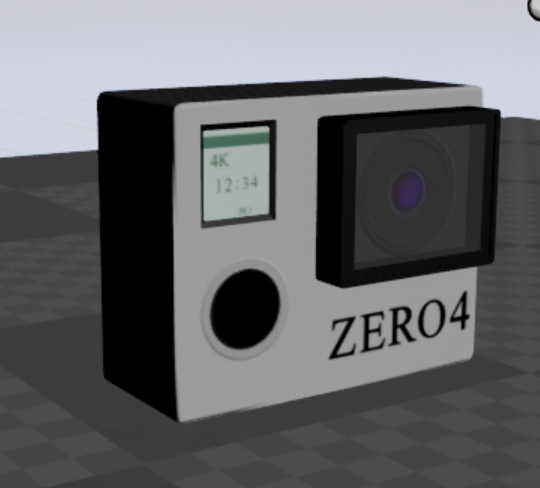
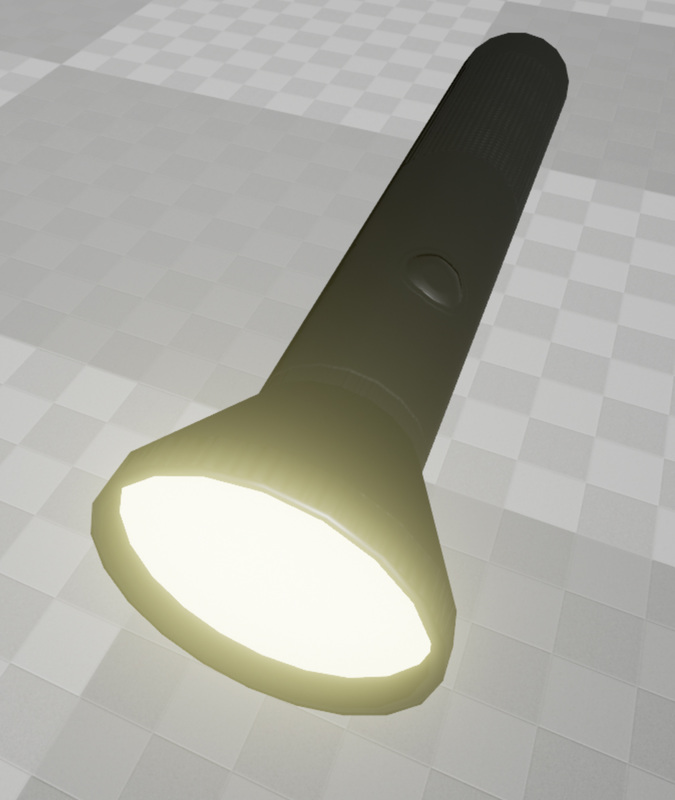
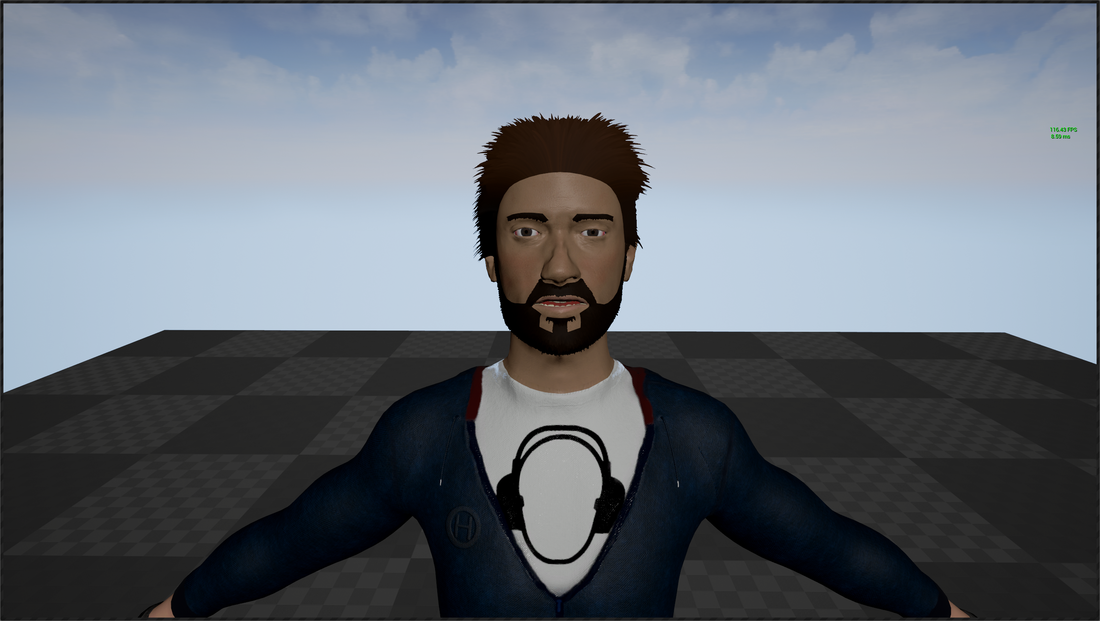
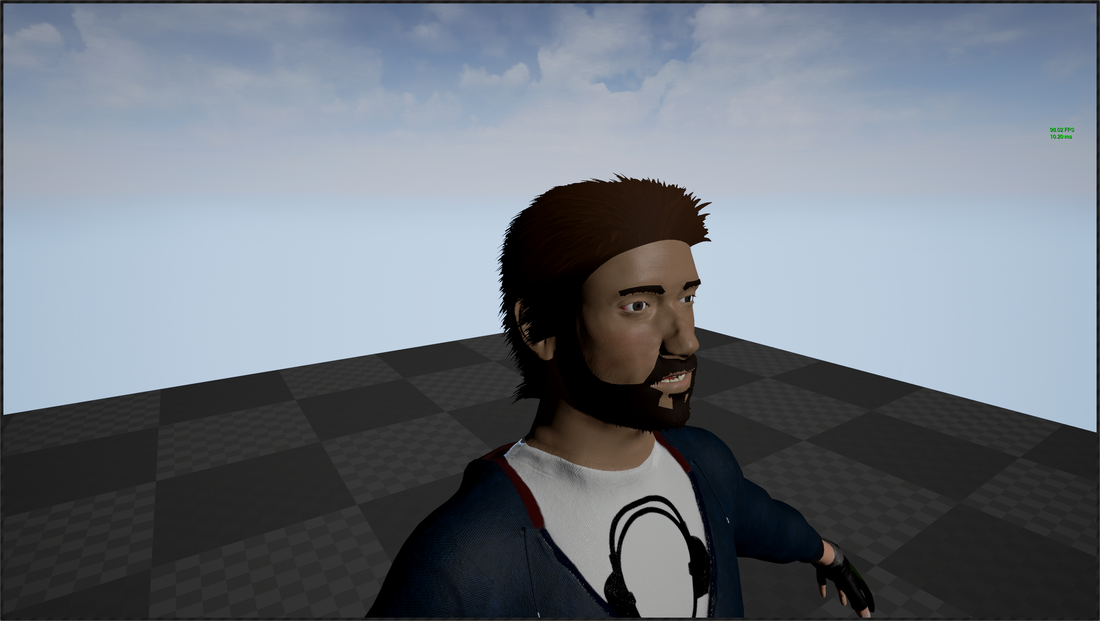
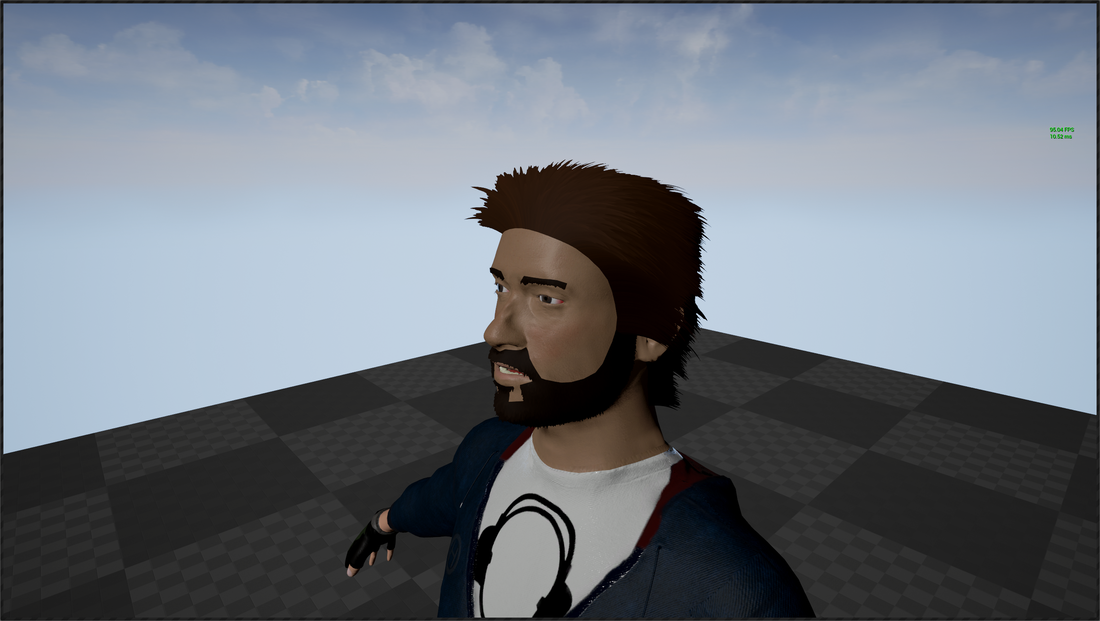
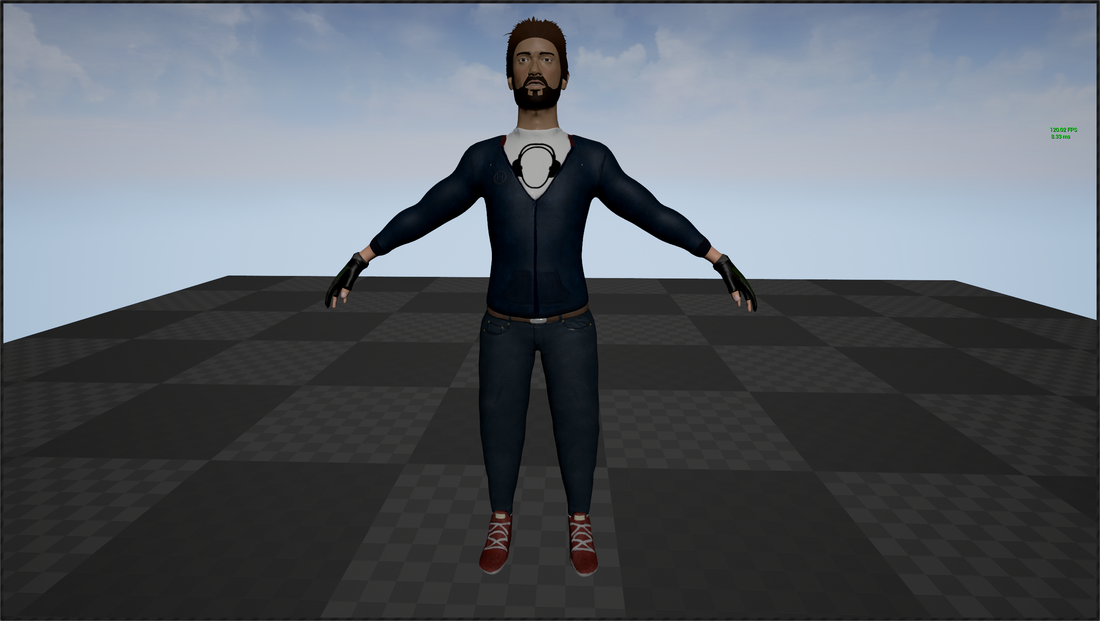
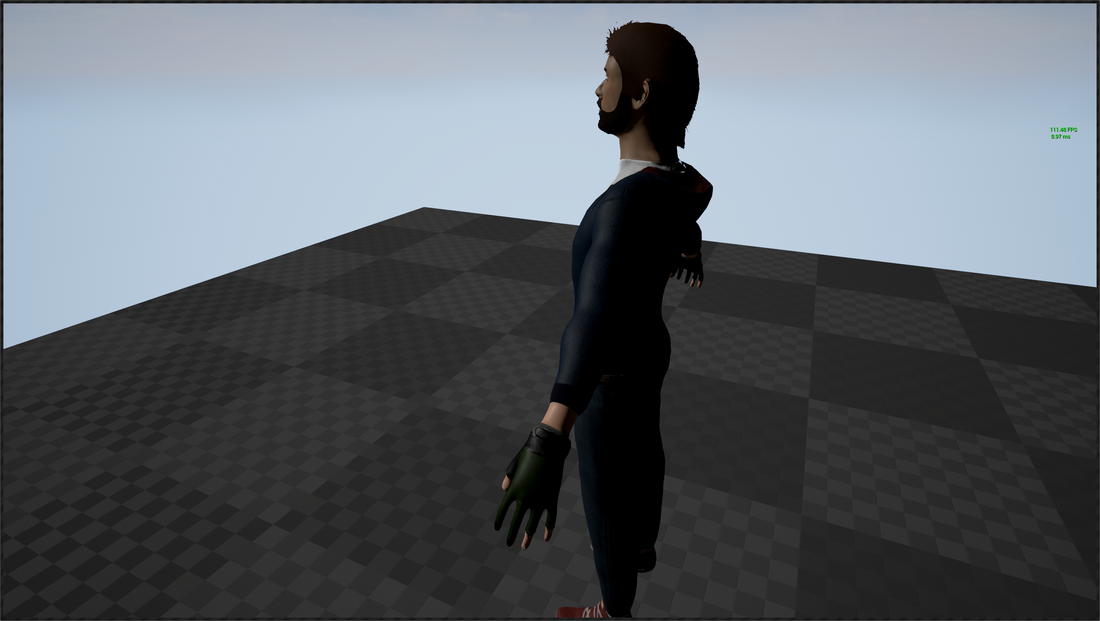
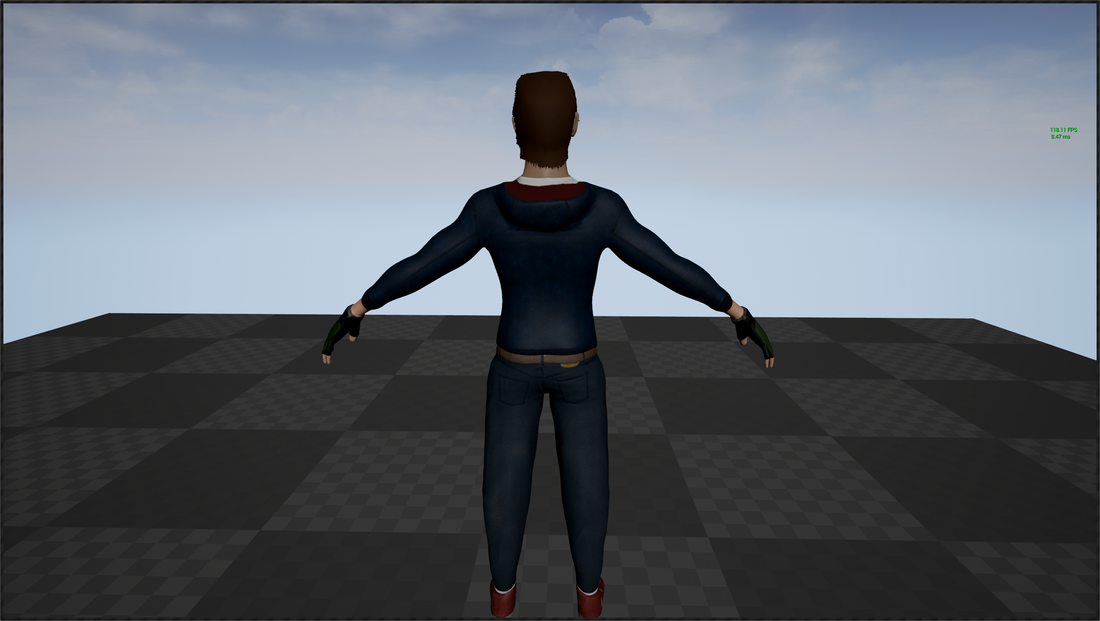
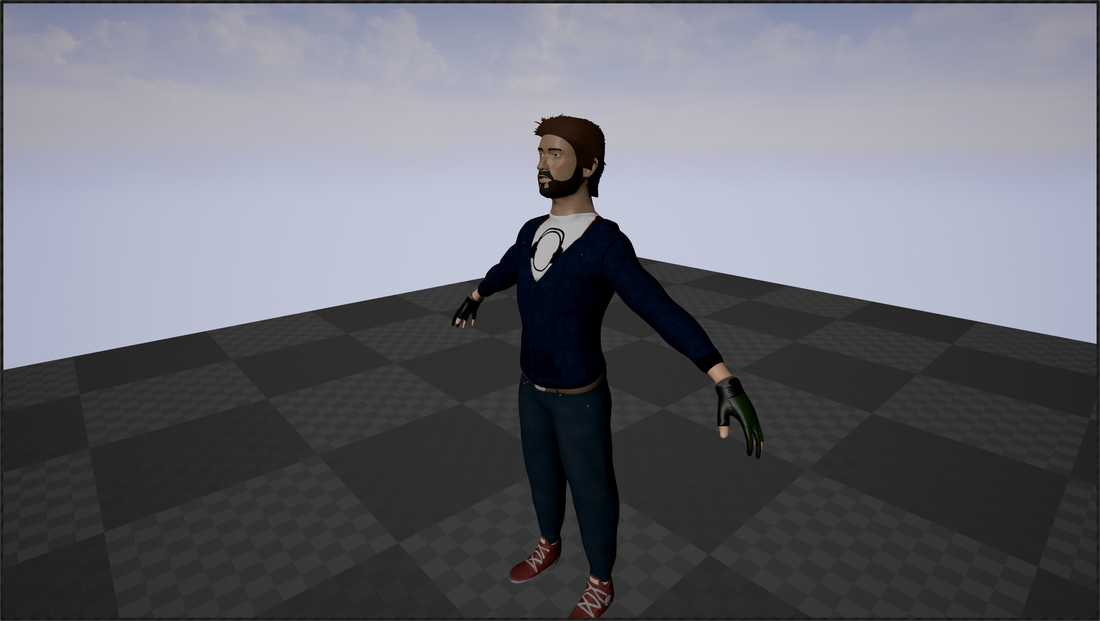
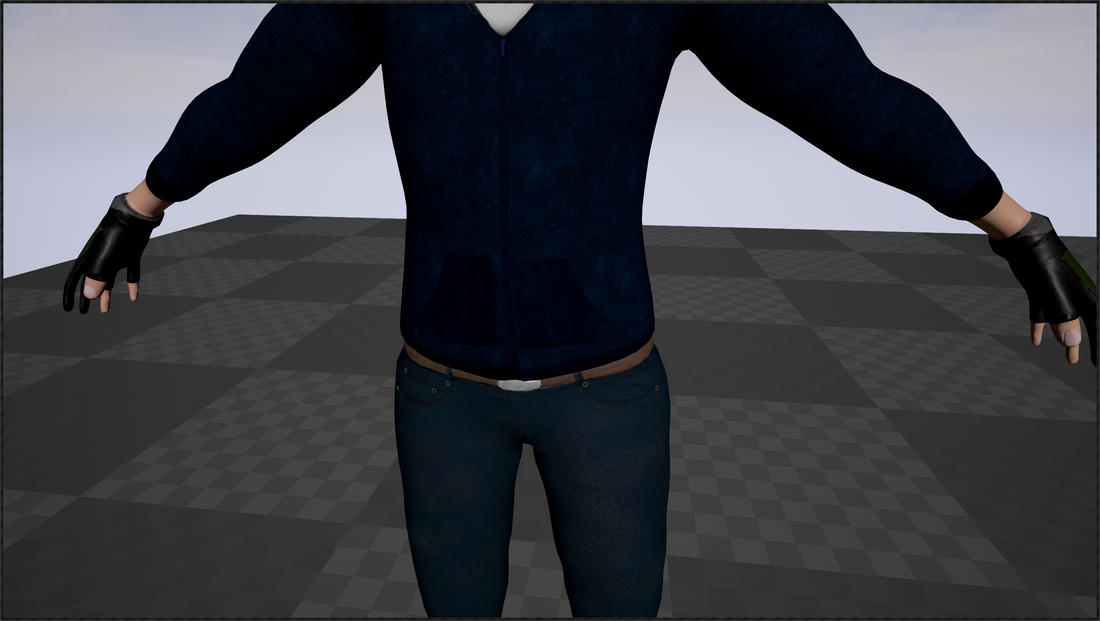
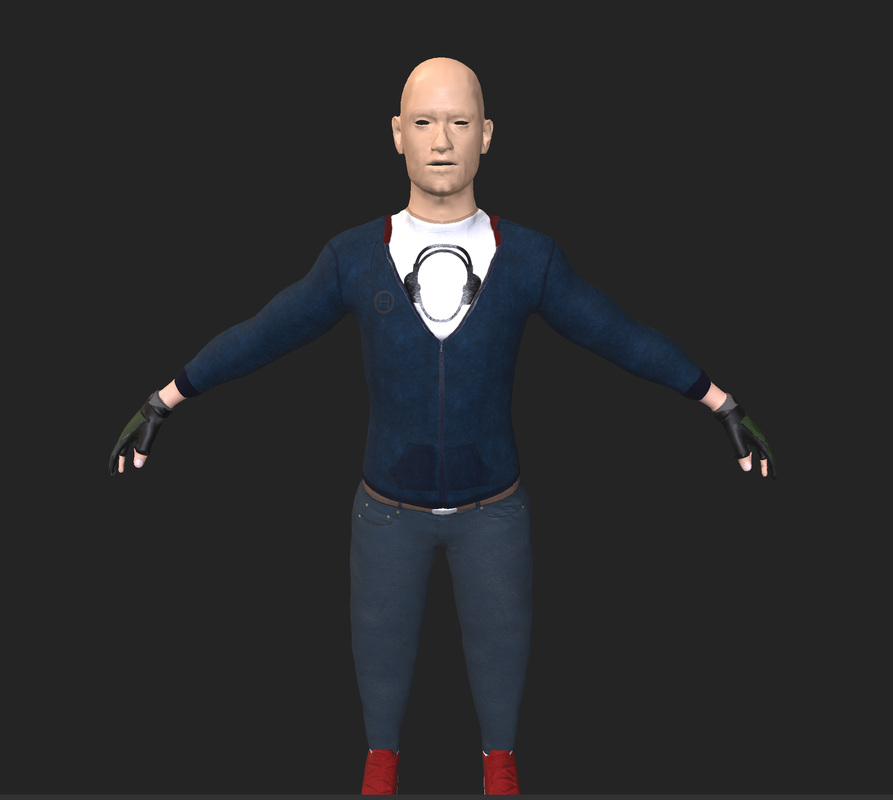
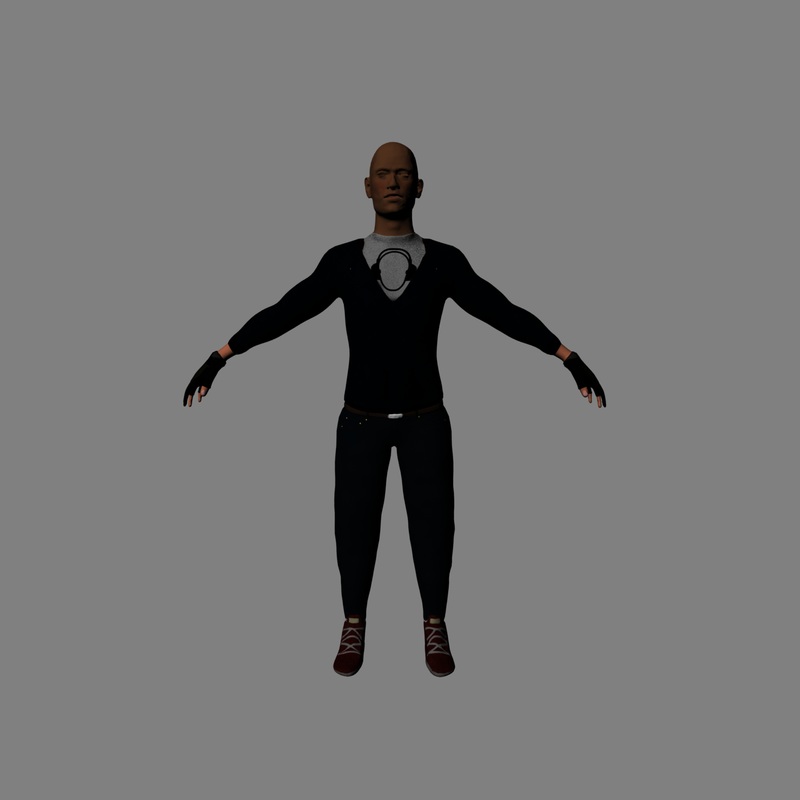
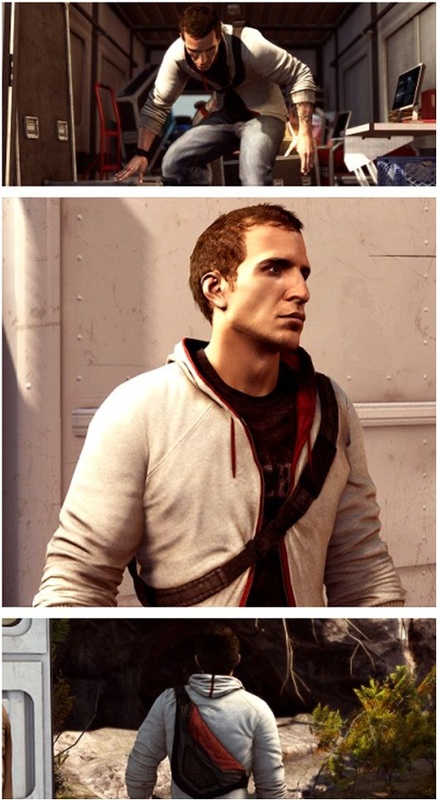
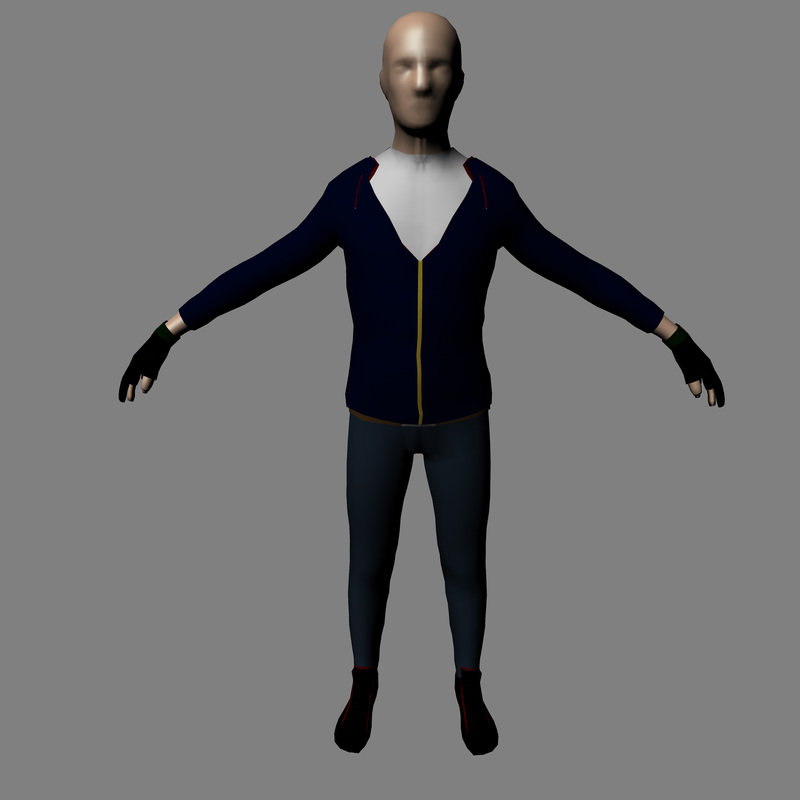
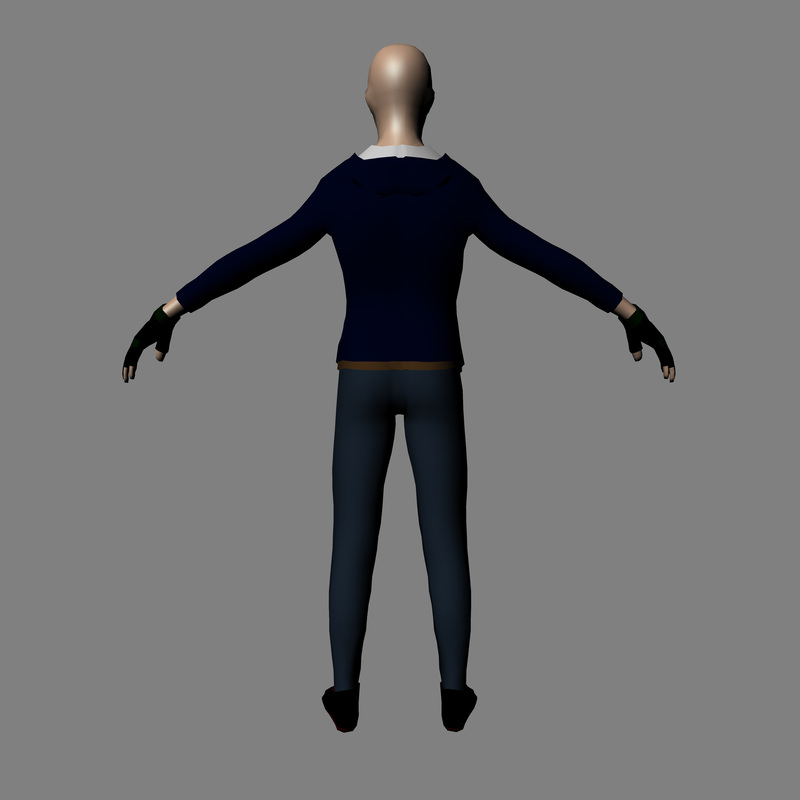
After I completed my character I made some accessories for him, following the brief of being an unbroken explorer I made a touch and go-pro style camera. So I found some reference material and used this for guidance. I made these inside of Maya using basic geometric shapes and extruding, beveling and scaling into shape. Once I got the basic outline I made UVs and lightmaps for each asset. Then I took each asset into substance painter and baked each one so it had a normal and ambient occlusion maps. The normal map so I can do a high to low poly bake by combining it with the height map inside of substance when I used brushes with height enabled e.g. buttons and grip and the AO map create soft shadowing around the edges when a light shines on them. For the touch I created a massive light map so when the camera sees the texture it has a slight glow where the bulb should be. I should be able to connect this emissive light to a lighting function in unreal and give it the illusion that the batteries are going flat and flashes when its about to run out till the user finds and replaces the batteries. After I tried the textures out in maya and unreal I then added them with my character in unreal and did a quick look dev on them. After I did this I realised my models looked a bit flat and that it need a specular map for certain parts to add a little shine. It doesnt look like there is much difference between the two but when the light catches the models it gets a slight shine on them. At this stage I would create a scene in Maya with an HDRI environment map and lighting, import the model and do some render to see how the character looks and if it needs implements on the textures. Since I haven't got much time for this in my deadline and I'm using never plugging in unreal engine for the hair I decided to create a small environment in unreal instead, use a directional light and take screenshots while rotating the light around the asset. From the first photos of the look development I can see that his jacket is very shiny and I will need to amend this as cotton isn't that reflective. Other than that I am quite pleased with how my character has turned out after Texturing and adding all the final bits. How I removed the shine from the jacket and the jeans was I went into the materials of each and had a look neither of them had a secular map, without this the game can't decide if it is shiny or not. Specular maps, add shine to materials or make them look dull. To remove the shine I added a simple vector node and left it in 0 and connected it to the secular pin Now there is no shine, I could do the same with the face, but I want to leave a little shine as most humans have oily skin which does reflect light and leave a shine.
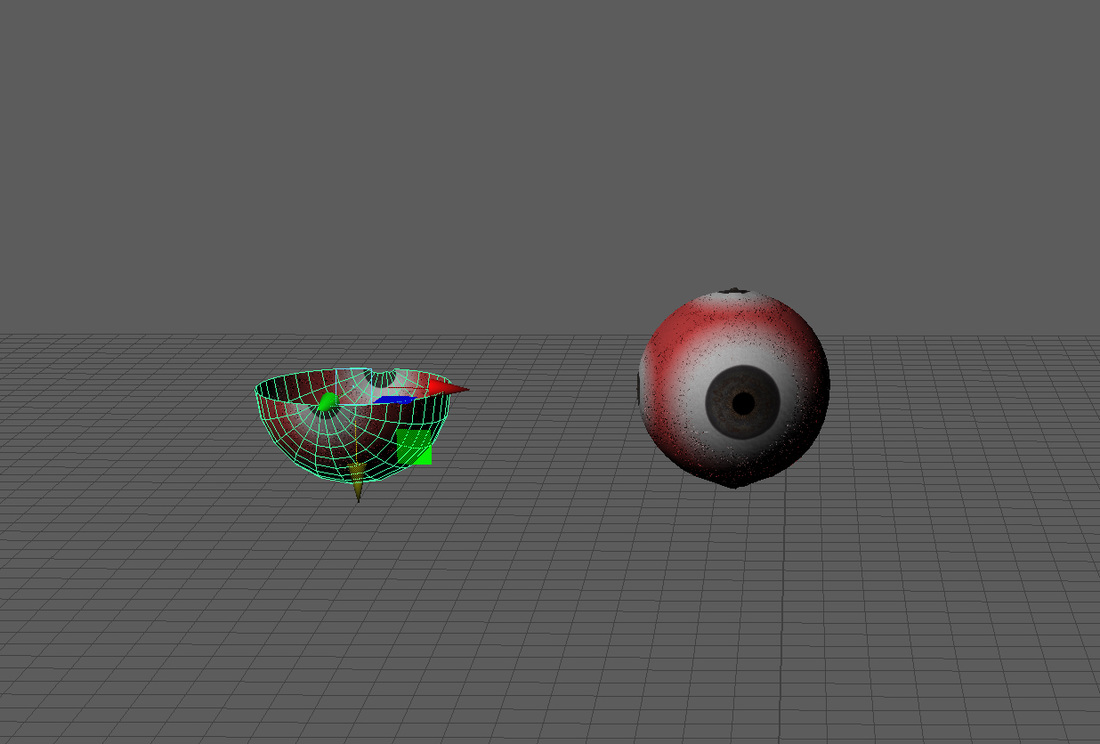
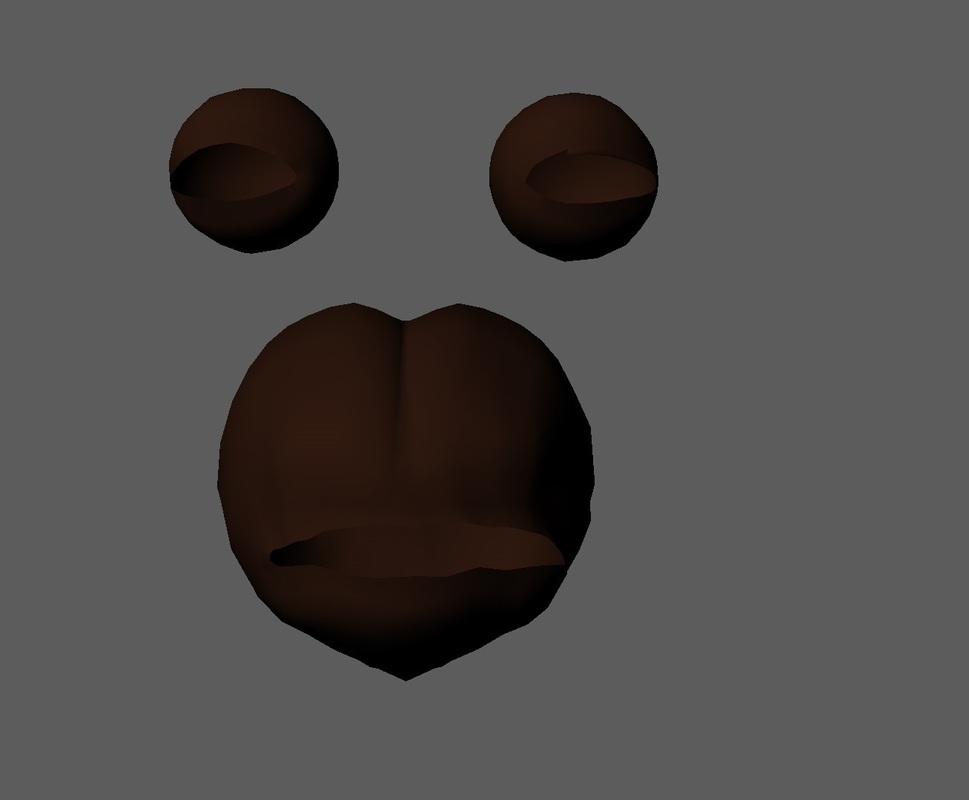
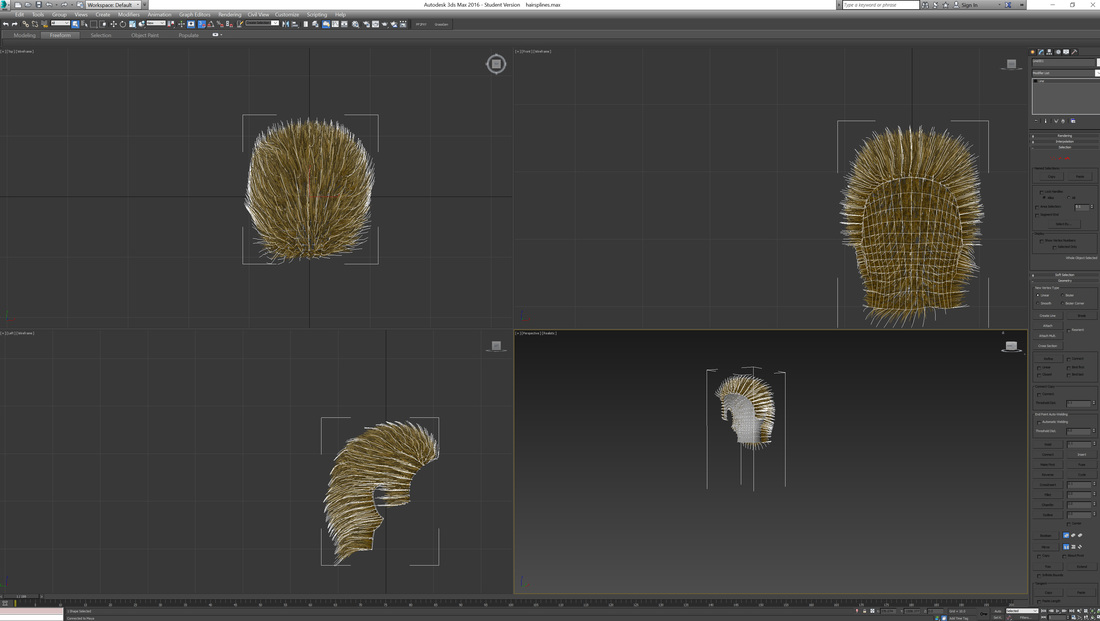
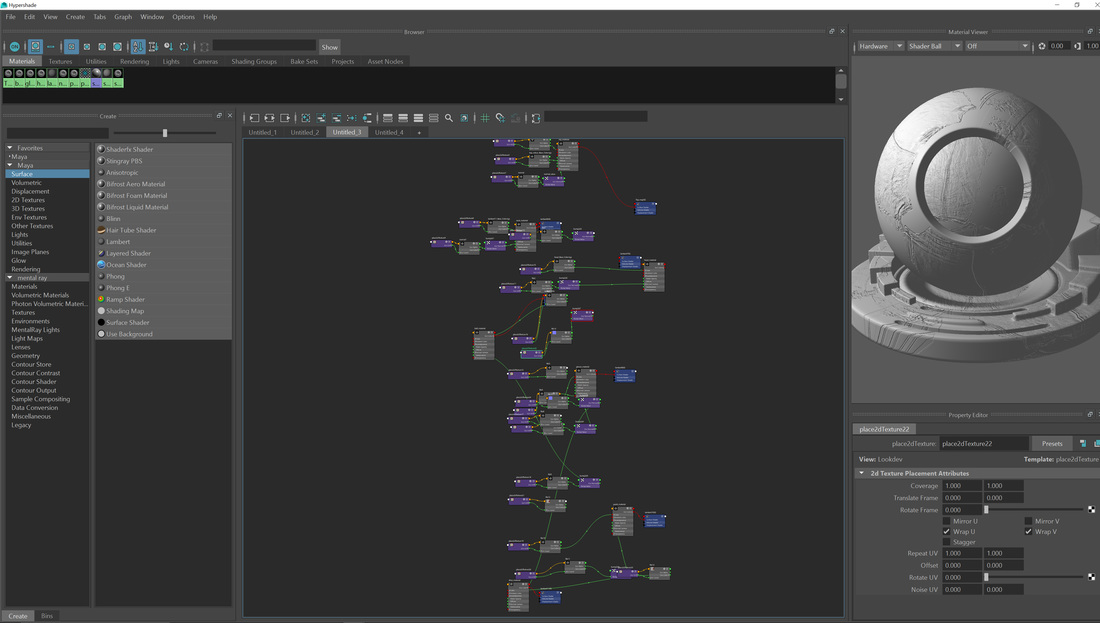
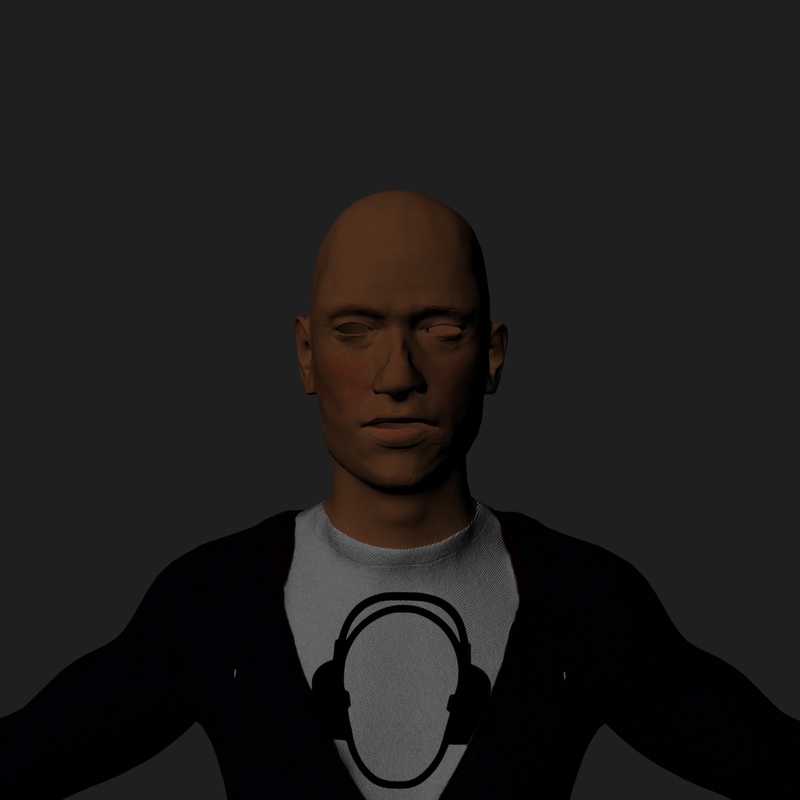
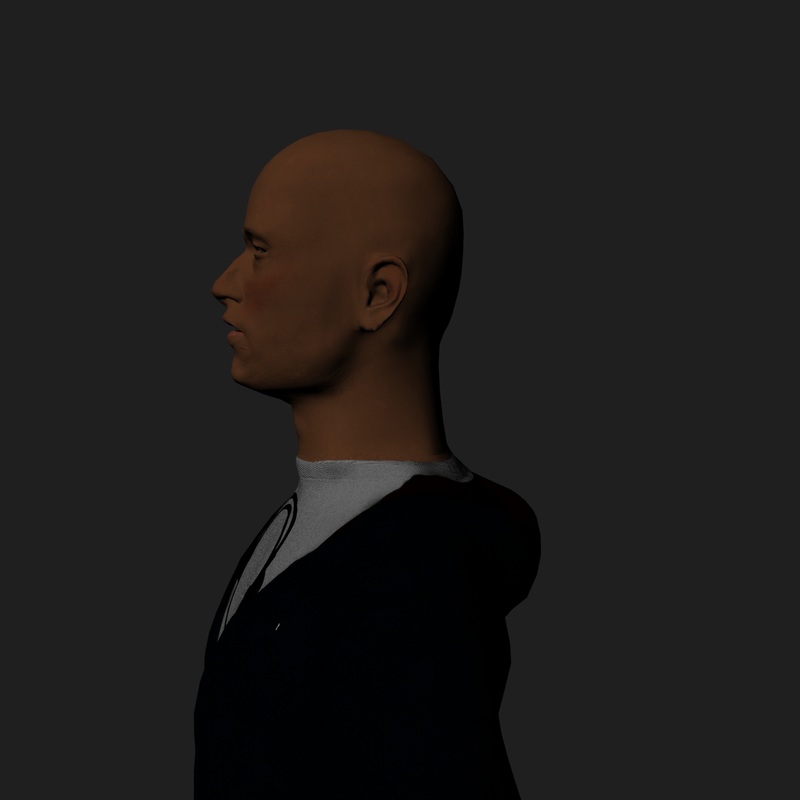
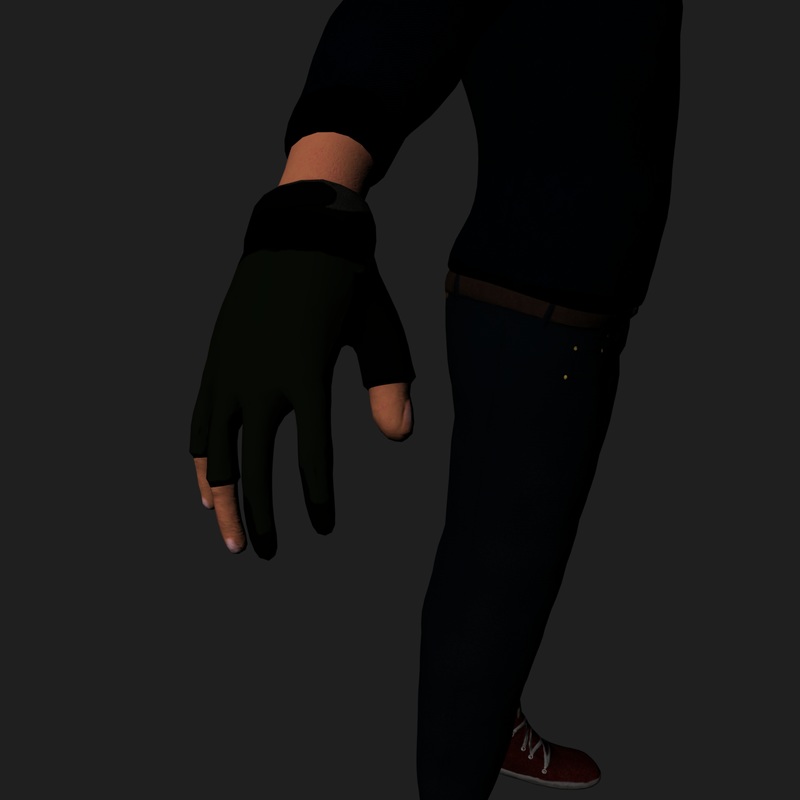
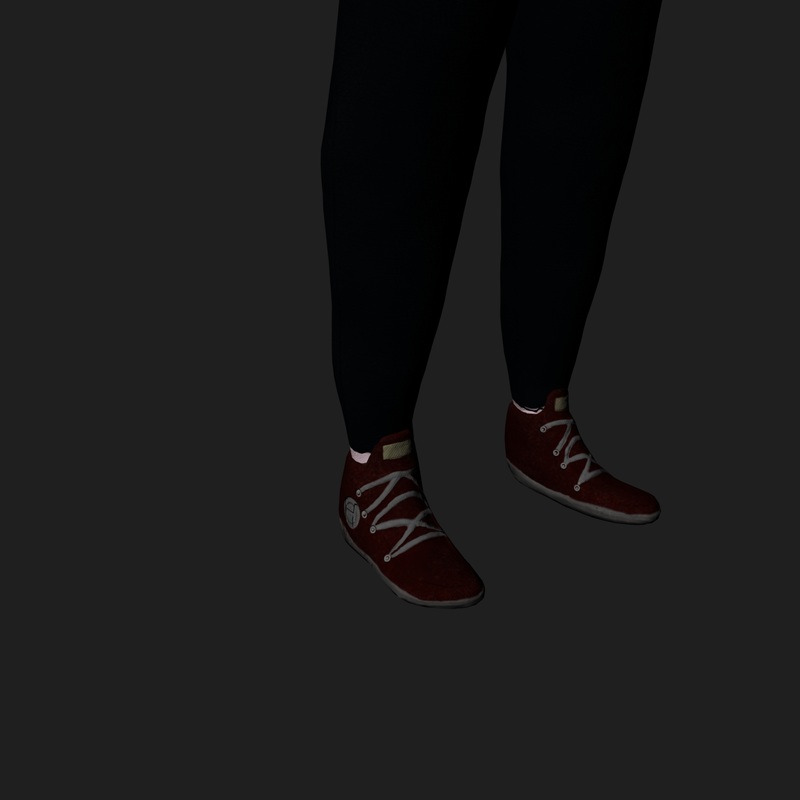
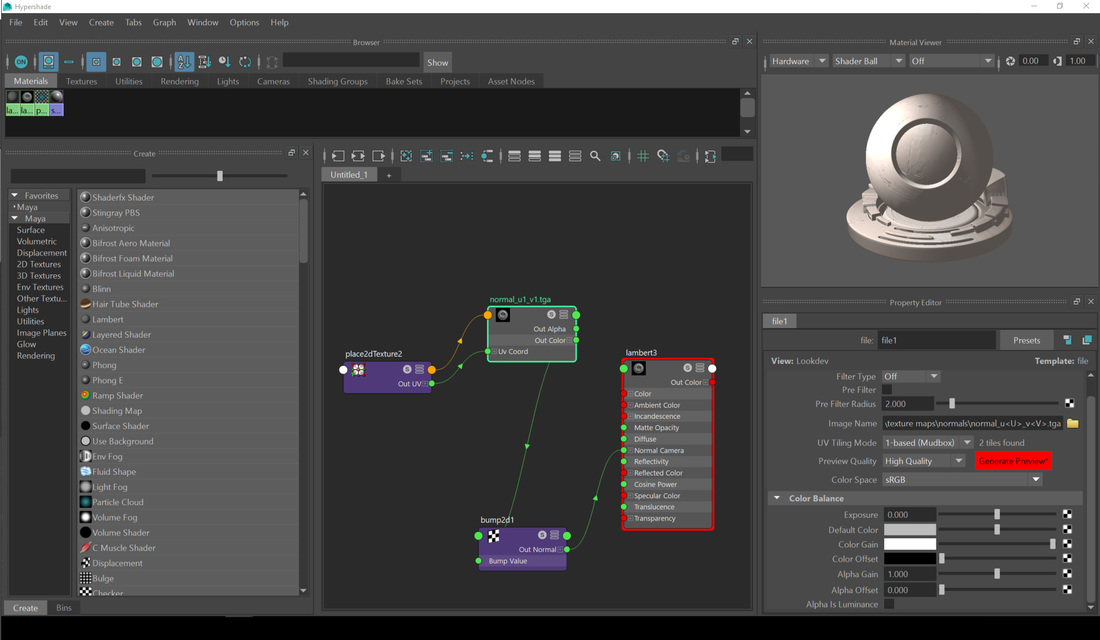
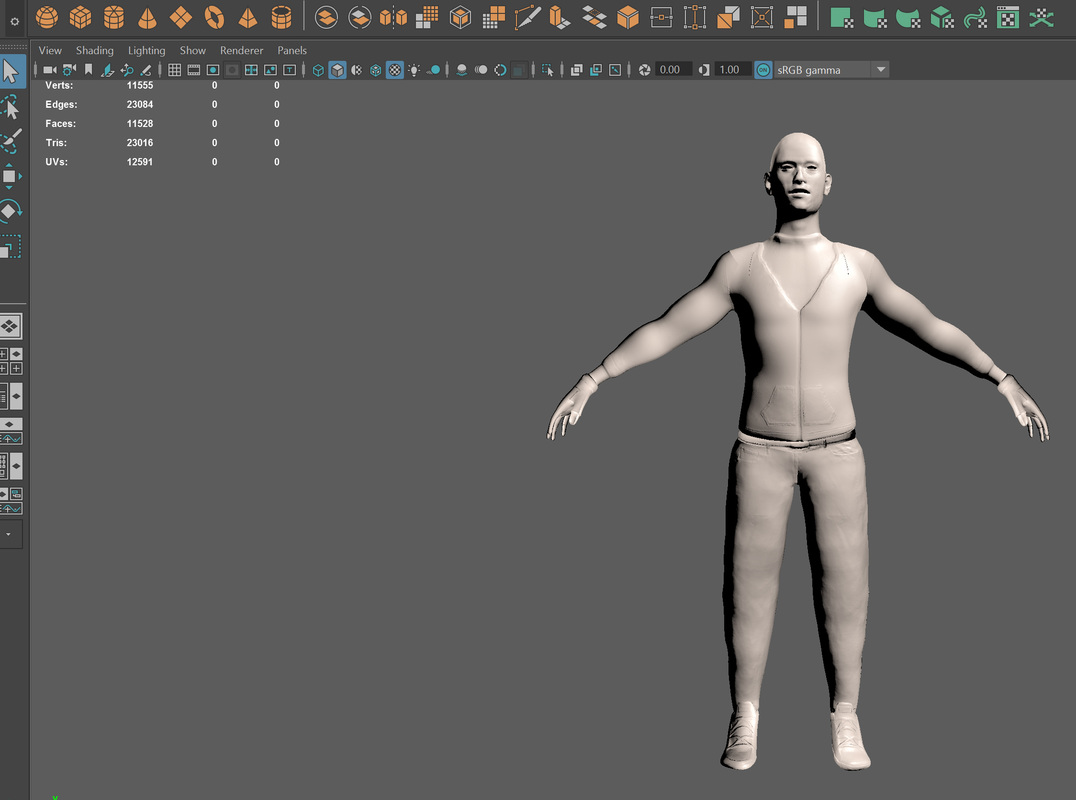
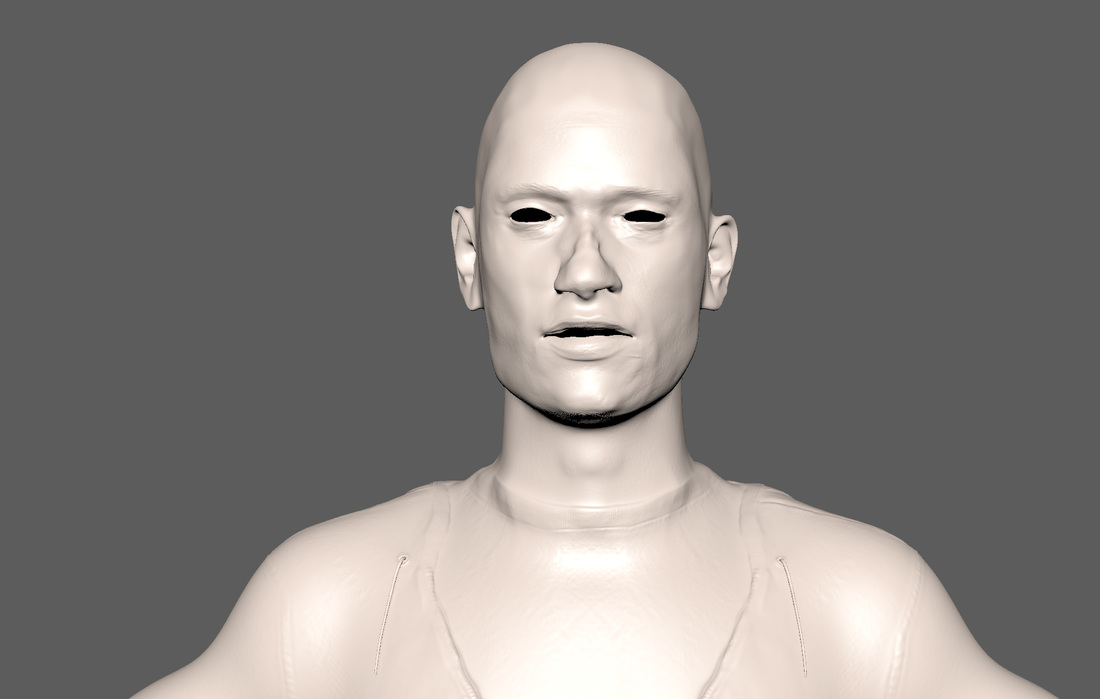
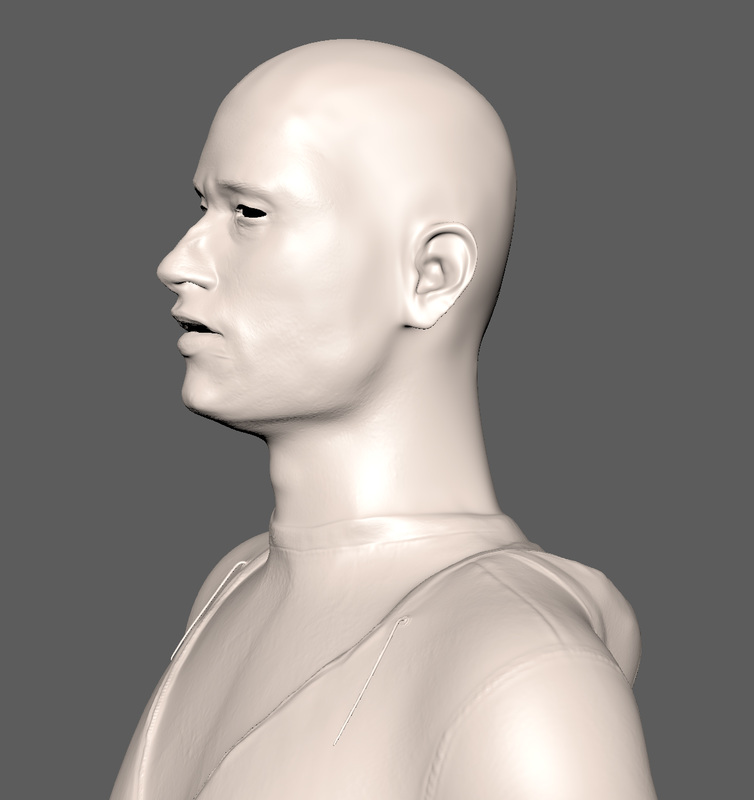
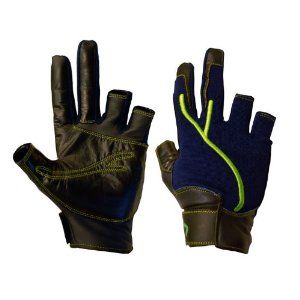
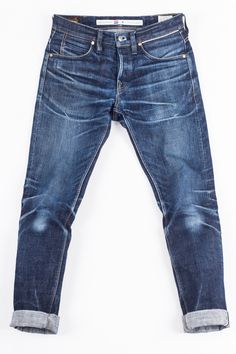
After I created all the textures for the character I needed to add some finishing touches before I could import into unreal to do a lookdev (look development), I started off by extruding from the edges that created the lips to make the inside of the mouth, I then used the smooth tool to remove any unnecessary sharp edges and bumps, for the eyes I used a spare cut out some of the faces and combined and targeted weld it to the eye holes. For the eyes, I created two spheres and cut them in half as the backside would not be seen and then I applied a diffuse and normal map (which I made using substance from a premade smart material) to them and placed them into position inside the head I found some reference on pintrest so I could get the mouth and teeth as realistic as possible. For the mouth I created an upper and lower jaw with teeth and a tongue, which is just a simple pipe that being cut in half of the jaw and extruded to be made longer and the teeth are cubes that I smoothed to make more round and placed each one into its own position. The tongue is the same token as the jaw by cutting a pipe in half and extruding and then bridging the gap in between. 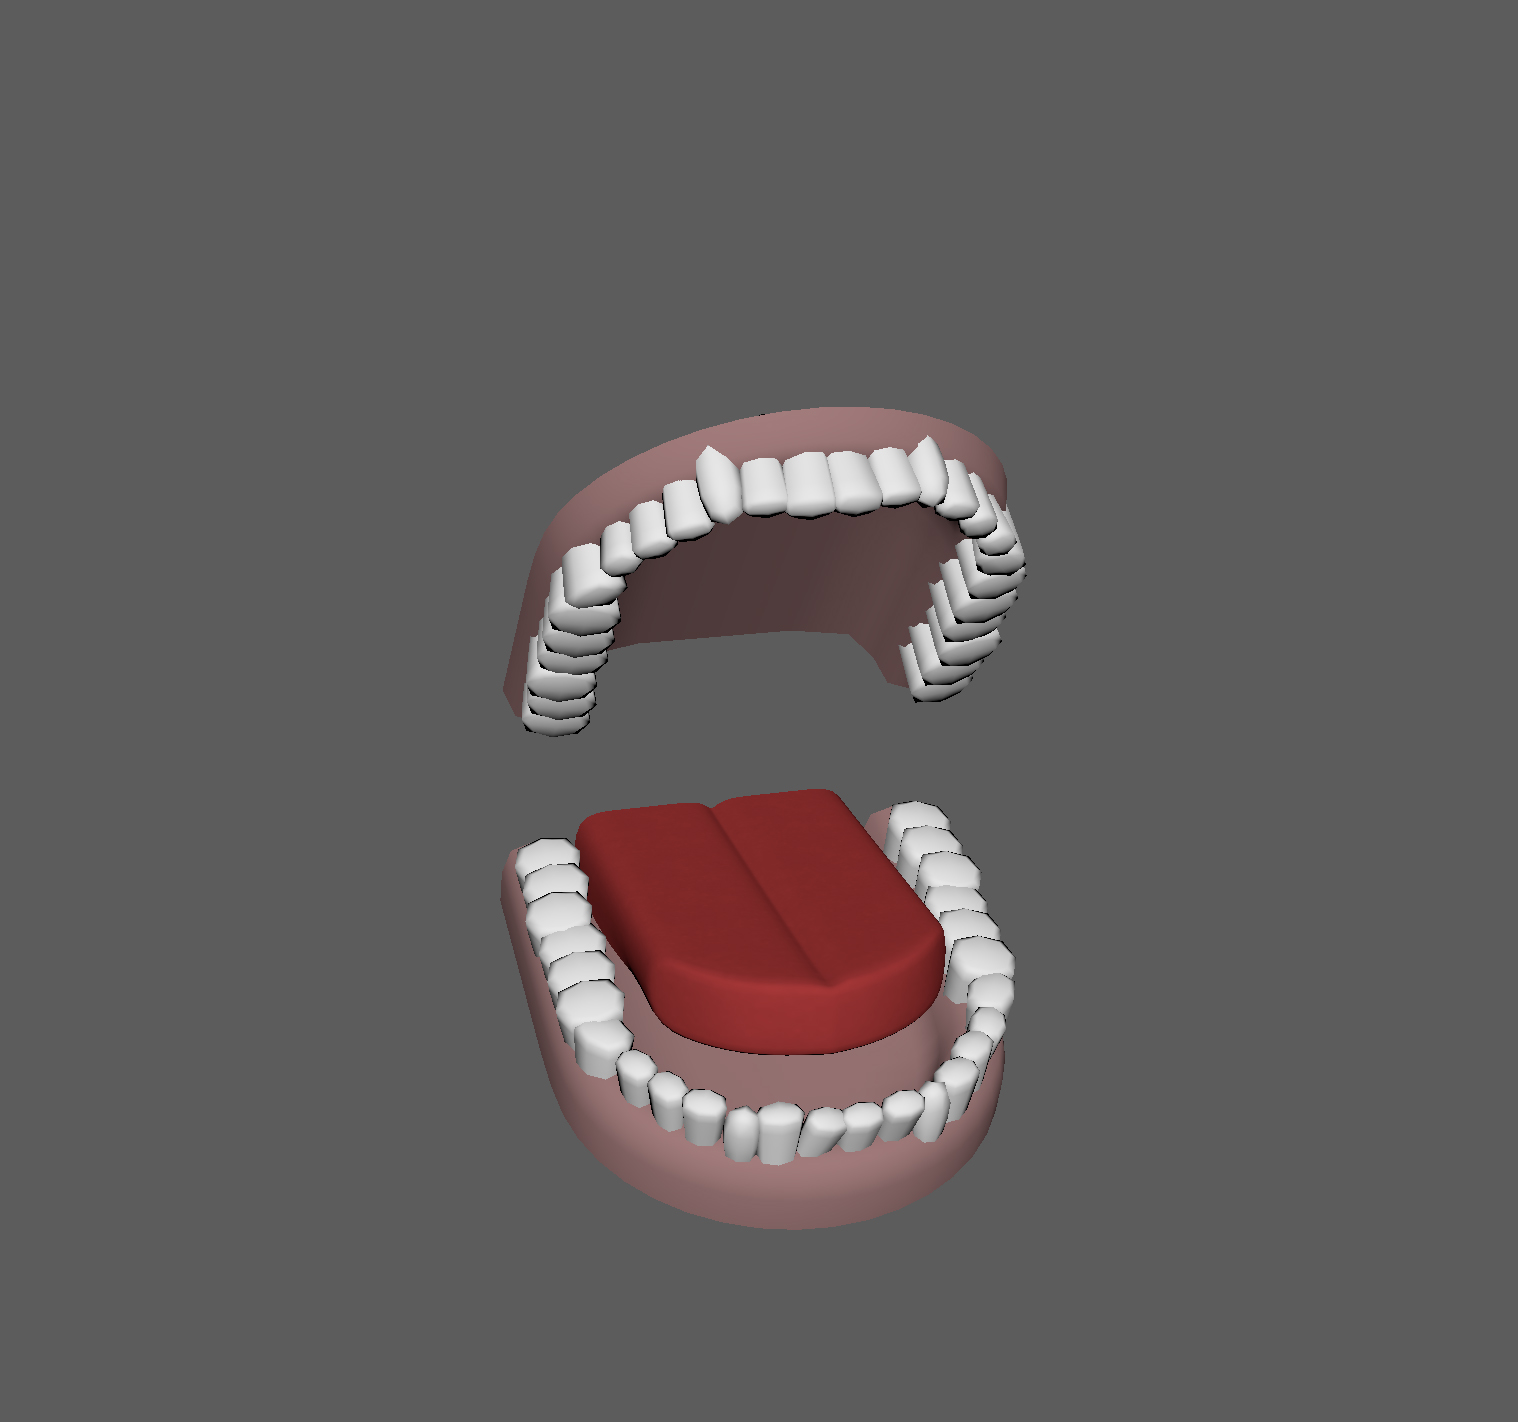 The eye lashes I created individual ones by using a cube and extruding 3 - 4 times to make a curve and placed each one into position For the hair I decided to use a plugin for unreal engine called neofur which lets you create hair like material for your assets, I started of by colour mapping the areas I wanted the hair to be, which were, the head, eyebrows and a beard. The beard and eyebrows can use the default settings of the material as I plan to keep this short. For the head, I wanted some sort of style so I exported the area of the head, I plan on creating hair for into 3D Max and click the 'hair and fur' and then I placed them into position for a reference image I found and turned them into splines which then I could export into unreal and use as guidelines for my hair material to follow lines for my hair material to follow I broke my character down into colour id by using the UV and giving that area its own material, areas like the fingers and wrist that share its UV I selected those faces and gave them its own material took. The idea of colour id is so i can keep all the areas that share the same material so i chose colours for the following: skin: pale pink T-shirt: White Top outside : dark blue Top Inside: Red Zip: Gold Gloves: Black Gloves Trim: Green Belt: Brown Belt Buckle: silver Jeans: Light blue Shoes: purple  Then I took my character into substance painter which is a UV painter software. because I imported the model with different colour ids, substance painter turned them in to texture sets and I then baked the normal maps from Mudbox onto my character and then added basic materials to each of the texture sets and then added new layers to add details such as skin blemishes, buttons, logos and seams. Once I was complete I exported different types of texture maps these were: the base colour (diffuse) map, height, map, normal map, ambient occlusion map, metallic map and the roughness map. For the moment I only plan on using the diffuse map and the new new normal maps in maya. I went back to Maya and selected each material I applied to my mesh and started to edit the material in 'hypershade' I clicked on 'colour' and pointed this to my diffuse maps and then I pointed the bump section of the material to the new normal maps, I repeated this process for every material I assigned to my character, making sure each material was named accordingly. After I sorted out all the materials I did some quick renders too low for any deformations or any other problems. Now that I have got the textures sorted I can start work on the eyes and mouth and look at putting hair on my character and then look at doing a few lookdev (look development) renders. After I finished my sculpting on my character I lowered the subdivision to level 1 and then I exported the current level mesh to Maya as I wanted this to be my low poly model to work off. I went back into Mudbox and selected the model and went to 'UV and maps' tab and selected in the menu 'extract texture map' and then I a new window appeared and selected 'normal map'
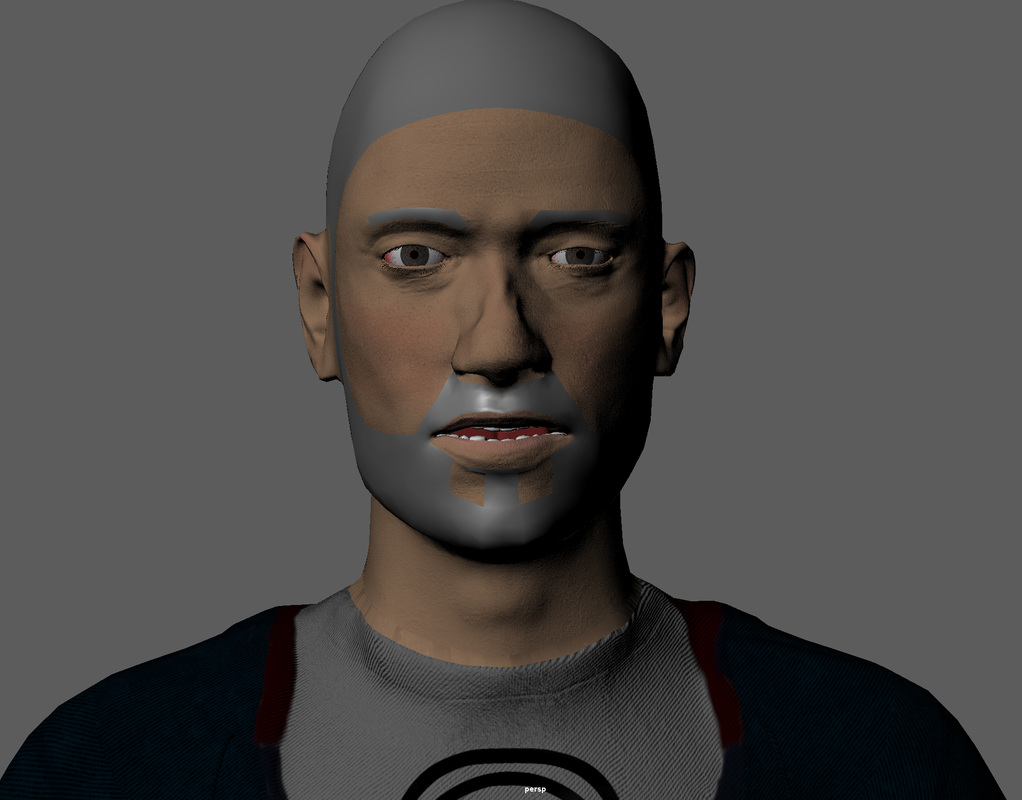
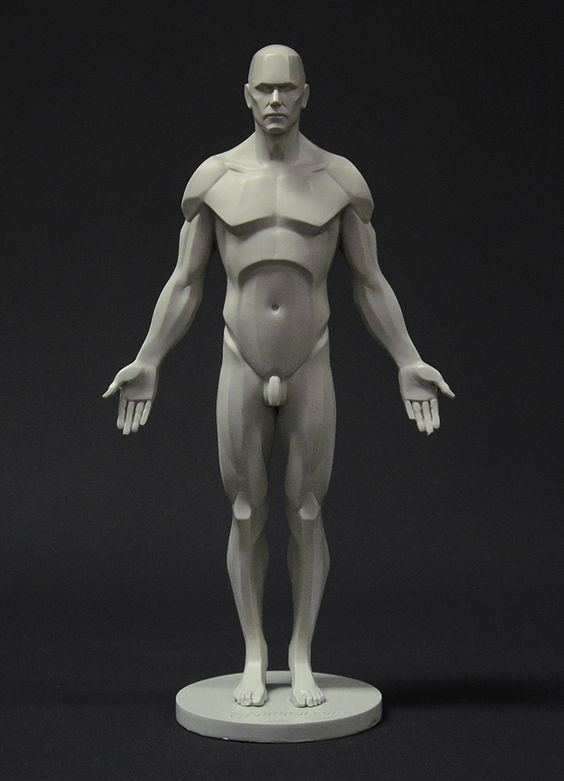
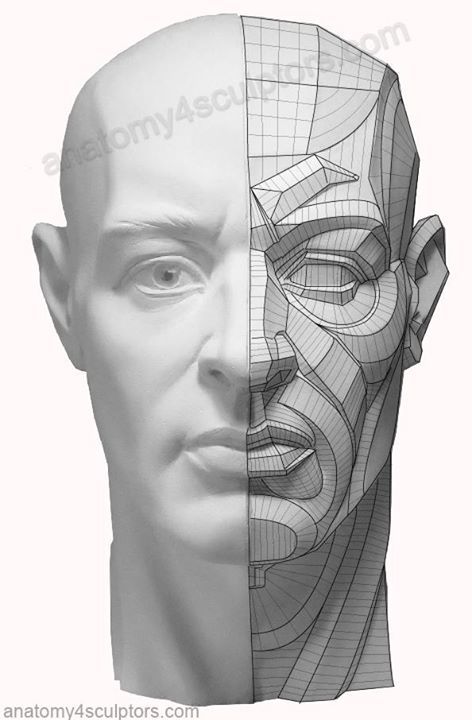
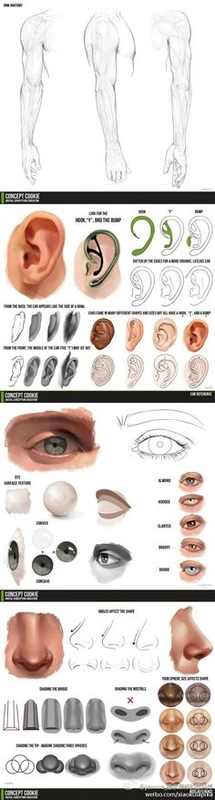
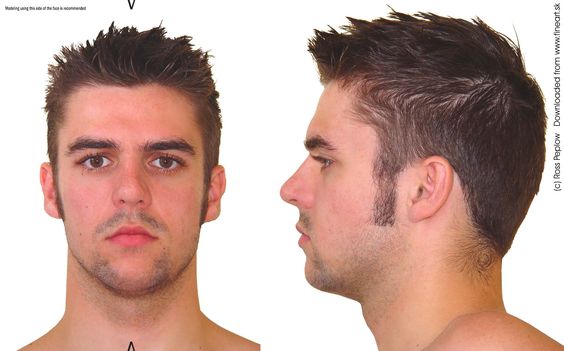
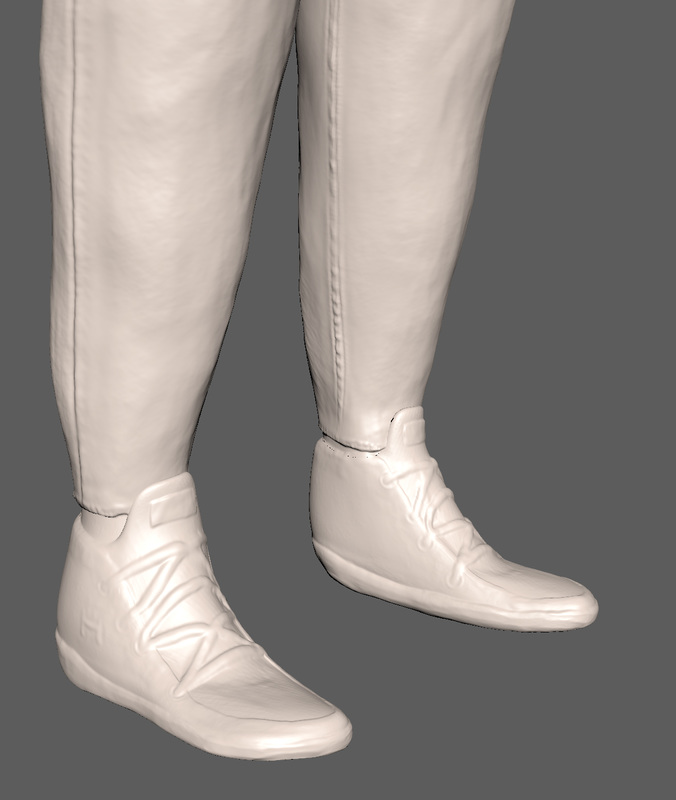
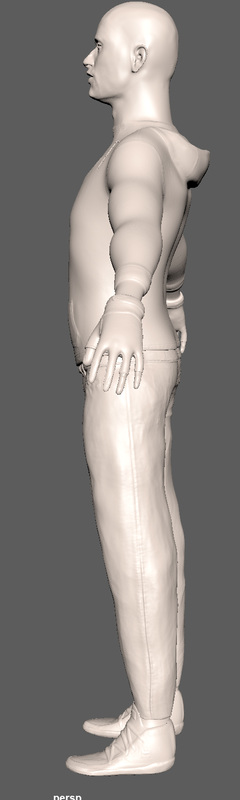
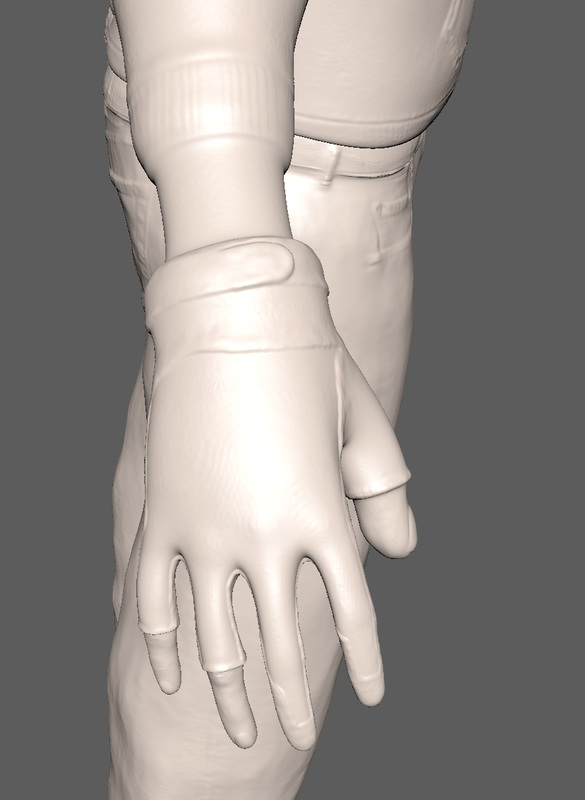
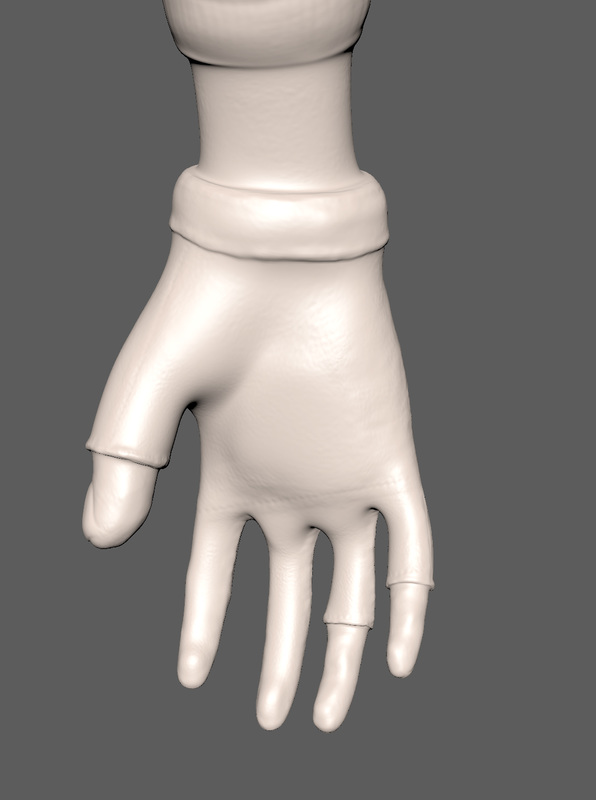
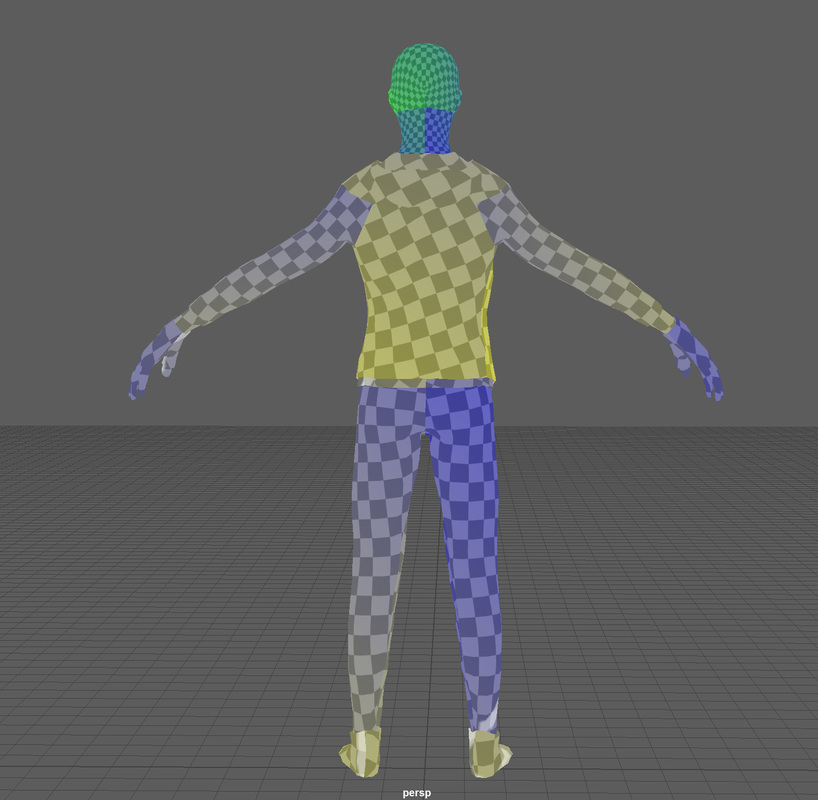
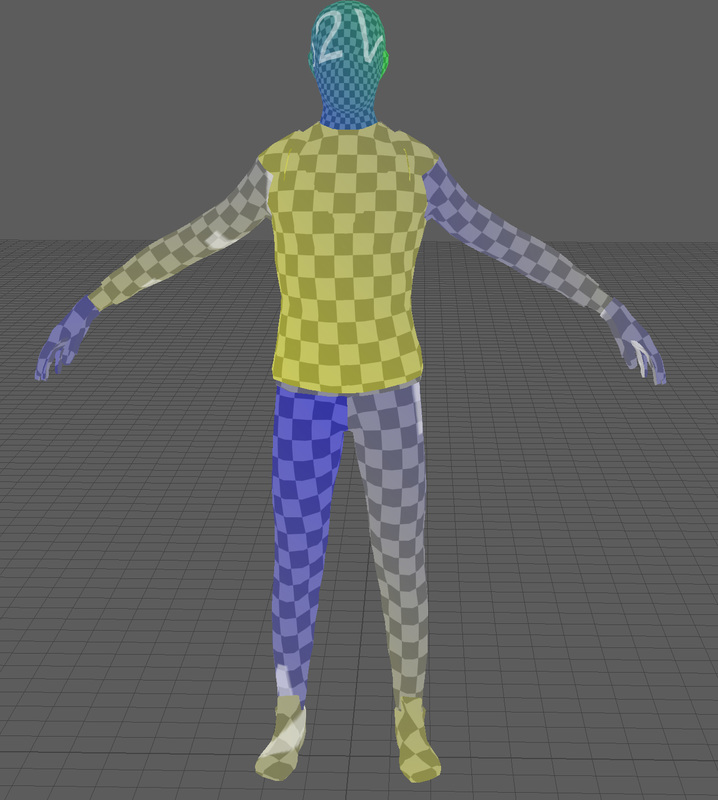
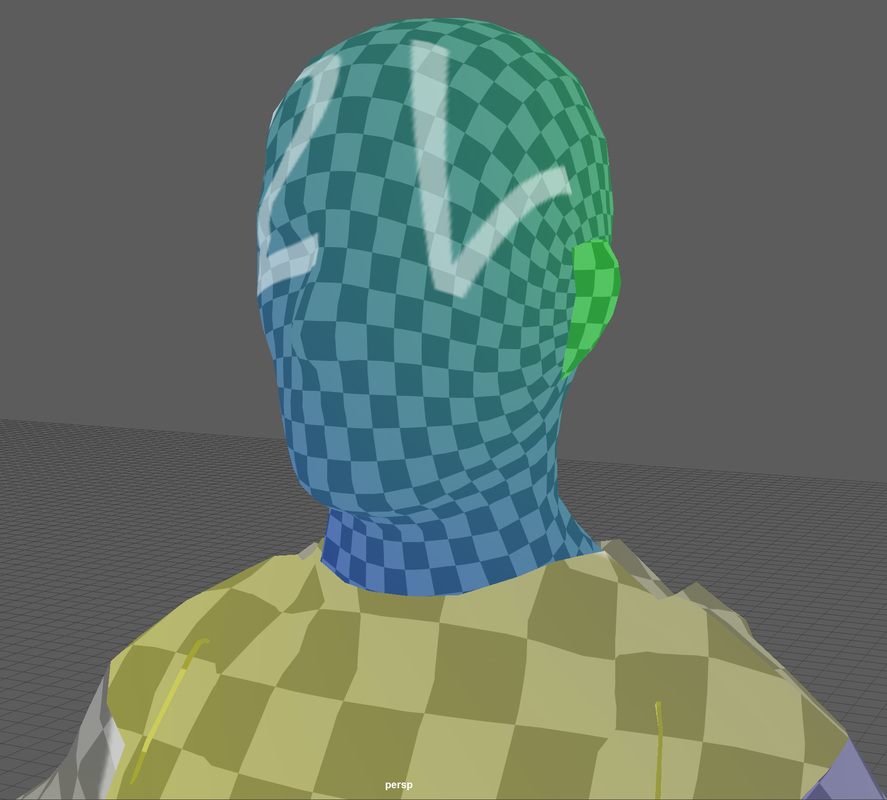
I created a basic lambert material in Maya and applied it to my mesh, I opened up the 'hypershader' selected my lambert material and where it said 'bump map' I applied the file that was created by Mudbox here and made sure I changed the 'bump' to tangent space normals' so it will display correctly on my mesh as I exported it an tangent space text. Changed my viewport render to high quality and was able to see my normal projected onto my low poly mesh. After I made the block out of my character I sent it to Mudbox to be turned into a high polygon model so that I can add more shape and fine detail to the model of the character. I got some reference images for sculptures that help you sculpt the basic definition and a planar of the human body from 3Dtotal that shows you the muscle and bone positions and I also used drawing references of mouths and noses along with stock photos of people. For the head I started off on a low subdivision level and used the 'grab' tool to get the basic shapes and then used the 'wax' tool to build up areas that needed building up. I sent the character back to Maya and removed the faces where the eyes were going to go and the gap between the lips and then used the soft select to reposition the vertex so the lips and eyes edges were inside the head. Then I used the soft select to give the lips and eyes more shape by moving the verts around and then using the 'smooth/relax' tool to smooth out the lips and eyes. Then I sent back to Mudbox increased the subdivision layers, built up around the eye and nose with the 'wax' tool and used the 'smooth' tool to make it smooth again and used the 'erase' tool with a low strength setting to add light lines on the nose to cheek. After that I used a vector displacement map for the ears, then I used displacement maps for detailed textures on the face e.g. skin, wrinkles, lips and eyebrows. Once I had my shape I increased the subdivision levels and used the wax tool to build up the edges and finer detailed areas and used the 'sculpt' tool with displacement maps to add fine textured detail. After I finished the head as I worked my way down to the body, I found some reference images to guide me when sculpting the cloths After I completed the head, I moved onto the body, all I did with the body was used the 'bulge' tool to add muscle definition in the arms and make the legs more bulky. then I used the 'wax' tool the define the edges and add volume so areas that needed it and then used to 'smooth' tool after that smooth the wax out. Then I increased the sub-divisional level and added fine texture details using displacement maps to add seams, pockets, zips and fabric details. For the heads and feet I used the same process as I did for the body, built up the edges with the 'wax' tool and smoothed it out with the smooth tool, increased the sub-divisional levels and added finer details the 'wax' tool and then used displacement maps and sculpt on the mesh to add texture details for seams, leather and fabric. Uv maps Research UVs are two-dimensional texture coordinates that use the vertex information from the model geometry. UVs are important to the model because it tells the model how to apply the texture onto the surface. The XYZ axis are already used in the 3D space, we have to use U and V for the axis in the 2D space. So when these two are applied together U and V axis of the 2D texture it projects its coordinates onto the 3D models axis of XYZ. In the image below you can see 10 vertex selected in the model and in the UV map you can see where it corresponds to the 2D texture  The UV map needs to unfold and flattened out and have no overlapping UV coordinates to stop texture deformations. Also, using a checked texture is ideal so that you can see where the texture would be stretched and if it has even squares. As shown in the image below, is bad UVs, stretched and distorted and not perfect squares  In the image show how correct UV unfolding looks like as there is no stretching or distorting. This is shown by even squares throughout the model 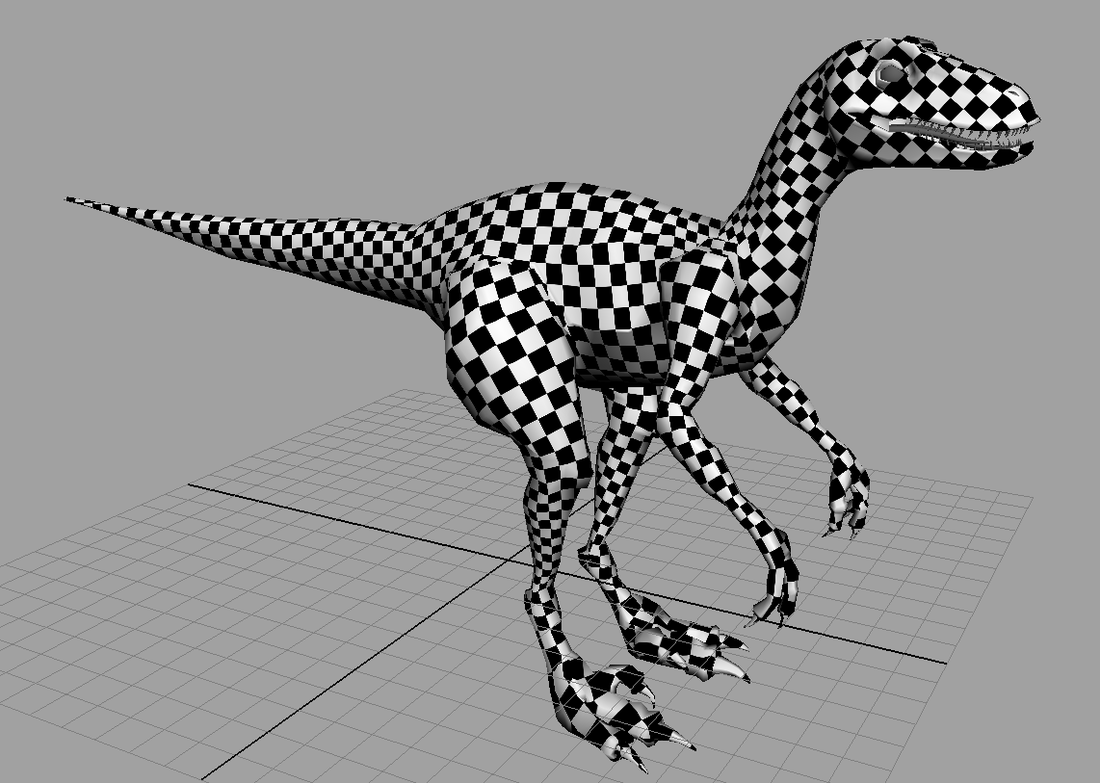 References https://biocinematics.blogspot.co.uk/2010_04_01_archive.html http://blog.digitaltutors.com/understanding-uvs-love-them-or-hate-them-theyre-essential-to-know/ As I wasn't 100% sure how to UV a character I did some research on the best way to UV a character and where to hide the seam lines. I found this video very helpful: In the video it shows you how doing it a manual way which takes time and a quick way using plugins. I decided I wanted to follow the manual way as I thought it would help me in the long run and make UV mapping a lot easier in the future. For my character I decided to use two UV maps, One for the head so I can get more detail onto the face when it comes to texturing the character and one for the rest of the body. 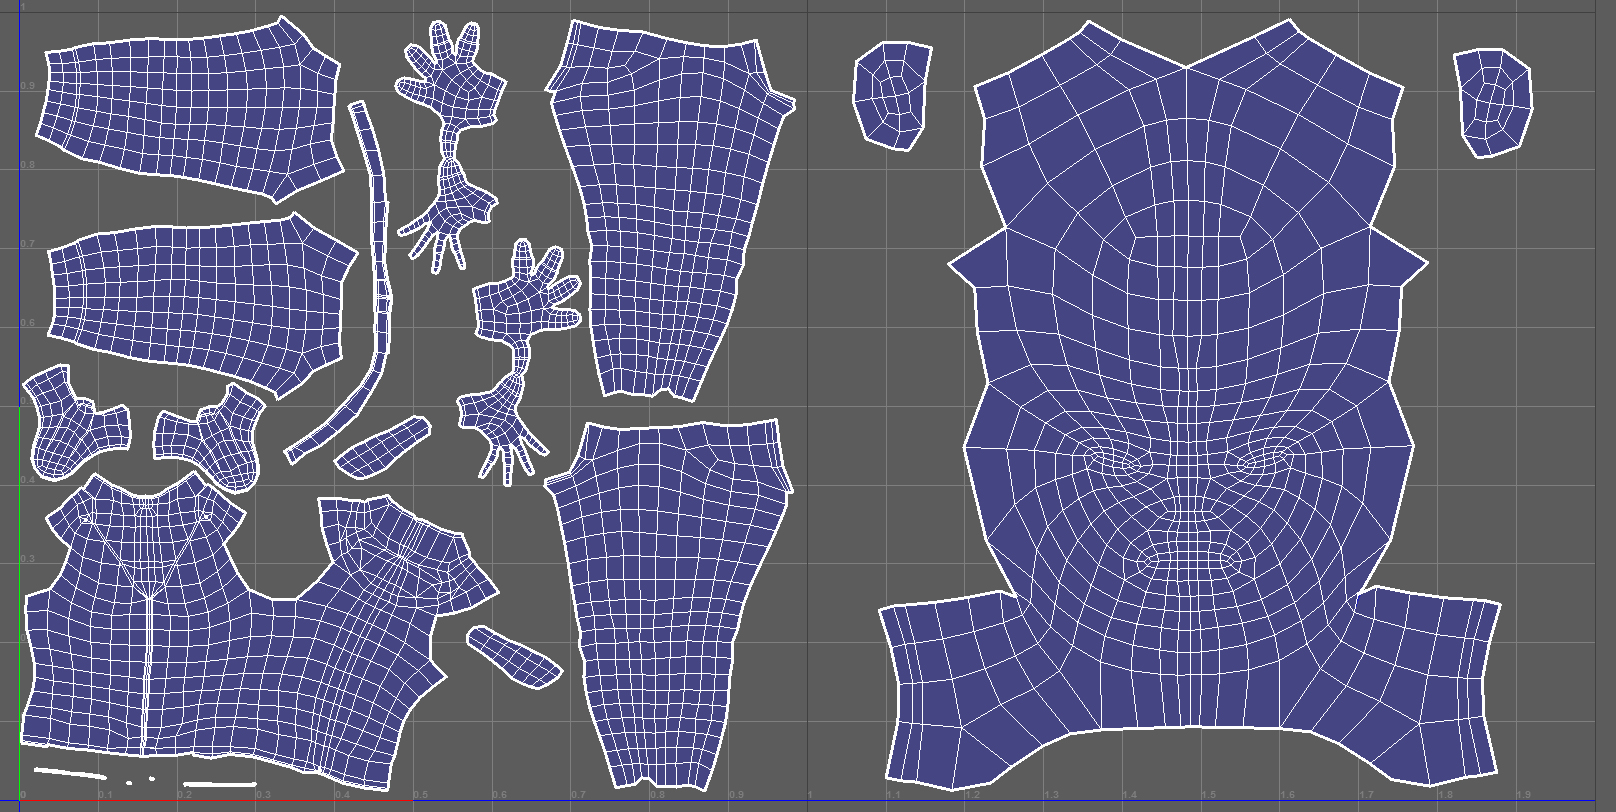 After I did the UV I put a chequer tiled overlay on my character because if I use the UV distortion Maya will highlight the body in red for distortion because the head has bigger UV even know there is no distortion of the body. With the chequer overlay I can make sure all the squares lined up and flowed in the same direction and the body had the same size squares. After I did all the research for my character Kobi, I wanted to do a simple Blockout of the outfit he would be wearing. What I did was use the template from Mudbox and move the arms so that they were more in a T-pose, after I did that I imported the edited template into Maya and started extruding on the template to make an outline of the items of cloths he would be wearing. After this is I added a little bit more of blocked out detail like the hood of the jacket and where the strings, zips and shoe laces would go, so when I take it back into Mudbox I have reference points of where to add these bits of detail. After I finished my Blockout I decided to apply simple lambert colours to the cloths so I could visually see how it would look and if I needed to rearrange any of the cloth outlines. |
AuthorWelcome to my blog about my game design and 3D modelling work Archives
June 2017
Categories
All
|


 RSS Feed
