|
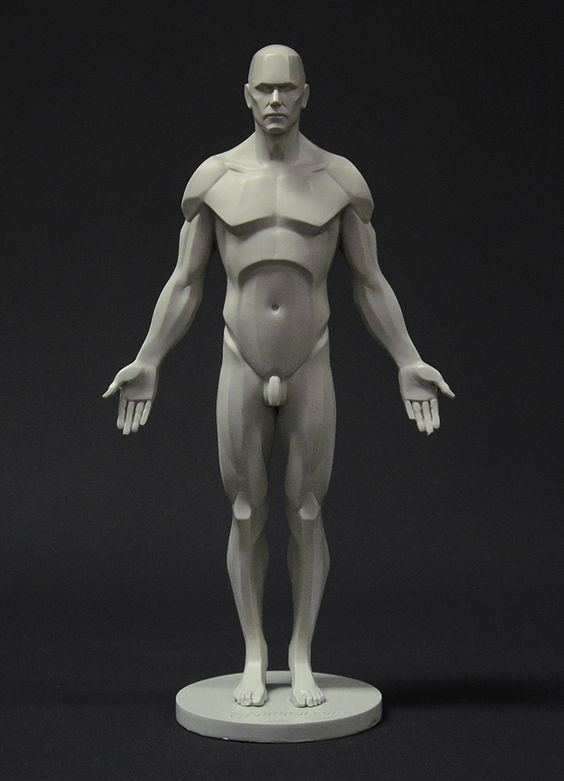
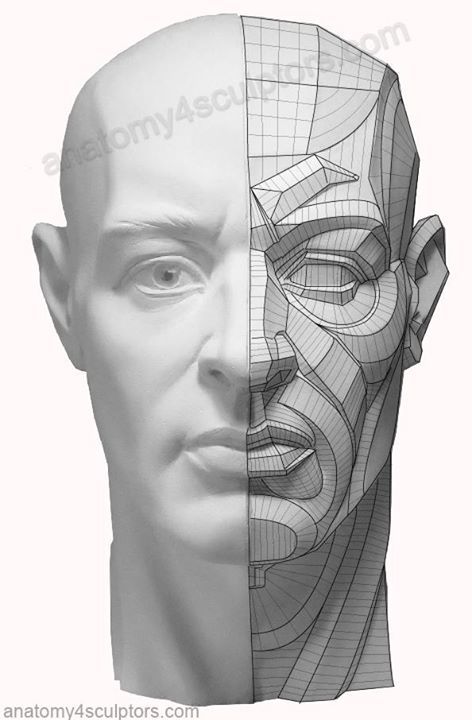
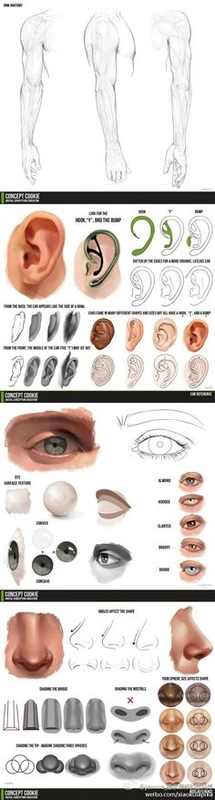
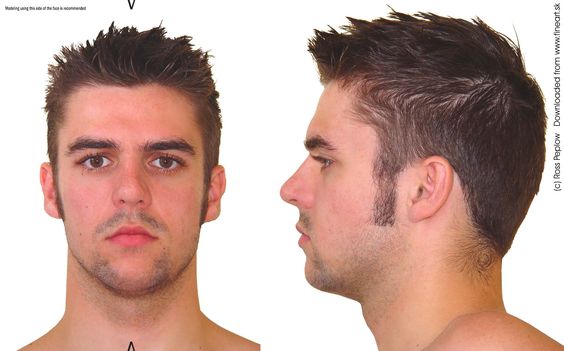
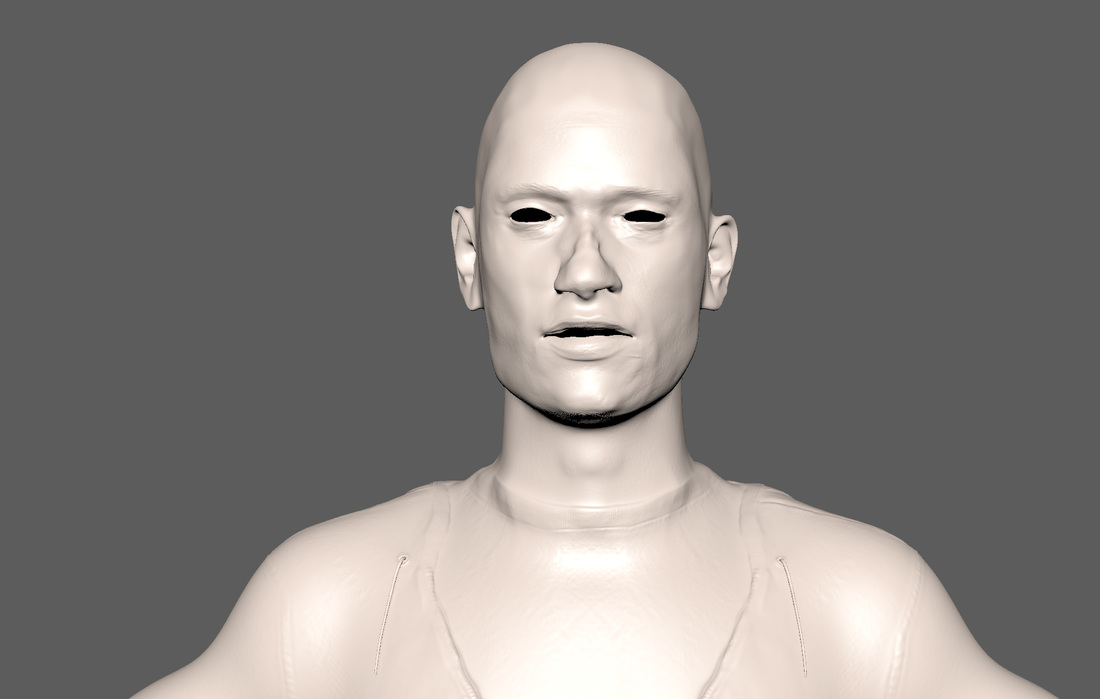
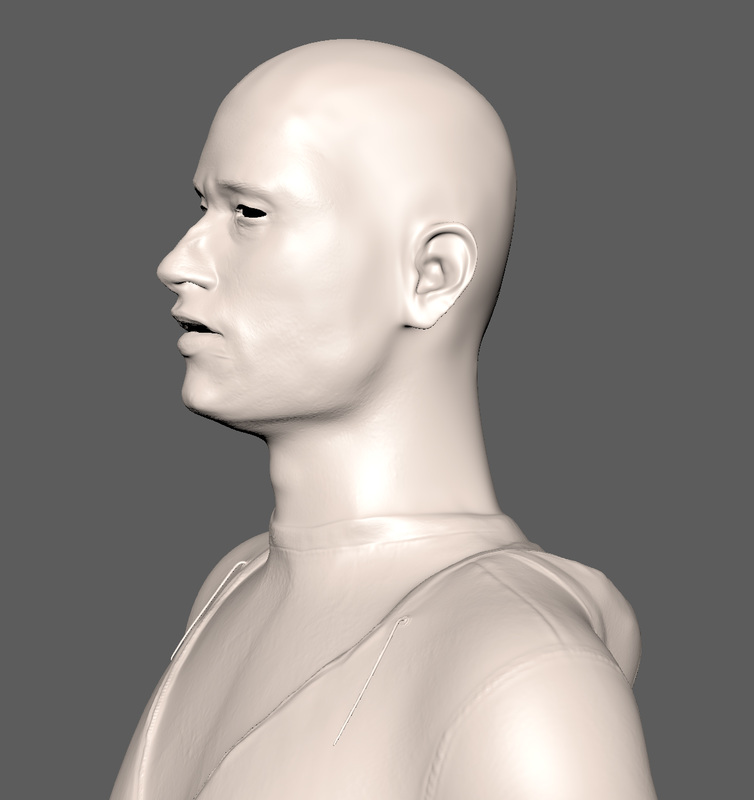
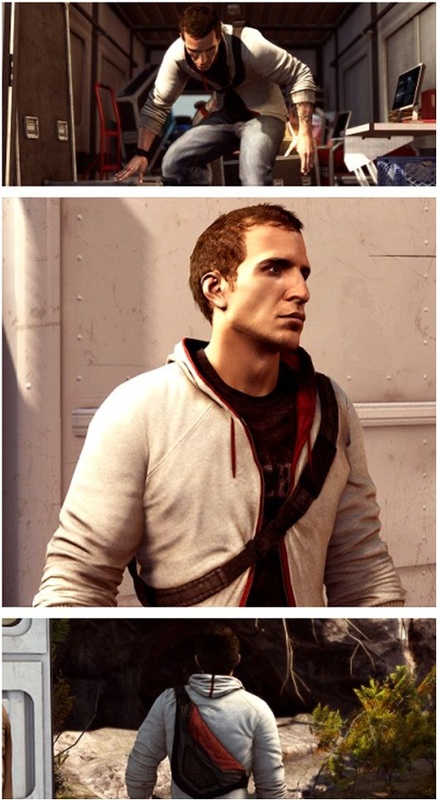
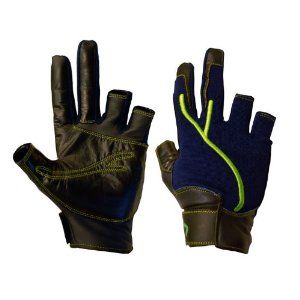
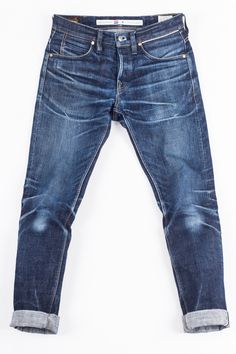
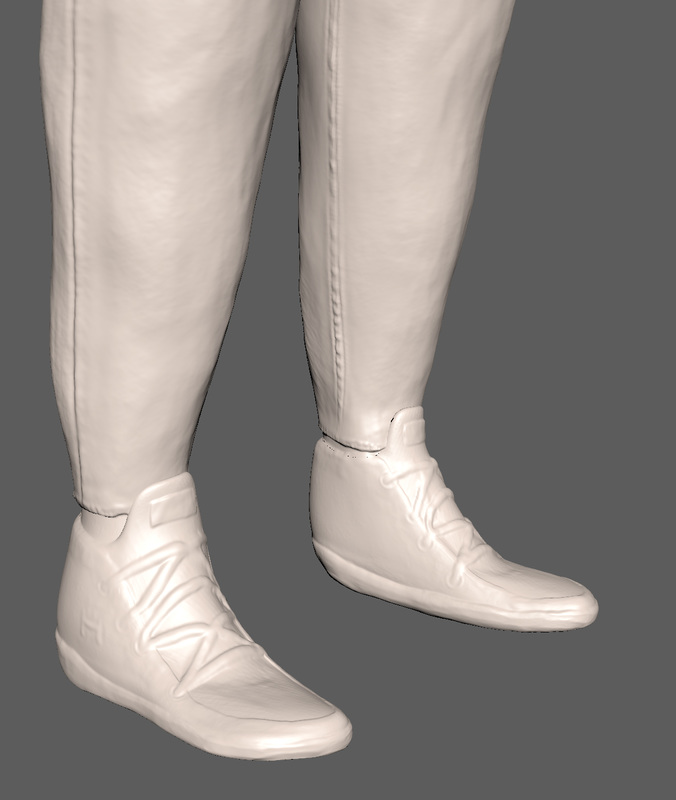
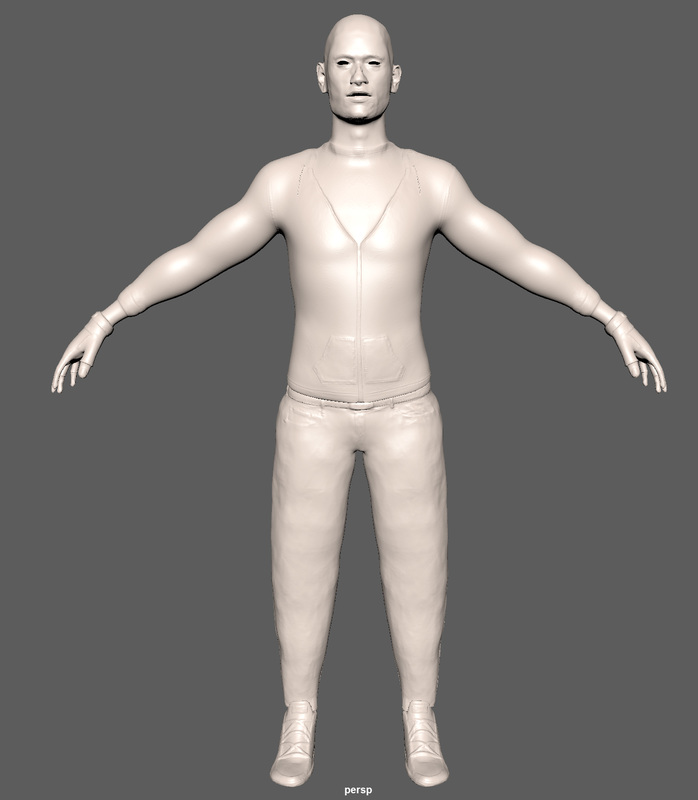
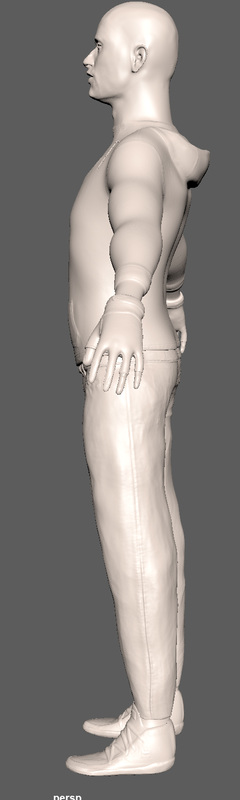
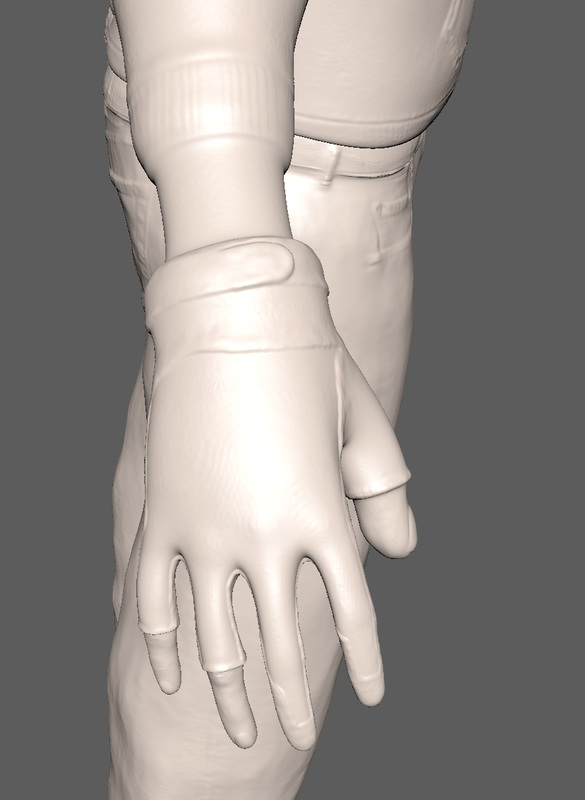
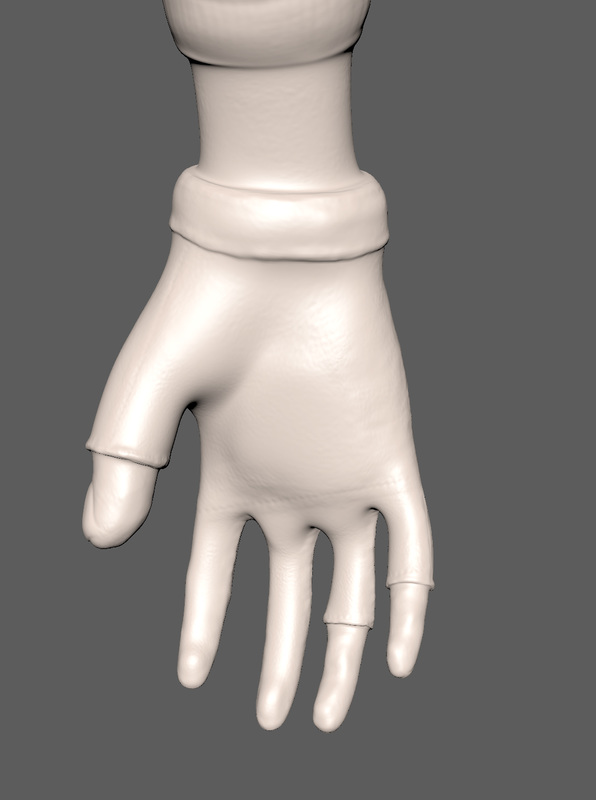
After I made the block out of my character I sent it to Mudbox to be turned into a high polygon model so that I can add more shape and fine detail to the model of the character. I got some reference images for sculptures that help you sculpt the basic definition and a planar of the human body from 3Dtotal that shows you the muscle and bone positions and I also used drawing references of mouths and noses along with stock photos of people. For the head I started off on a low subdivision level and used the 'grab' tool to get the basic shapes and then used the 'wax' tool to build up areas that needed building up. I sent the character back to Maya and removed the faces where the eyes were going to go and the gap between the lips and then used the soft select to reposition the vertex so the lips and eyes edges were inside the head. Then I used the soft select to give the lips and eyes more shape by moving the verts around and then using the 'smooth/relax' tool to smooth out the lips and eyes. Then I sent back to Mudbox increased the subdivision layers, built up around the eye and nose with the 'wax' tool and used the 'smooth' tool to make it smooth again and used the 'erase' tool with a low strength setting to add light lines on the nose to cheek. After that I used a vector displacement map for the ears, then I used displacement maps for detailed textures on the face e.g. skin, wrinkles, lips and eyebrows. Once I had my shape I increased the subdivision levels and used the wax tool to build up the edges and finer detailed areas and used the 'sculpt' tool with displacement maps to add fine textured detail. After I finished the head as I worked my way down to the body, I found some reference images to guide me when sculpting the cloths After I completed the head, I moved onto the body, all I did with the body was used the 'bulge' tool to add muscle definition in the arms and make the legs more bulky. then I used the 'wax' tool the define the edges and add volume so areas that needed it and then used to 'smooth' tool after that smooth the wax out. Then I increased the sub-divisional level and added fine texture details using displacement maps to add seams, pockets, zips and fabric details. For the heads and feet I used the same process as I did for the body, built up the edges with the 'wax' tool and smoothed it out with the smooth tool, increased the sub-divisional levels and added finer details the 'wax' tool and then used displacement maps and sculpt on the mesh to add texture details for seams, leather and fabric.
1 Comment
2/7/2024 05:26:18 am
Our 3D creation engine empowers creators with intuitive tools for crafting immersive digital experiences. Tailored for diverse applications, this engine offers dynamic capabilities for designing environments, characters, and visual effects. Whether for gaming, animation, or virtual simulations, our engine ensures seamless integration and unparalleled realism. Experience the transformative potential of our 3D creation engine, where creativity knows no bounds and digital visions come to life with precision and ingenuity. Leave a Reply. |
AuthorWelcome to my blog about my game design and 3D modelling work Archives
June 2017
Categories
All
|
 RSS Feed
