Unit 69
For this unit I have to create one asset that is going to be a main feature of the game I am building for unit 18, it has to be below 8,000 trails, fully textured and have a high to low poly bake as well.
|
I wanted to get some feedback about the model I created for my level so I asked some of the fellow students in my class to have a look at my model in unreal engine and leave a comment in my book after reviewing it. 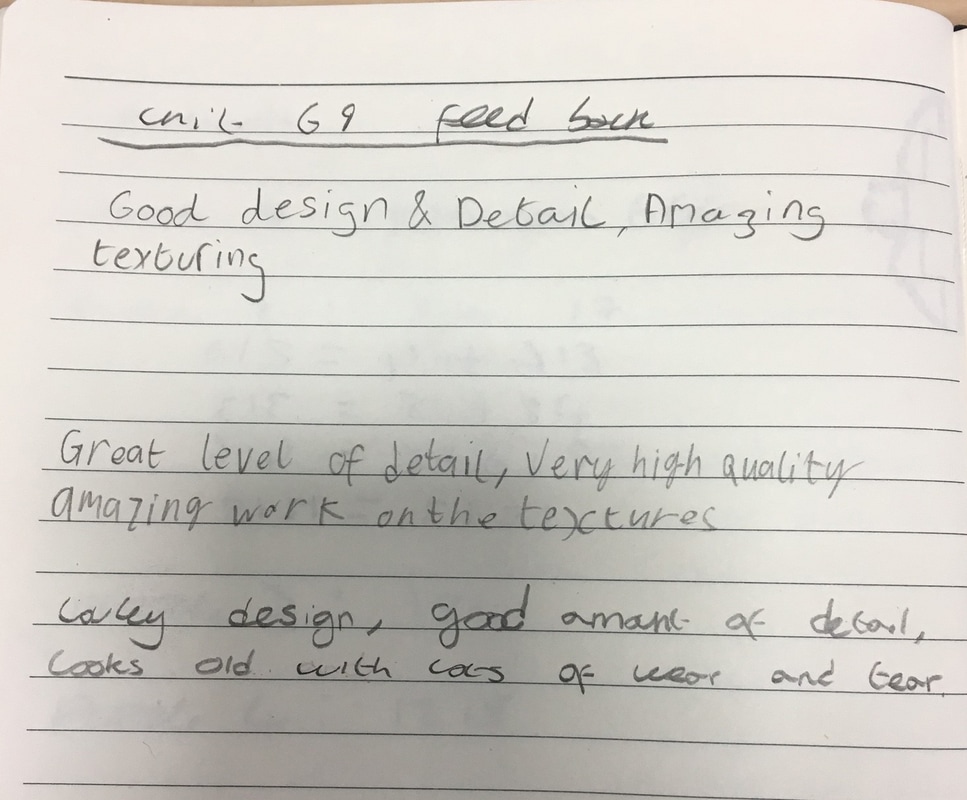 This is a photo of the feedback, looking at the comments, I received excellent feedback about the model. I got three comments all about how good the design, textures and the amount of details I was able to put on the model.
Changes Since receiving my feedback, I decided to leave the model how it since I got all positive feedback and nothing negative/about how it could be improved
1 Comment
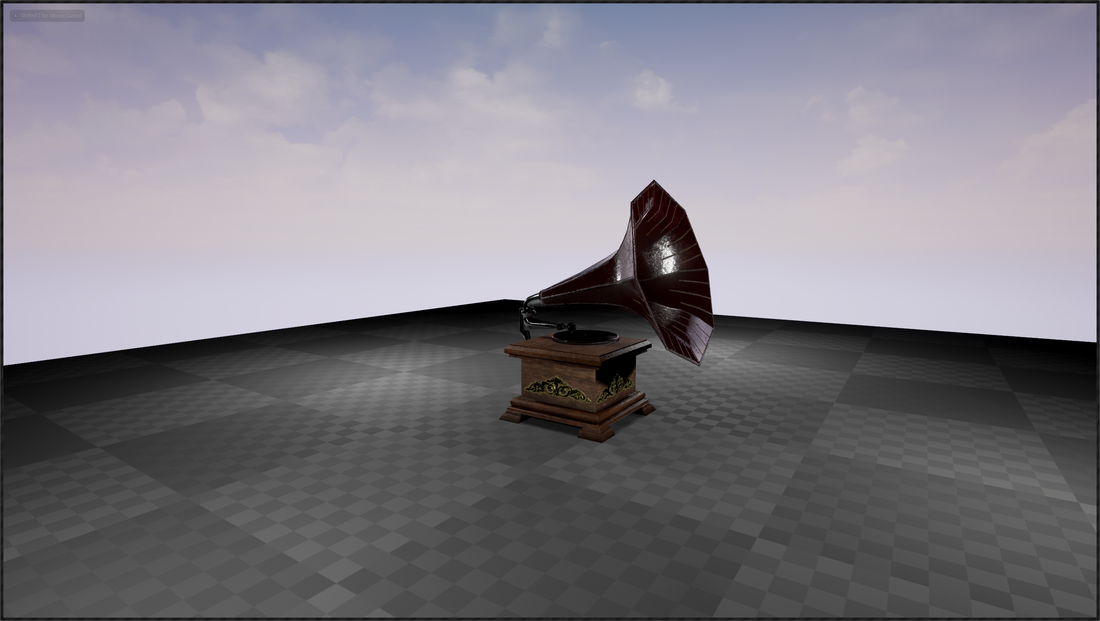
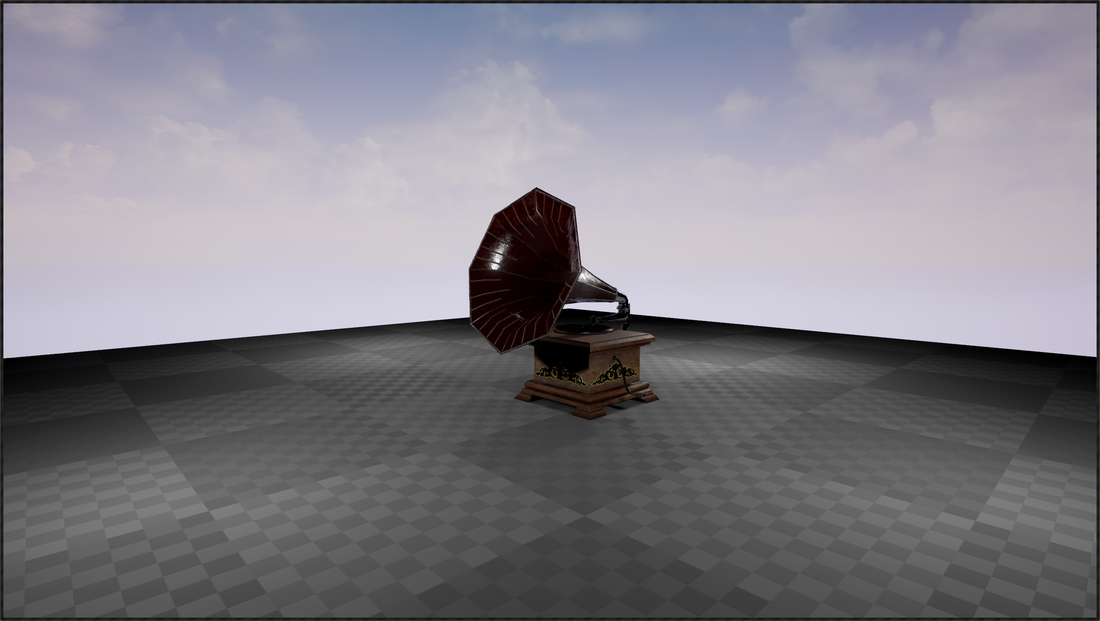
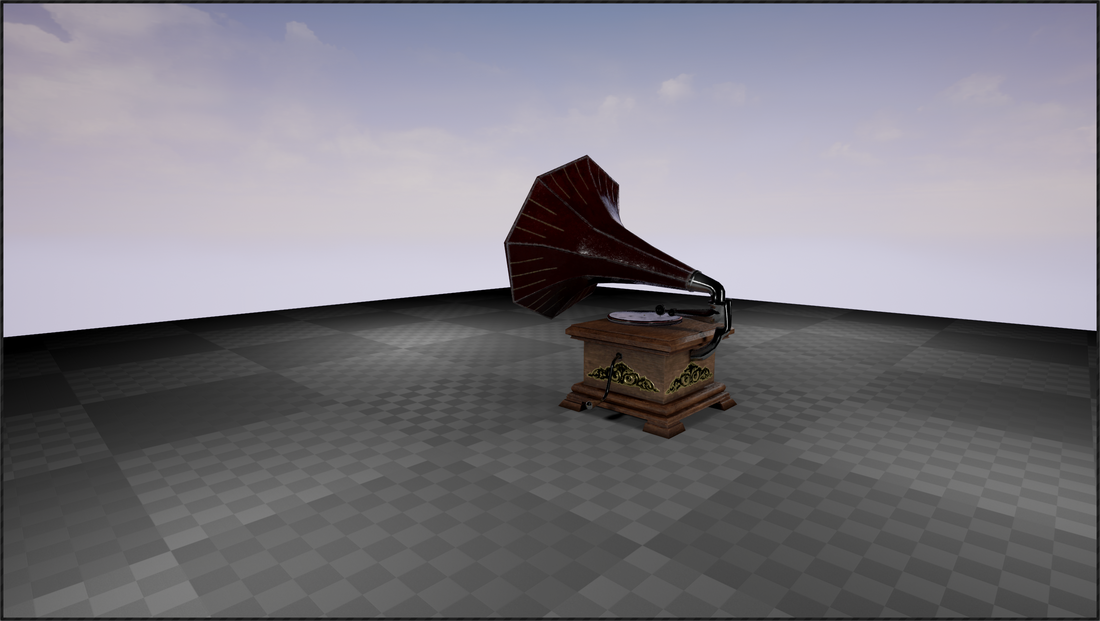
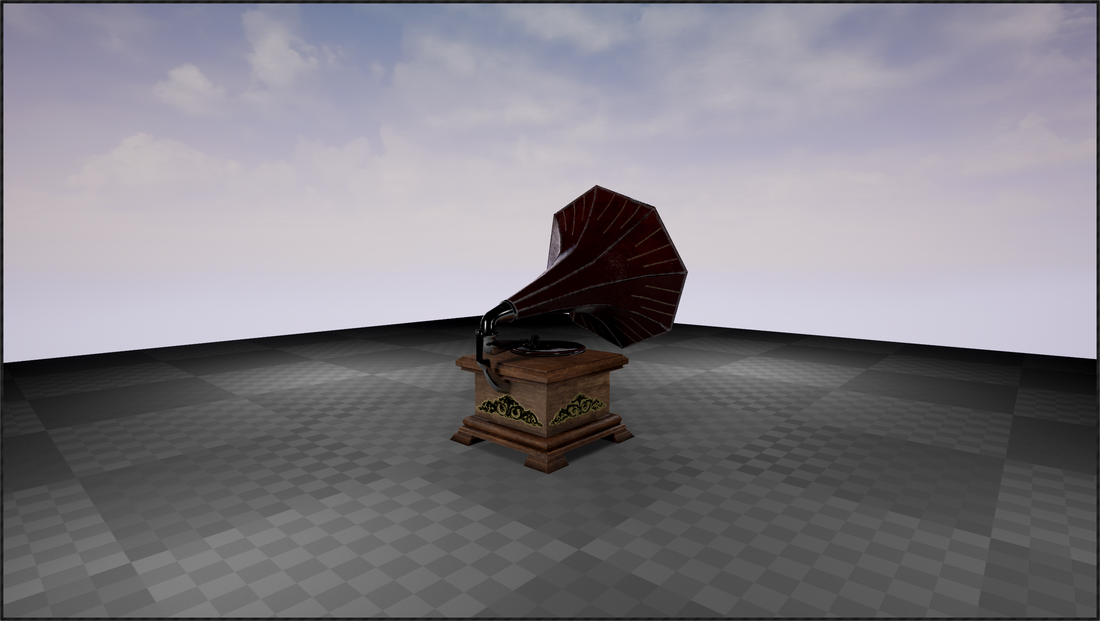
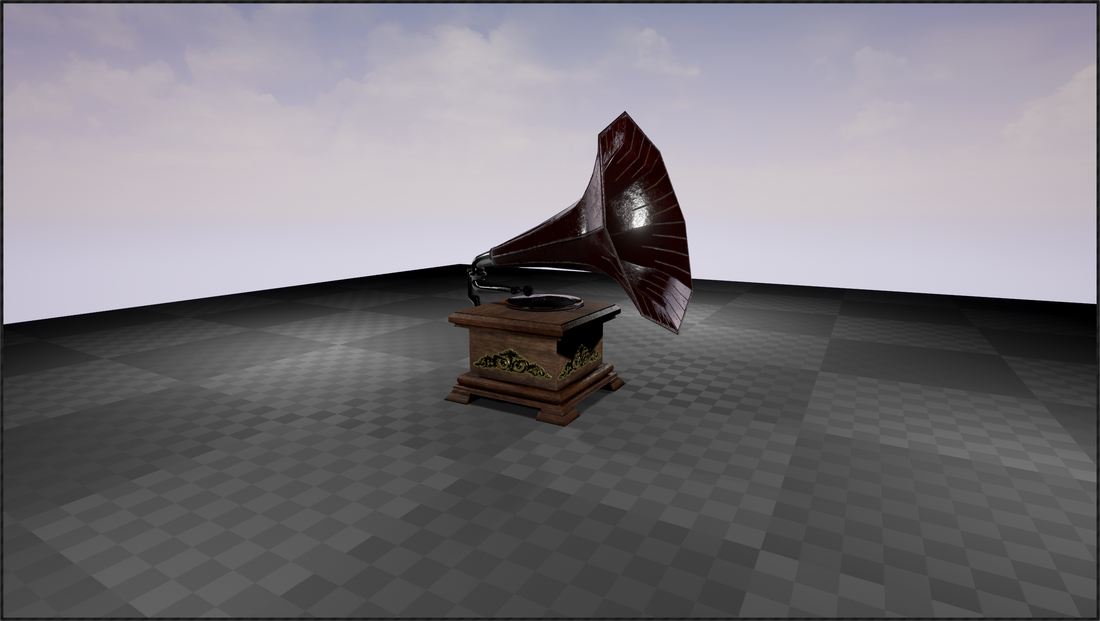
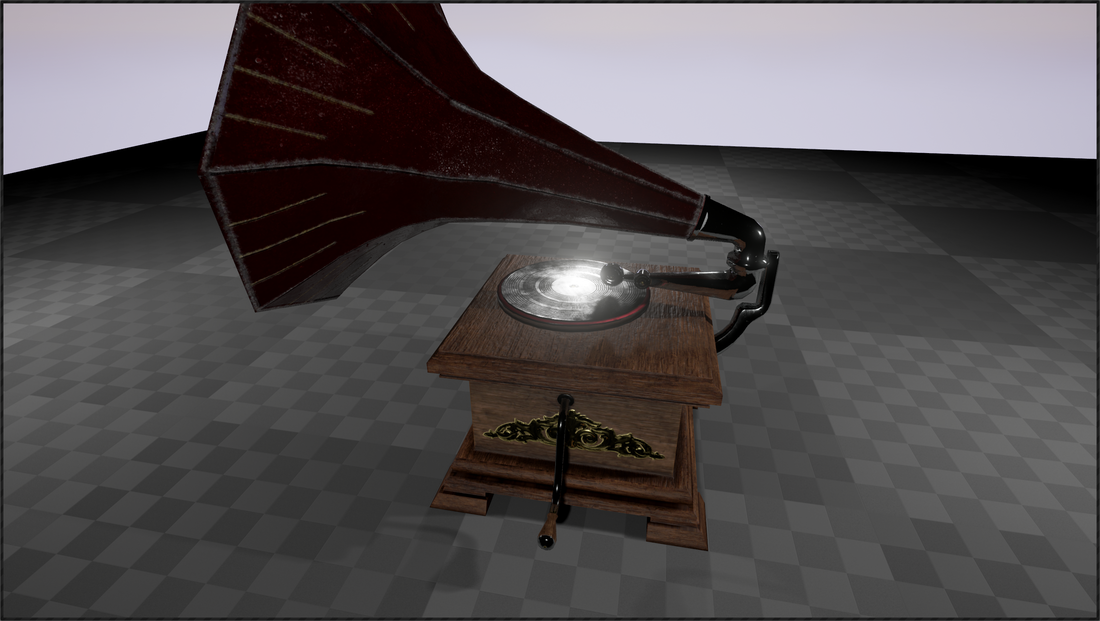
I imported all the models and texture files into unreal engine and placed the meshes into a blank scene, then I added 4 lights around the model placing them far enough away not to cause too much shadow and not bleach the model with light. 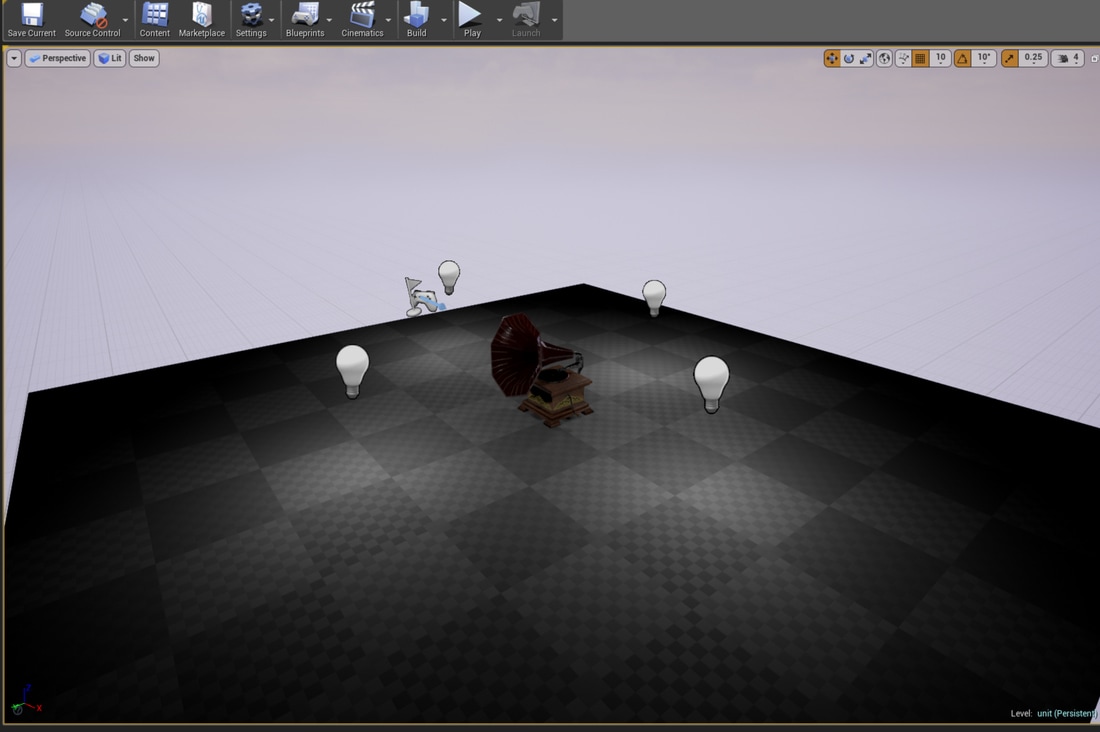 Then I created the materials for the gramophone and turntable by creating a material off the diffuse map, I then opened up the material and added the normal, AO and metallic and roughness maps to the material as well. I connected them up to the correct pins making sure I use the green pin for roughness and the blue pin for metallic. I then added a 1 vector and connected it to the specular and changed its value to 0.5 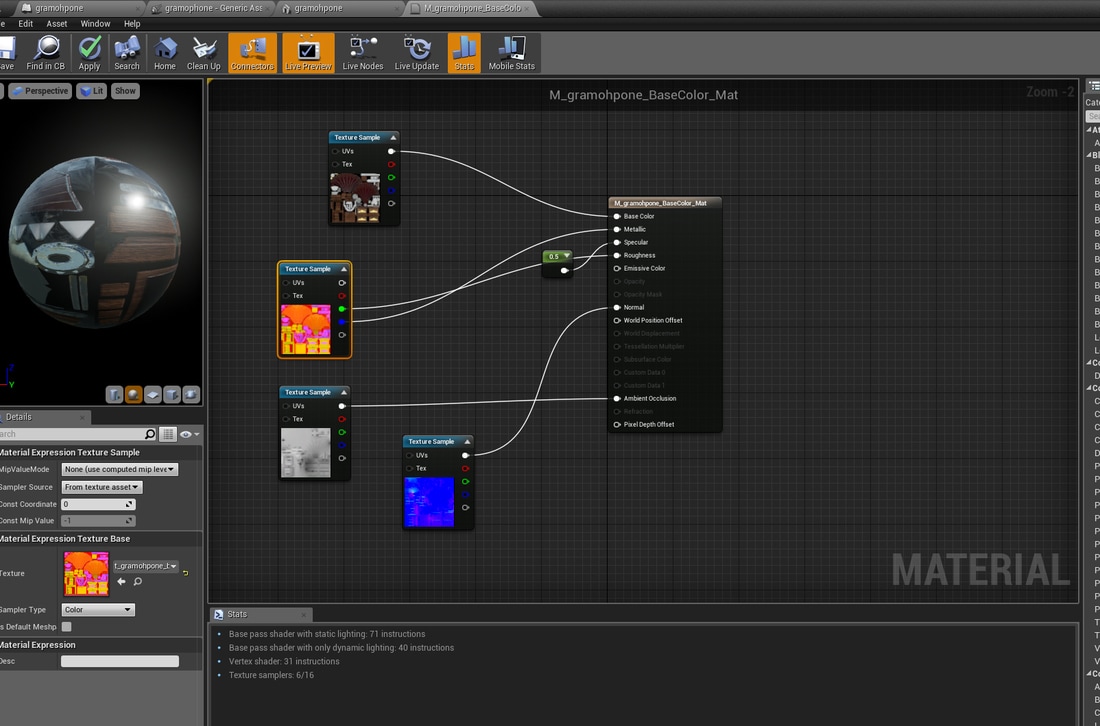 Then I took screenshots of the model at different angles to check the material is on the model and look for any discrepancies After I created the materials I turned both the models into blueprints and added a simple rotation to the turntable so it is turning slowly and added a sound to the gramophone blueprint so that it is playing music at the start of the level. In this blog post I am going to evaluate my gramophone that I made for unit 69, I am going to break it down into four sections which are: What went well, what didn't go well and issues/changes along the way and a conclusion.
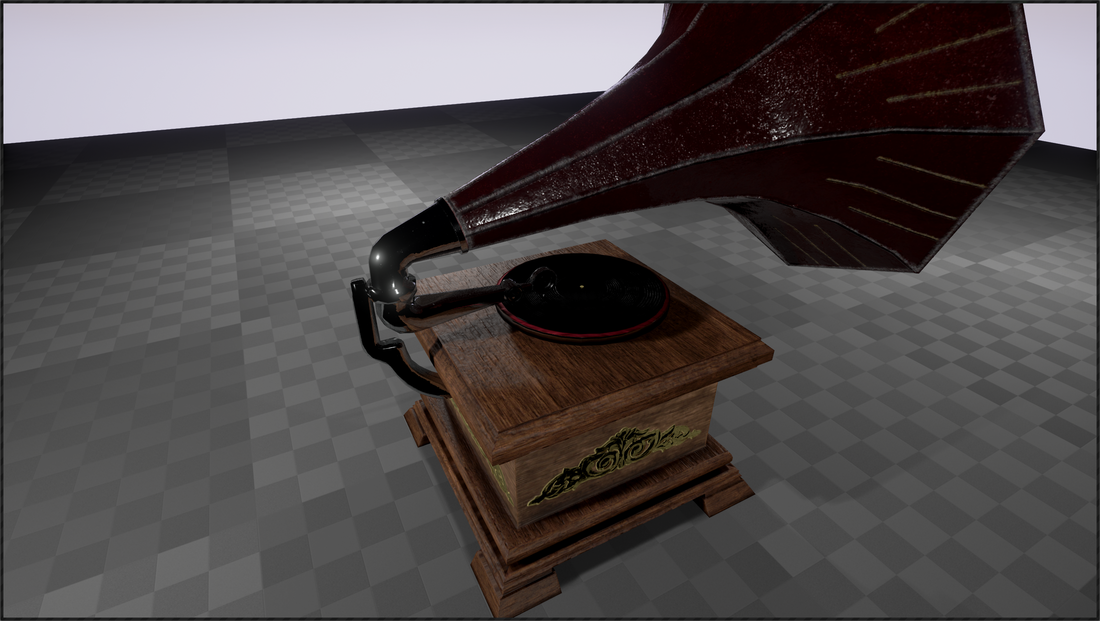
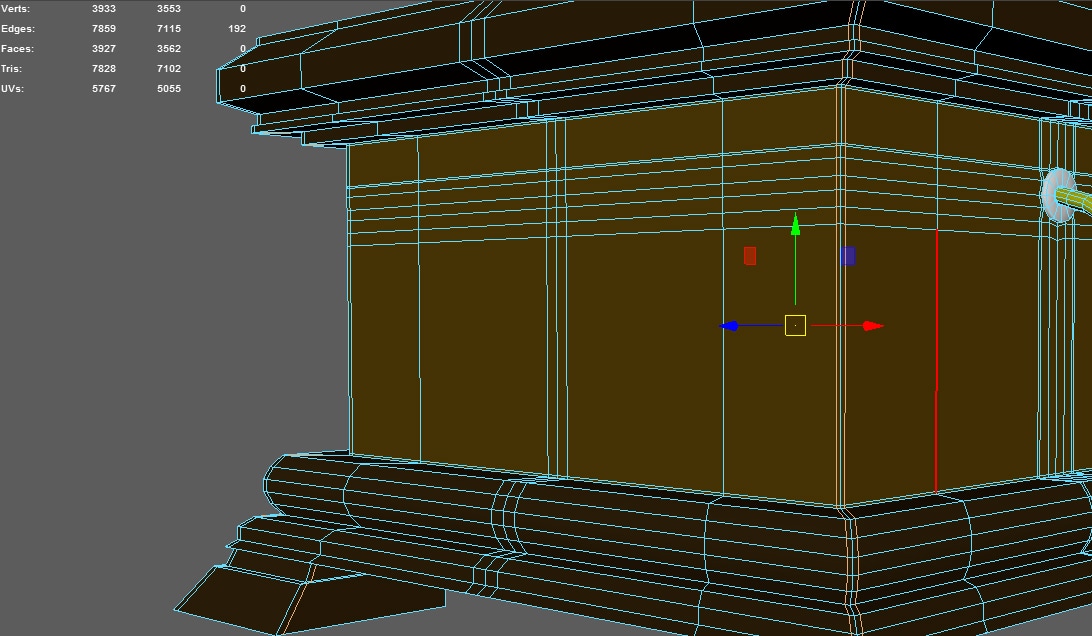
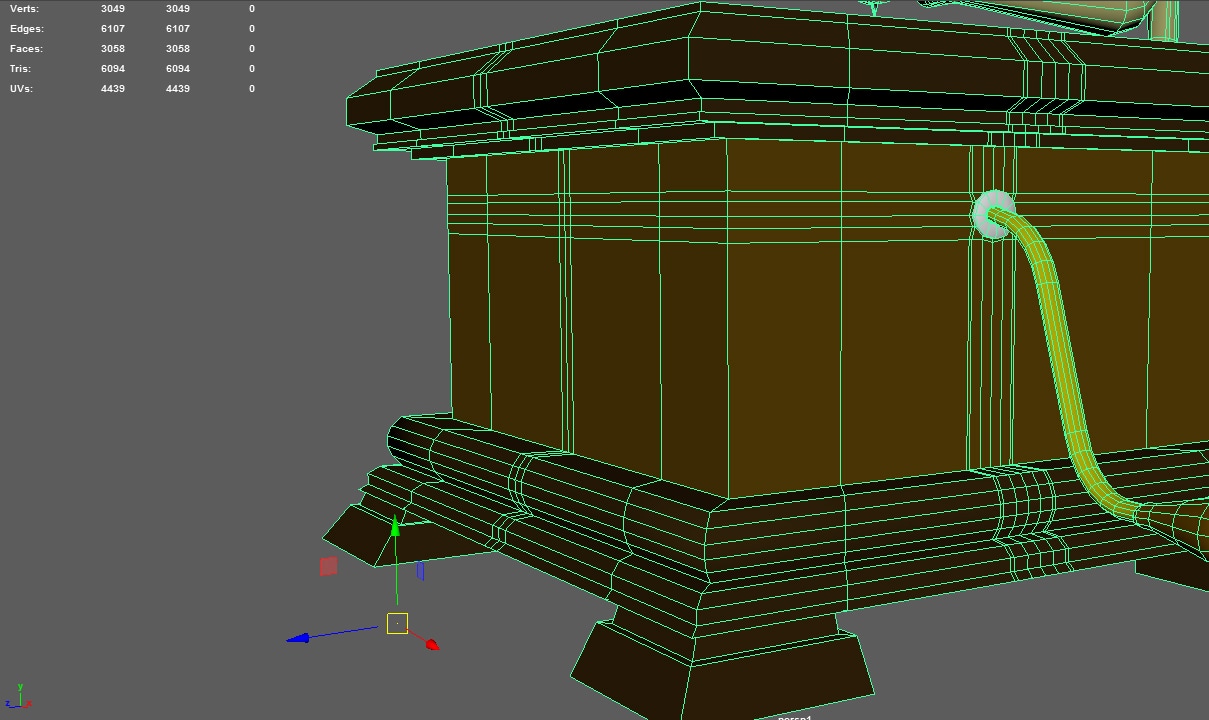
What went well in unit 69 Task 1 I found the research went well and came up with 5 ideas that I could create models from. I used three research methods, mind maps, mood boards and concept drawing. This helped me visualise what model I could make and how much of a challenge it would pose to me. In the end, I selected the concept that I thought would represent the level I am making in unit 18. I also found researching about modelling techniques helped me and I avoided big problems later. After I finished the research I started modelling my gramophone, I used a photograph as a reference guide which helped me a lot. I made the model into three seconds before deciding how I would connect those sections up. I was quite proud that I could connect hard and organic surfaces together and keeping the model below 8000 triangles. Task 2/3 I made sure I did research on how to UV map correctly and the different types of texture maps this helped me understand what these are for and how important they are needed for the model. When it came to the UV I manged to get all the UV shells into the 0 to 1 space and make sure when I had a checked texture overlaying it that all the squares were even. From this I was able to make a quick light map UV set. Experimenting with three different types high to low poly bakes helped me understand which works better with my workflow and how to avoid errors. I enjoyed using substance painter for making the texture maps as I found it a quick process and it was quite enjoyable using a tablet and felt like I was painting. Using masks on the layers helped my workflow and could have used less colour id maps if I did more research on the protentional of using mask in my workflow. Task 4 Even though this was a small task I was extremely with how the model looks in unreal engine when I had applied all the textures to the model. Learning about level of detail was interesting and I will be adding it to my workflow in the future as I think it is an import part of the game design process now and helps the performance of the game. Conclusion Overall I am extremely happy with how the gramophone has turned out. From the concept to the design process to the finished look. I have learned a lot about modelling techniques and how I can potential speed up my work flow, what works for my work flow and what high to low poly bakes work for me. Substance painter was a big part of my work flow for this model and I think I will be using it more in the future as part of my workflow with how easy it is to use and the high quality of texture maps it produces. What didn’t go so well in unit 9 Task 1 Even though the research went well and I came up with five concept ideas I felt I could have done more research on those ideas by getting actual reference material of my own and using that in my mood boards and I think I could have come up with more ideas for me to research. Creating the model posed a bit of a challenging creating hard and organic surfaces it left me with a few problems of floating vertices and double faces and a couple of n-gons which I wasted time on fixing but they were quick fixes and in the end the final model I produce was worth the trouble and provided me with a good learning curve. I would of also of liked to add extra geometry to the model to make it look more Edwardian but I could not as I was close to the 8000 triangles and didn’t want to go over on my low poly. Task 2/3 The UV took me a long time and felt I wasted a lot of time here that I could have been placed elsewhere. I manged to get the UV how I wanted but I still feel I could have done a better job on them, maybe placing them over two UV squares instead of one to get better texture resolution. The high to low poly bake didn’t go so well in mudbox, I kept getting baking errors where it would randomly place lines all over the model, I fixed most of the error by adding extra geometry but it has taught me that mudbox isn’t the best software to always do high to low poly bakes in. I got less errors from using Maya and substance painter by combining the two together. I had to still edit the normal maps that mudbox produced in photoshop as it created raises areas when it should have been a smooth. Creating the texture maps was relatively easy the only problems I ran into was the lack of materials in substance painter to use and the fact I had to compress my texture maps into one map via photoshop. Task 4 The only thing that didn’t go to plan in this task was I could not get the lighting correct in unreal engine, and found it hard to get the right angles for the light without casting to much shadow on the model its self or using too much light and ruin the contrast of the model. Conclusion Even though I ran into a few problems along the way with geometry and the high to low poly bake it has helped me learn how to avoid these problems in the future and that I need to start not using mudbox for all my high to low poly bakes as there are many ways of making them now. I also need to work on my UV as I felt this is the area I lost the most time on the model and slow down the workflow dramatically. Issues and changes I had along the way in unit 69 I didn’t make much changes from the research to creating the model, there was only minor changes that involved not adding detailed geometry to the model so that I did not go over the 8000 triangles and try to place that detail geometry into the high to low poly bake. I had to change what stencils I wanted to use in mudbox because I could not find one that would suit my model but I found a nice floral design that was used in wood carvings in the late 1800 so I decided to change my design to incorporated the new design. Other than this there was no other changes. The issues I had along the way was mainly with mudbox and not baking to my model correctly I found the reason to this and it was mainly down to not having enough supporting geometry lines in the model which cause the errors in mudbox. But this has taught me not to always use mudbox for my high to low poly bakes. Other issues have been noted about the time I spent on the UVs but in the end, they have worked and I will consider more research and practice more on this area in the future. Conclusion Overall I am extremely pleased with how model has turned out, I like how it looks and the textures I have created for the model. It was a learning experience for me I learned what could go wrong with high to low poly baking and what I could improve on in the future. I have enjoyed the whole experience from concept to design to the final product. For my gramophone model i wanted to create a levels of detail on the model for when it is ready to go into unreal engine. Level of detail is when the model decreases the tris of the model when the player moves away from the model, this helps performance on all platforms as there is less geometry for the graphics card and processor to process and render. The level of details has to a gradual decrease so there is no noticeable change between the normal model and the level of detail models I did some research on how to apply level of details to models in unreal engine and found this video on it, even thou they used 3D max as the 3d application it can be easy translated to Maya. I started off by duplicating my model in Maya and adding it to a new layer, i select edges that are not needed as much as the core edges in the model that would change the shape of the model In the photos above i removed the edges i placed in the model to keep the edges sharp for the high poly bake this reduced the the tris down from 7102 to 6094. i repeated the process by duplicating the level of detail model and placing it into a new layer and removed more edges from the model with out changing the shape to much. 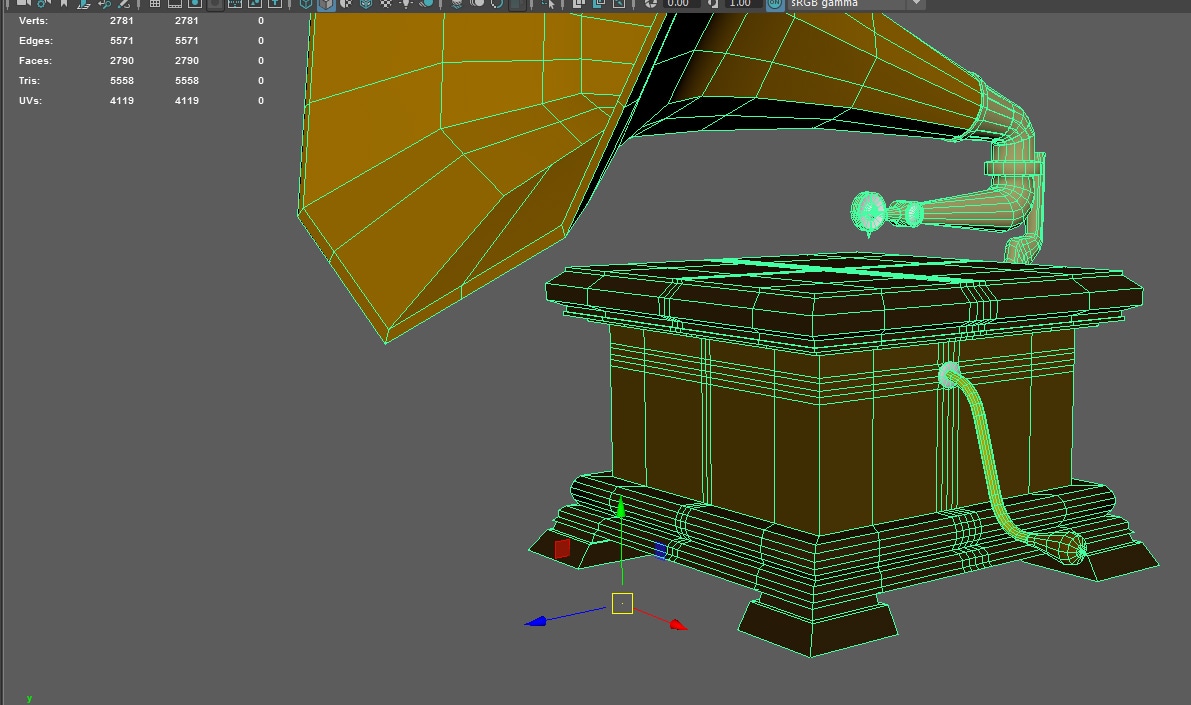 i lowered the second level of detail down to 5558 tris which is over 600 less between the level 1 and 2 this till be the furthest way level of detail and the level one will the middle distance. In total i lowered the tris by 1544 which would improve the performance of the game when far away with the model in view. After i created the models i exported them as FBX files and opened the level with my model in and open the settings of the model and went down to the LOD settings and imported the two level of detail models 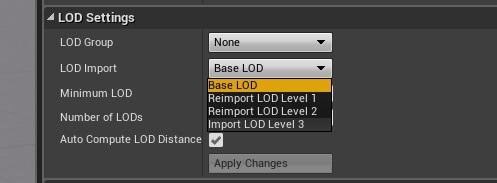 Each LOD has it own settings and displays how many triangles and vertices each model has and at the distance it changes to that model. the LOD1 is set to come when the normal model is 0.333 of the size of the default scale and the level 2 comes on when its 0.167 of the size of the default scale. 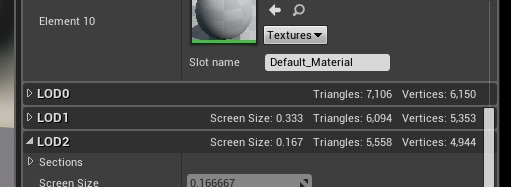 here is a video of me scrolling out and into the model to see if the model changes to different level of details and to see if there is any major changes |
AuthorWelcome to my blog about my game design and 3D modelling work Archives
February 2017
Categories
All
|

 RSS Feed
