Unit 69
For this unit I have to create one asset that is going to be a main feature of the game I am building for unit 18, it has to be below 8,000 trails, fully textured and have a high to low poly bake as well.
|
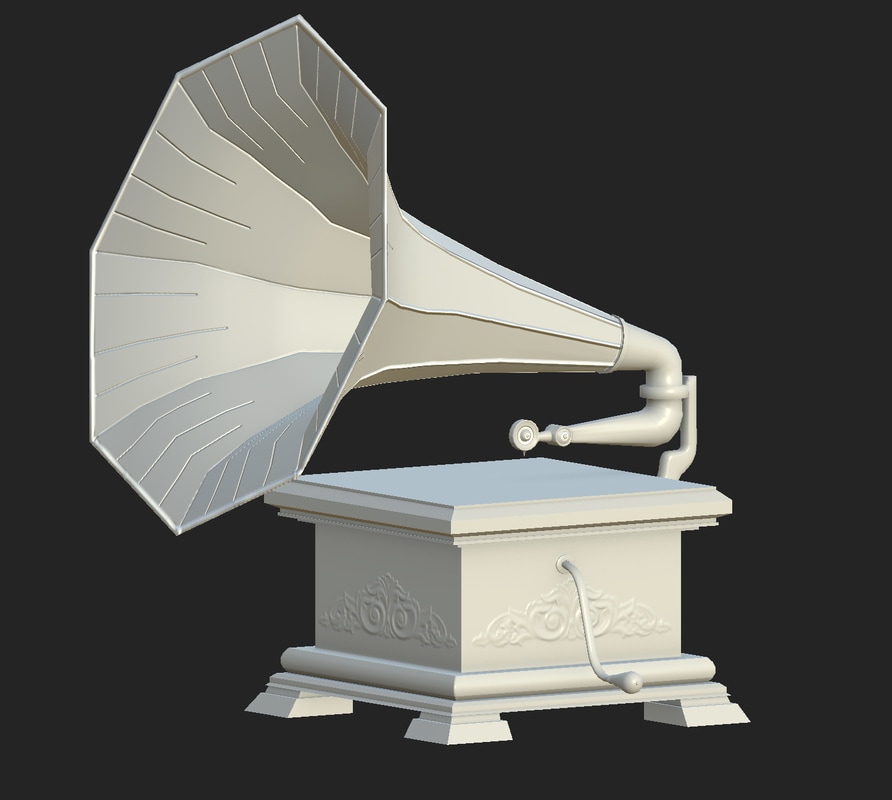
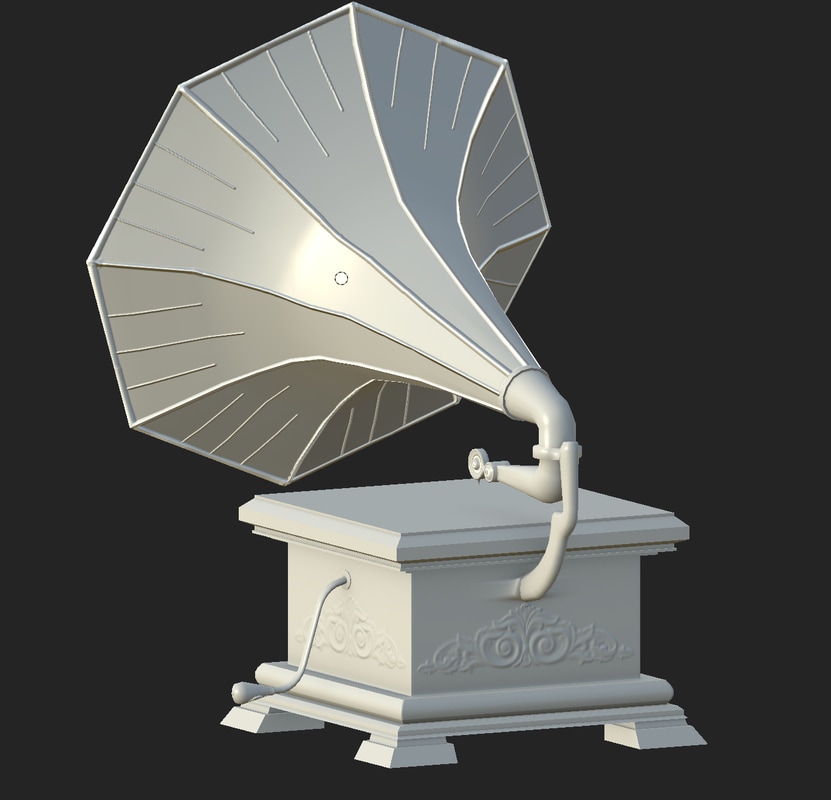
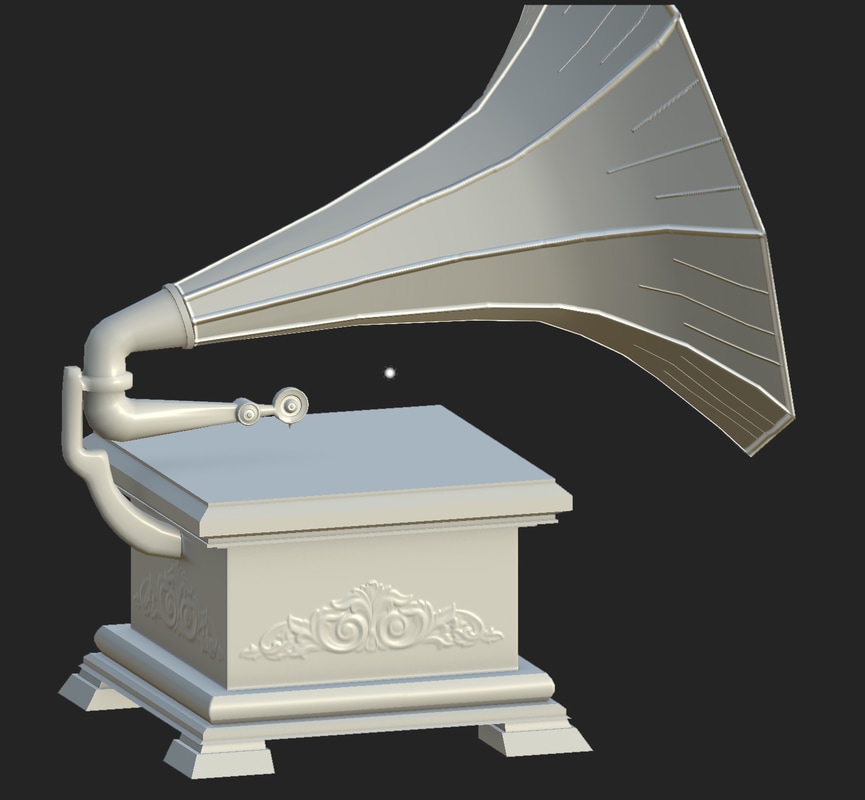
After using Mudbox to add a slot to the gramophone and baking it within substance painter, I needed to add more detail to the rest of the model. I started off by going into Maya and duplicating my model and adding extra edge loops in the model to define edges that I want to keep sharp and crisp and added more edge loops around the areas I wanted smooth curve. I used the smooth preview button to see if the edge was staying as sharp as I wanted and find area that needed extra edge loops. After this I smoothed the model with a subdivision of 1. 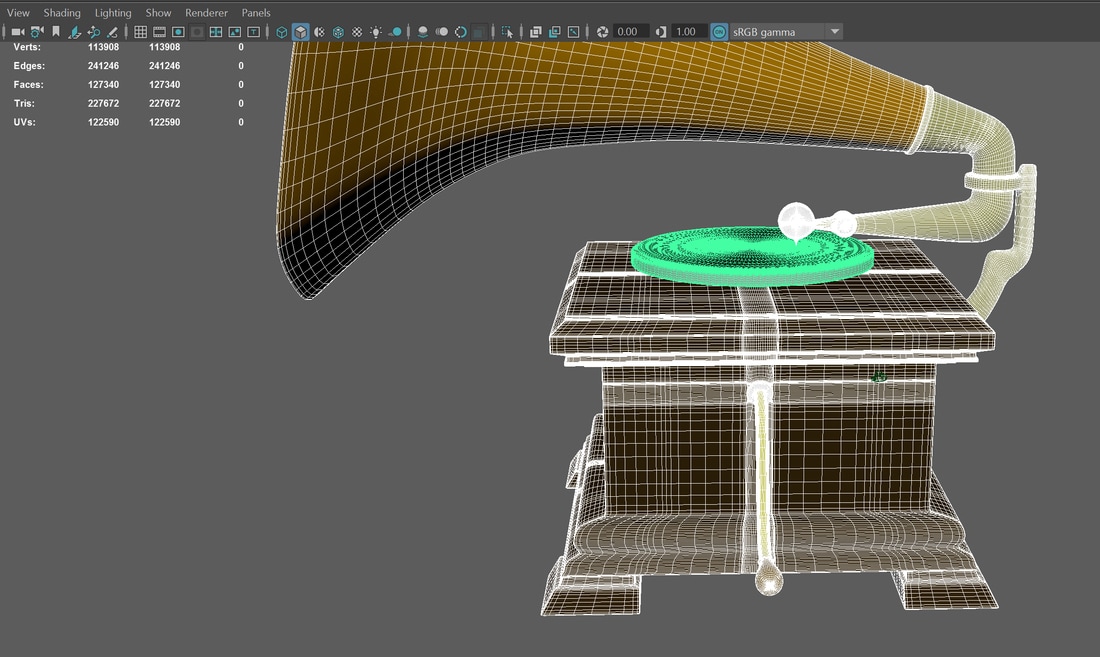 I then went into substance painter and baked each of the areas that I did not bake before 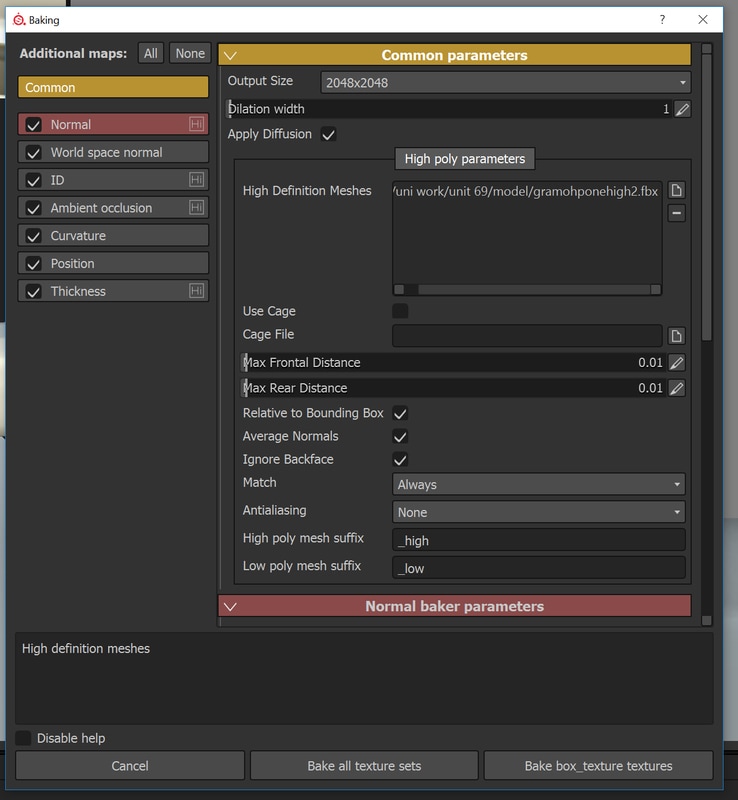
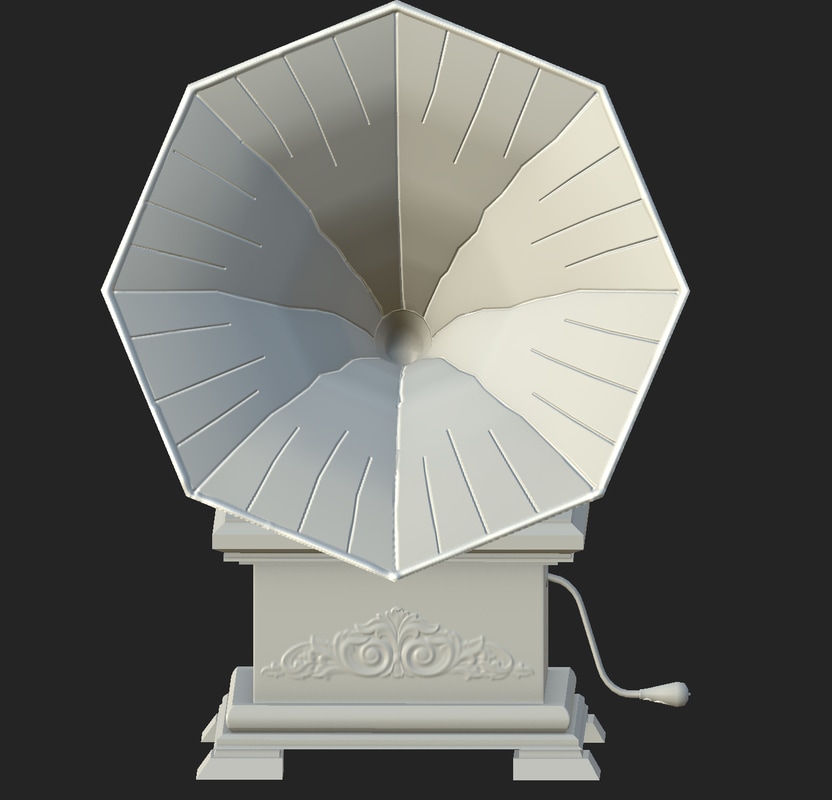
As you can see from the images above, there is slight differences, the book as made the wood that is curved more smooth and it has defined the edges and make them more crisp and sharp. I did this process for all of the gramophone except for the horn. For the horn as I wanted it to stay as it was designed in the low poly, I decided to add the final details in substance painter. Using an alpha brush and increasing the height I drew the lines on top of the model using the shift key to keep them straight. for the inside I used the height option but in the minors as I wanted to give the effect of it is indented and popped up on the other side. Using substance pointer for this drew the lines I made straight onto the normal maps without having to take it back into the substance or Maya to added extra detail or to sculpt on resulting in a quick process for this.  Few screen grabs of the finished process of the high to low poly bake using, mudbox, maya and substance painter. for the turntable I used the same process of making a high poly version of it in Maya so I could keep the edges I wanted crisp while making the disk look smoother than the low poly version. Then I baked the low poly model with the high poly model using substance painter. 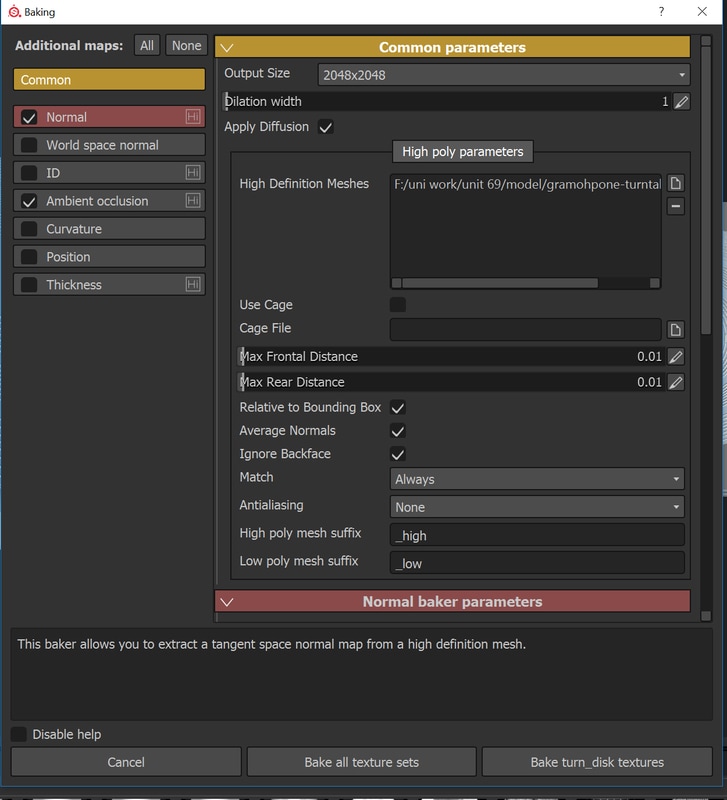 I needed to make my own alpha brush to make the bumps on the disk so I took a snapshot of the turn table us and opened them in photoshop. I used these as a size guidelines when making my first circle with the shape tools. I made sure to have my background black and the circles white as when using the height map it will read white as height and black as low. I made multiple circles, having different sizes in between the circles as shown below: 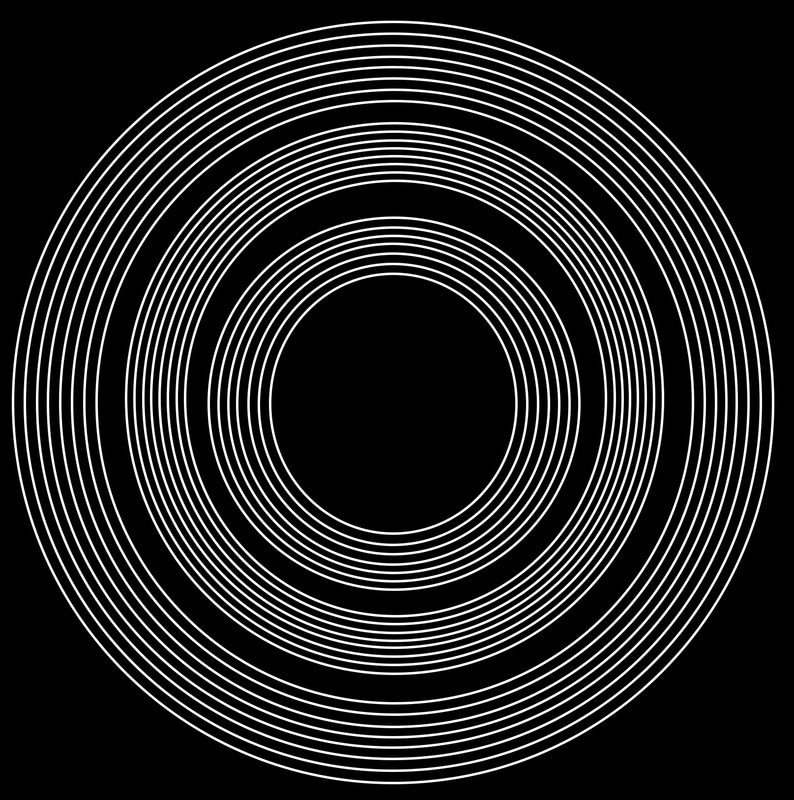 After I made the alpha brush I imported it into substance painter and applied it as a stencil and increased the height map of my brush and stenciled the circles on top of the disk as shown below: 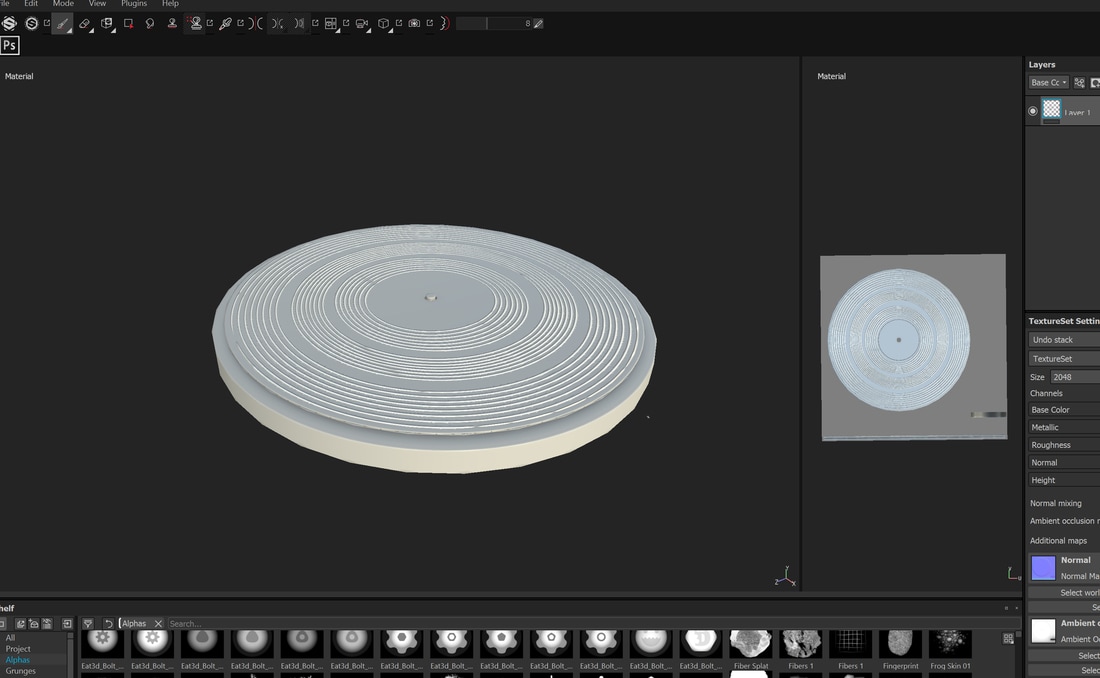
1 Comment
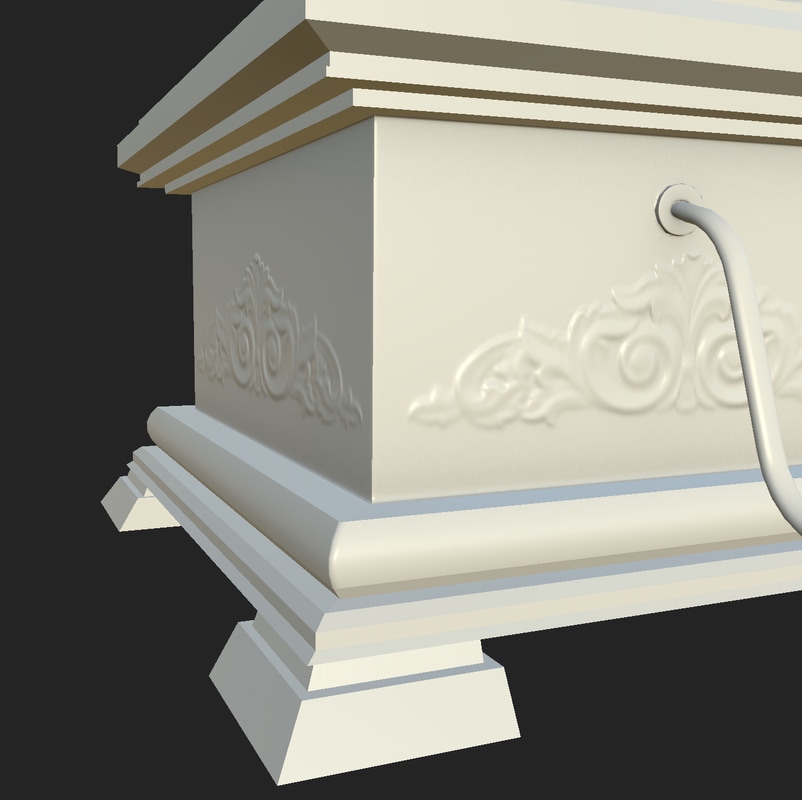
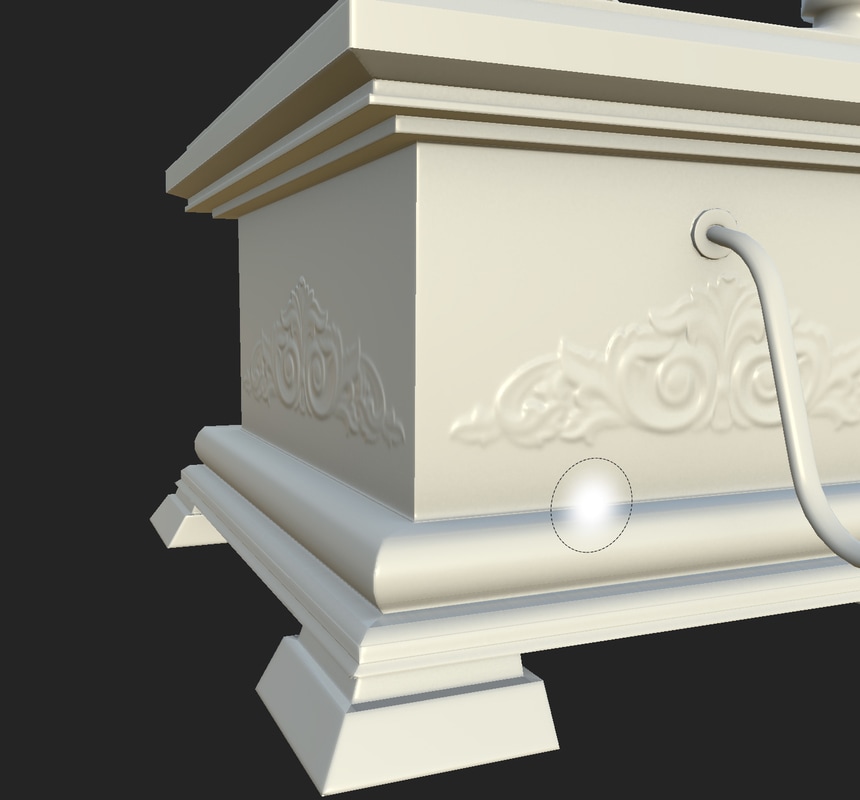
High to low poly bake is combining your high resolution model and low poly model by creating a normal or a displacement texture map and applying it to the low poly model to transfer all the details from the high poly and apply them to the low poly model via a texture. The information in the textures uses different shades or colour which will pass onto the software or render if should be high or low. This gives the illusion of extra geometry to the mesh, but isn't actually geometry and is just a texture map. This is ideal for games as it helps the engine load the models faster as there is less Geometry for the engine to low, increasing performance and optimizing the game play. I have two stages of my high to low poly bake, I want to create some extra detail geometry using Mudbox then import that into substance painter, where I can add minor details that are not as complex and then go straight into creating the texture. I started off by taking the gramophone into Mudbox and subdividing to level 6 and used a stencil of period style ornament in wood carvings as I wanted to make the gramophone look like it has come from the Victorian/ Edwardian time. I started to apply the stencil and I ran into the first problem of this stage, the mess caused bumps in the geometry after subdividing and has effected the model when sculpting onto it as shown below 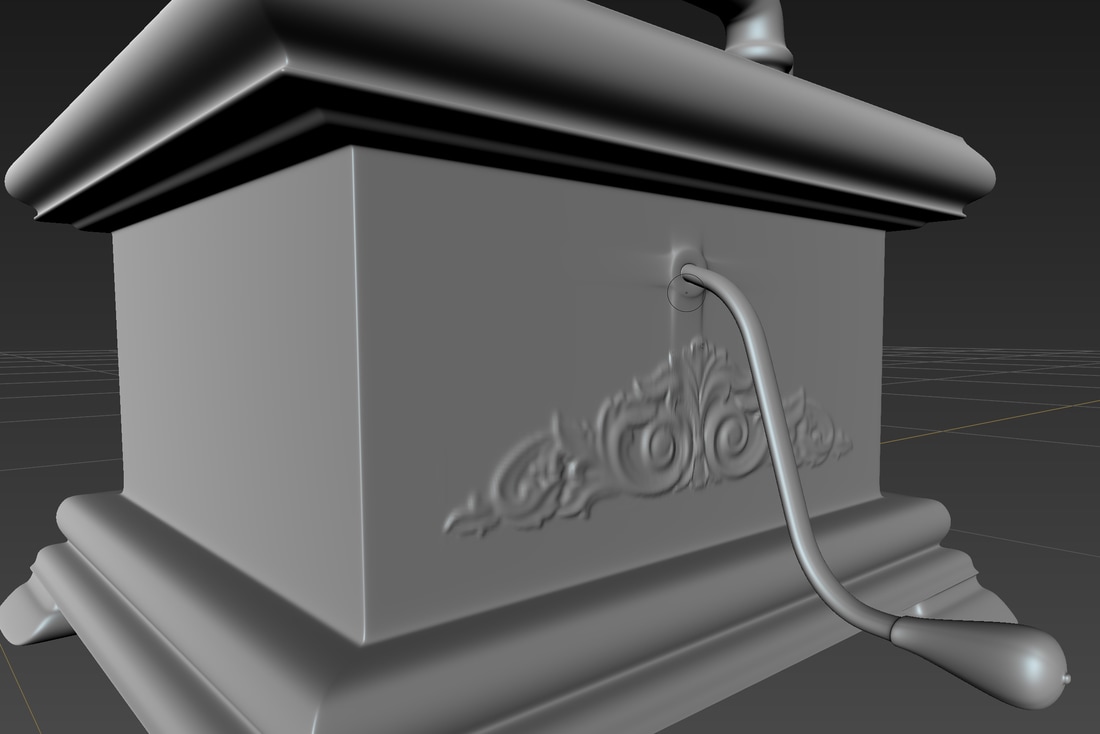 How I fixed this was by adding extra lines into the geometry of the model to stop the handle pulling out the box mesh. As shown below 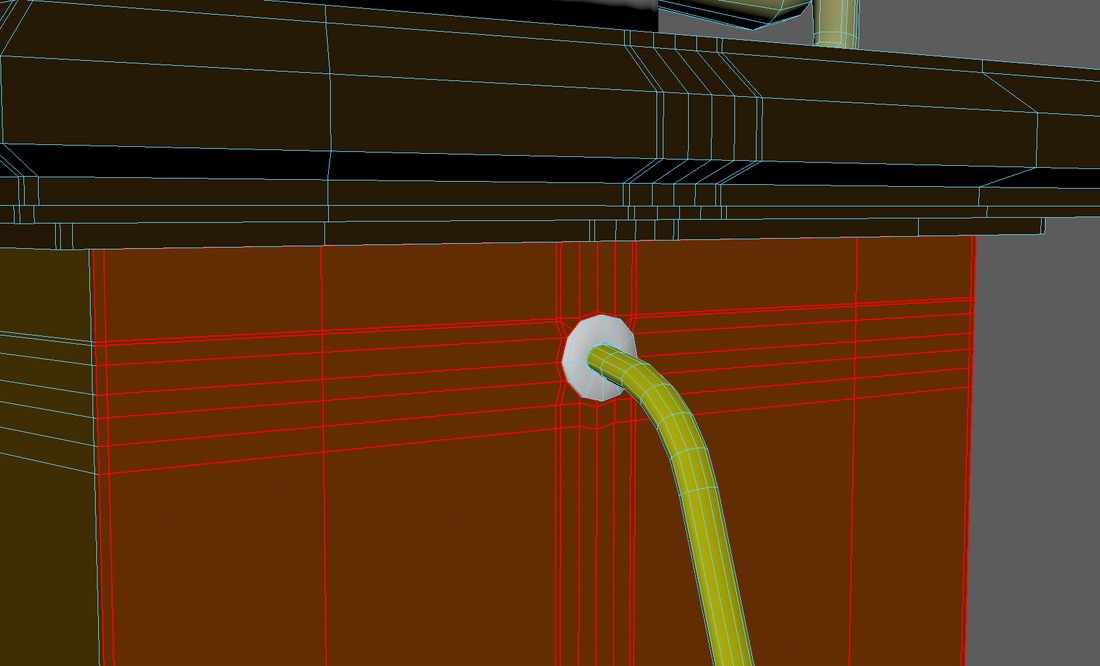 After I fixed this I was able to sculpt onto the model without any errors occurring, and I got the box to look how I wanted it to look like for this part of the sculpt. 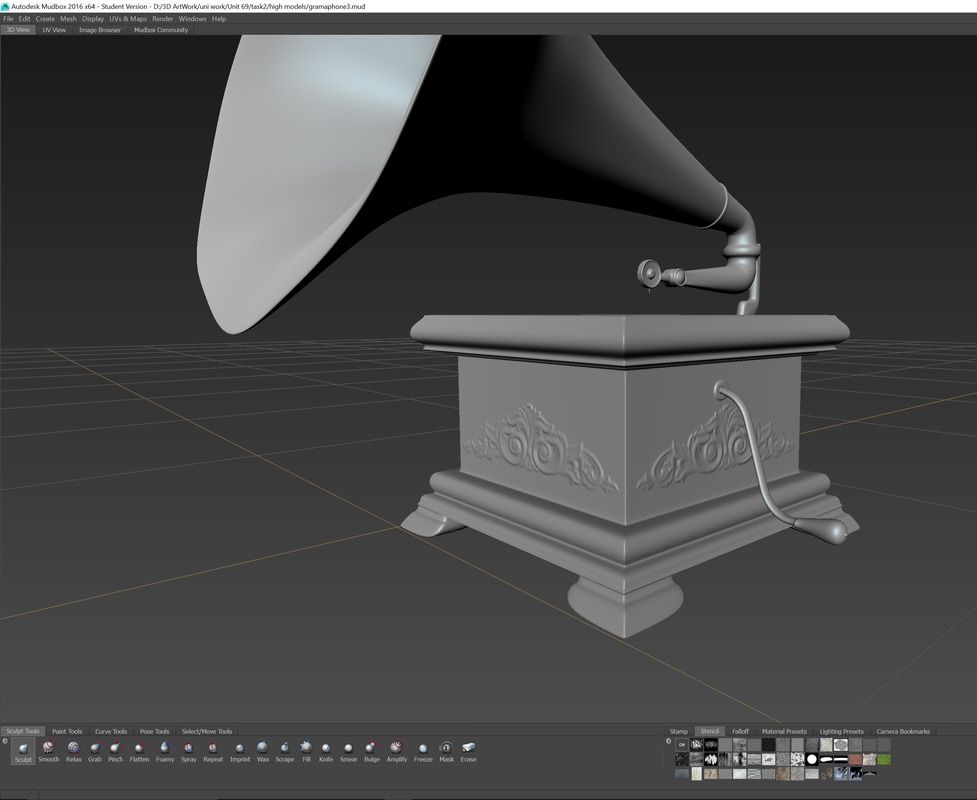 The plan was to use Mudbox texture map extraction. with this tool Mudbox would create a normal map for my model by selecting the high poly and choosing the lowest subdivision level possible for it to bake down on top, I extracted the maps as TGA format as it has an alpha channel and can choose between 16 and 32 bits. When I opened my low model into substance painter and applied the normal map to the box part of the gramophone, the baker had gone wrong and created extra geometry compared to what I had made. 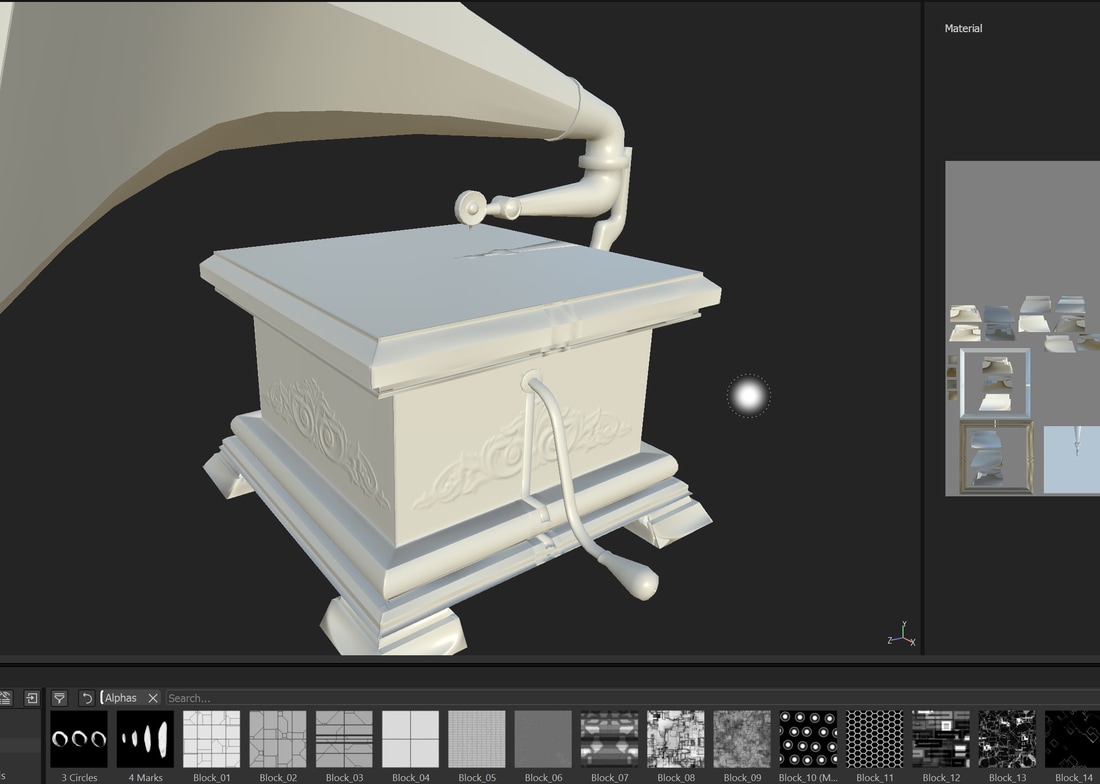 I tried numerous extractions with different file types and different settings and level of subdivision, but this only slightly improved the normal maps. So after the texture extraction didn't work from Mudbox, I decided to do the high to low poly bake from Mudbox inside of substance painter. I loaded my low poly mesh up and went to the bake settings and added the high poly model. 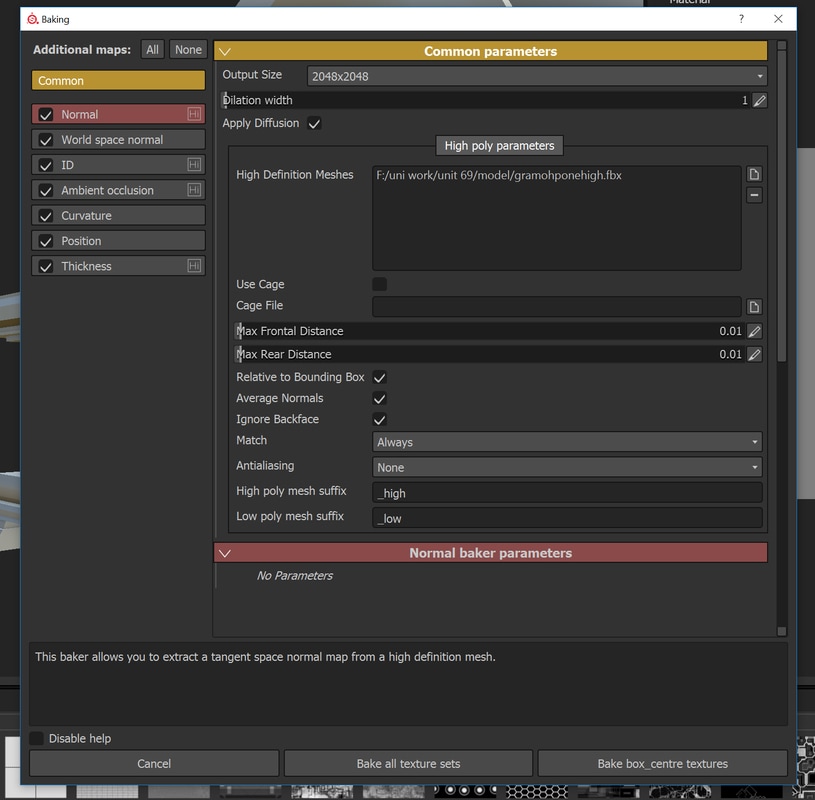 I selected all the texture maps inside of the list, but the only two I really need out of the list is the normal and ambient occlusion maps. Then I made sure that I only baked to the gramophone box and not all of the gramophone as Mudbox smooth the edges that I want to keep as hard edges and doing it this way I can have the best of both worlds. These are the results of the bake I did with substance painter using the high poly model I made in Mudbox 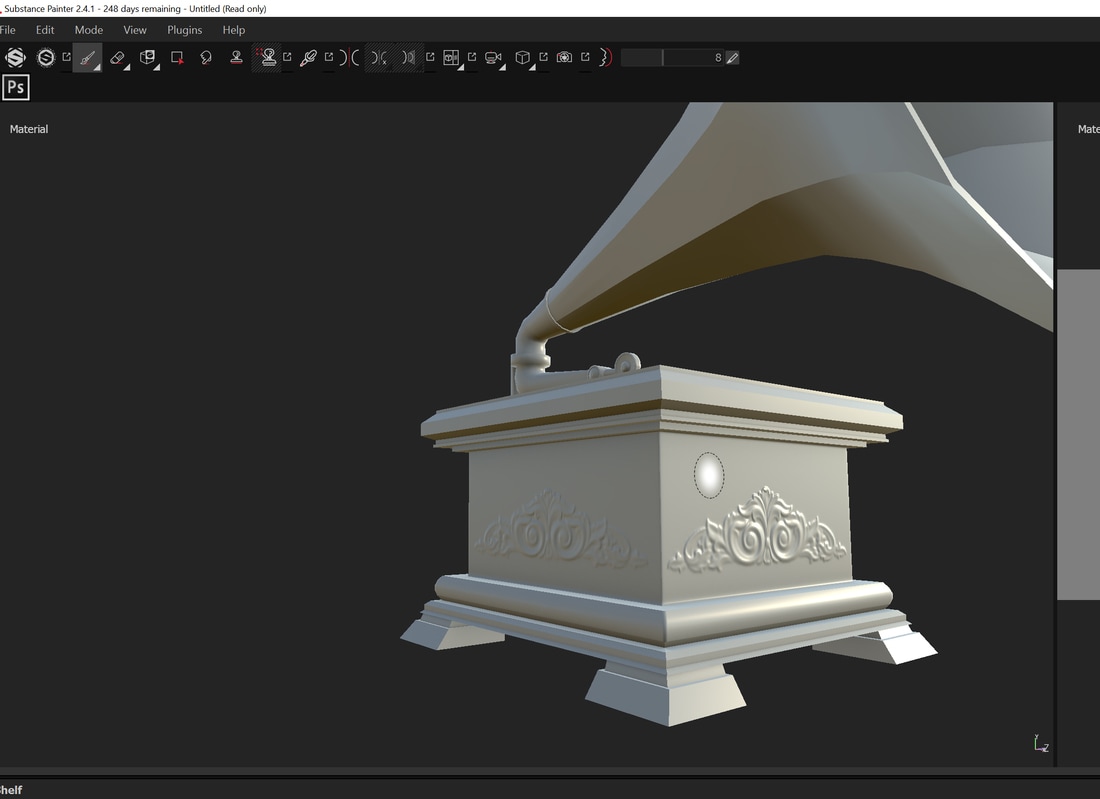 as you can see the high to low poly bake worked this time and i have a clean mesh with all the detail i added to the box applied to my low poly model by using a normal map created with substance painter.
|
AuthorWelcome to my blog about my game design and 3D modelling work Archives
February 2017
Categories
All
|
 RSS Feed
