Unit 69
For this unit I have to create one asset that is going to be a main feature of the game I am building for unit 18, it has to be below 8,000 trails, fully textured and have a high to low poly bake as well.
|
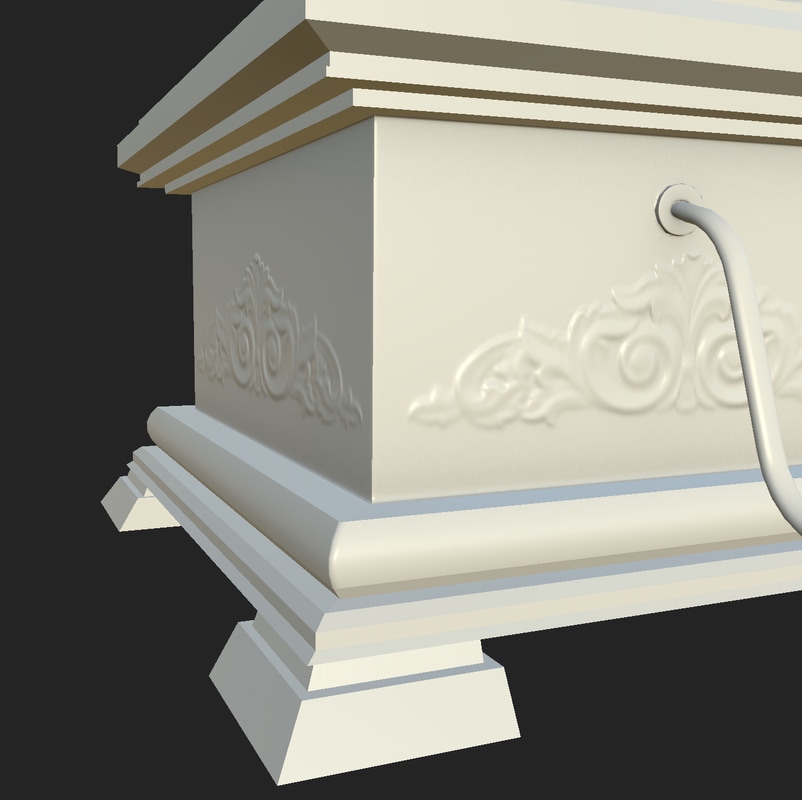
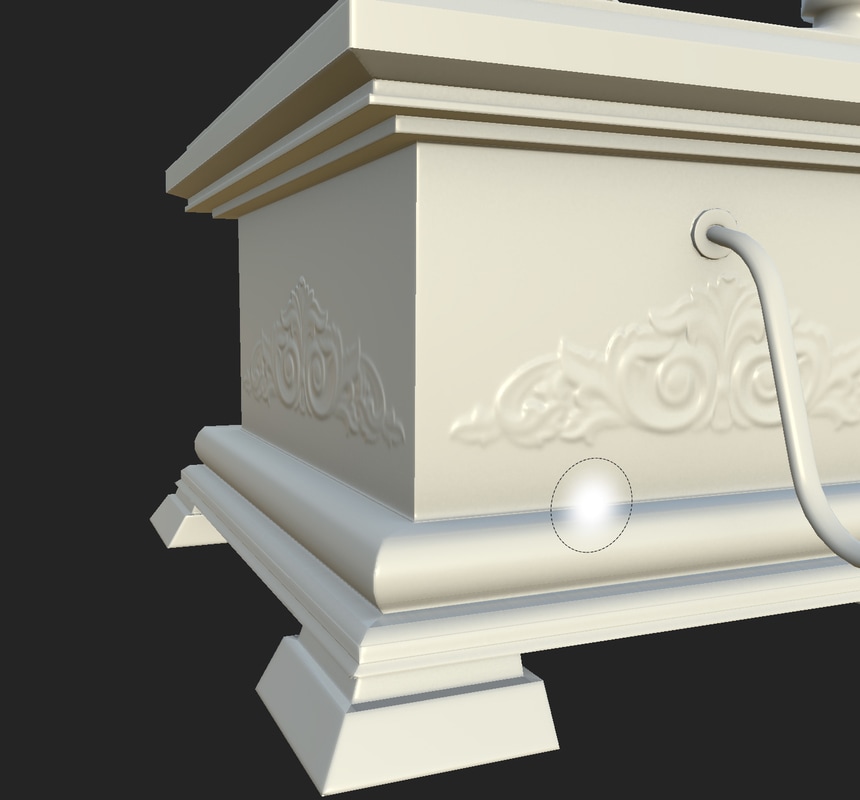
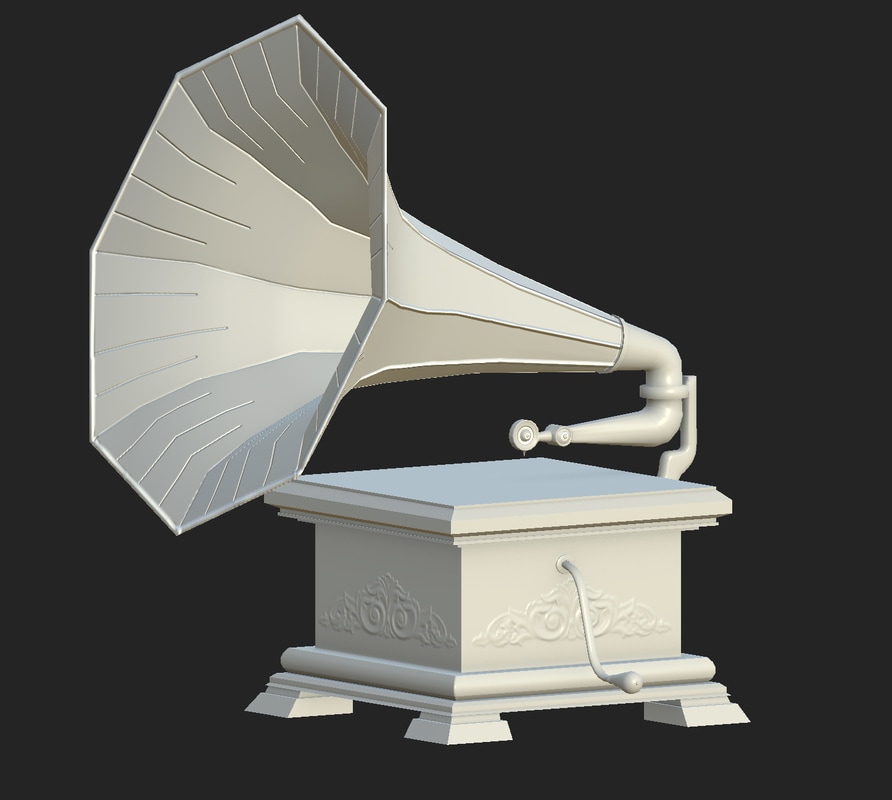
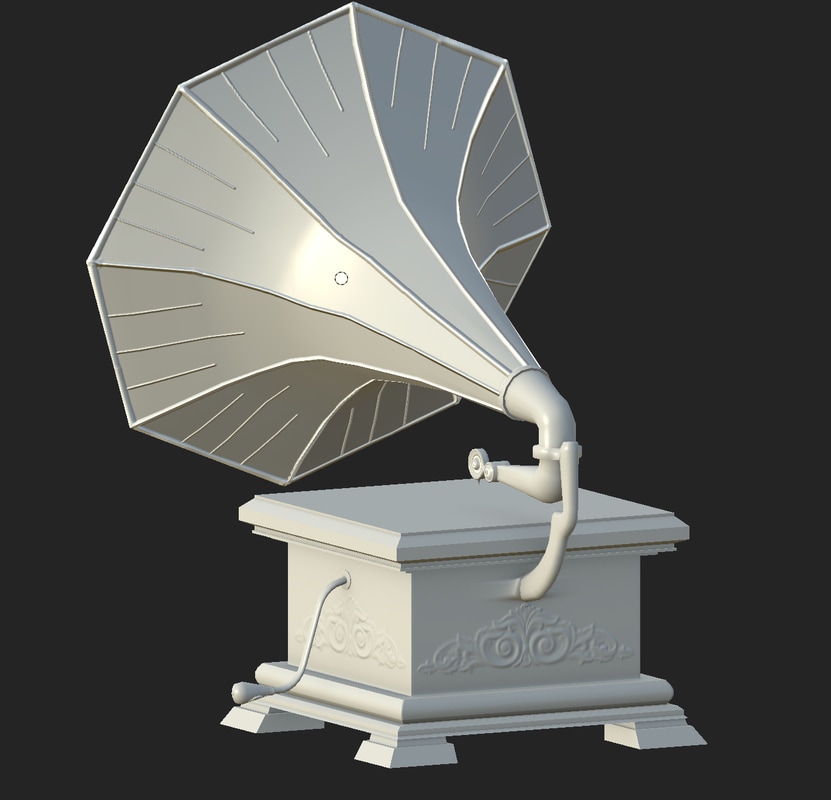
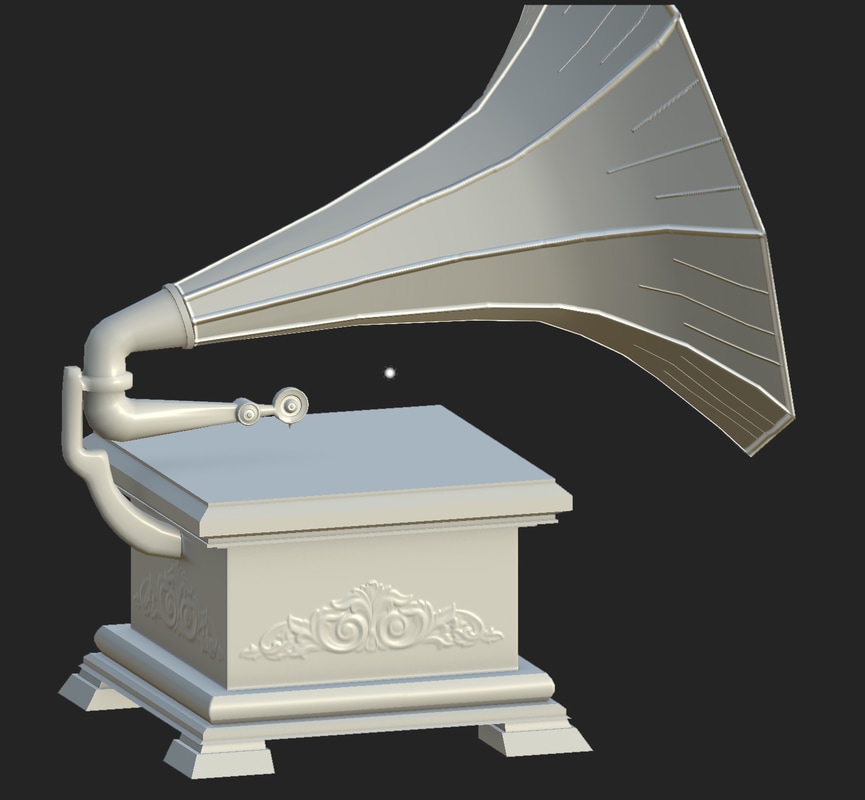
After using Mudbox to add a slot to the gramophone and baking it within substance painter, I needed to add more detail to the rest of the model. I started off by going into Maya and duplicating my model and adding extra edge loops in the model to define edges that I want to keep sharp and crisp and added more edge loops around the areas I wanted smooth curve. I used the smooth preview button to see if the edge was staying as sharp as I wanted and find area that needed extra edge loops. After this I smoothed the model with a subdivision of 1. 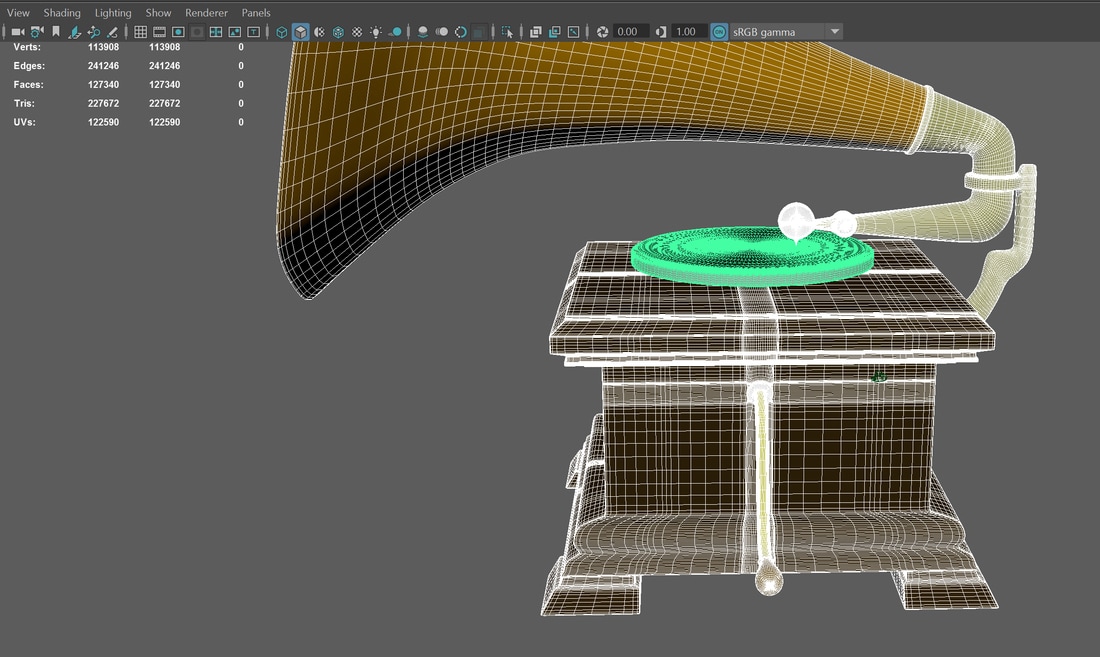 I then went into substance painter and baked each of the areas that I did not bake before 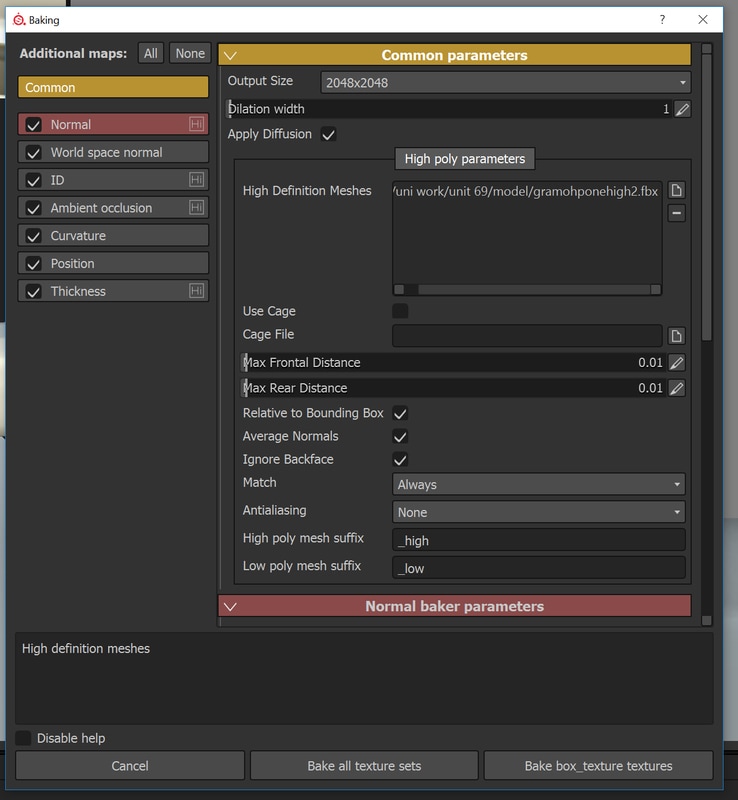
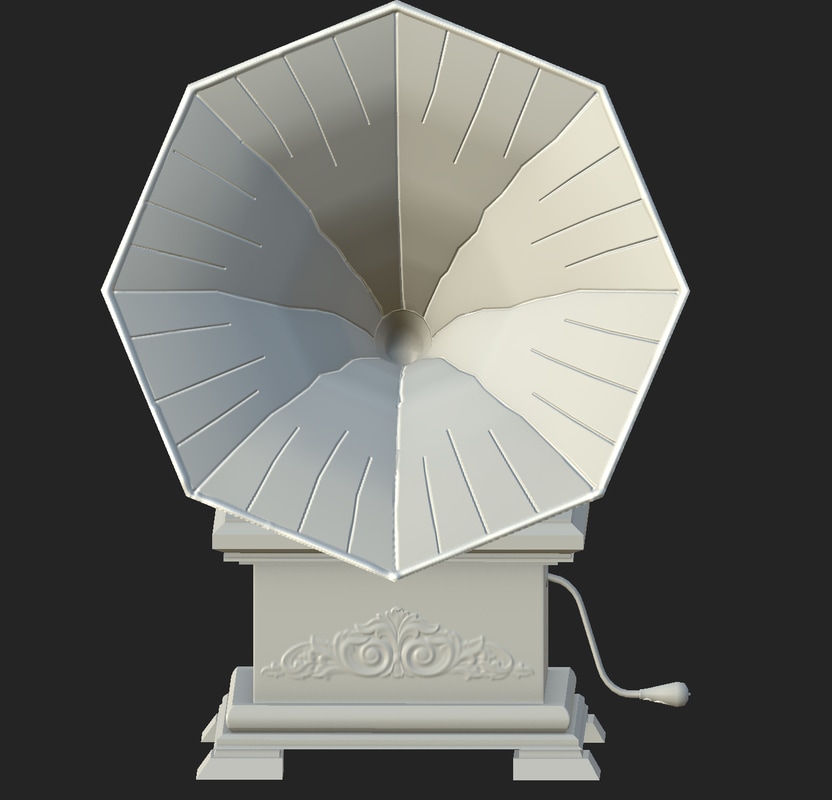
As you can see from the images above, there is slight differences, the book as made the wood that is curved more smooth and it has defined the edges and make them more crisp and sharp. I did this process for all of the gramophone except for the horn. For the horn as I wanted it to stay as it was designed in the low poly, I decided to add the final details in substance painter. Using an alpha brush and increasing the height I drew the lines on top of the model using the shift key to keep them straight. for the inside I used the height option but in the minors as I wanted to give the effect of it is indented and popped up on the other side. Using substance pointer for this drew the lines I made straight onto the normal maps without having to take it back into the substance or Maya to added extra detail or to sculpt on resulting in a quick process for this. 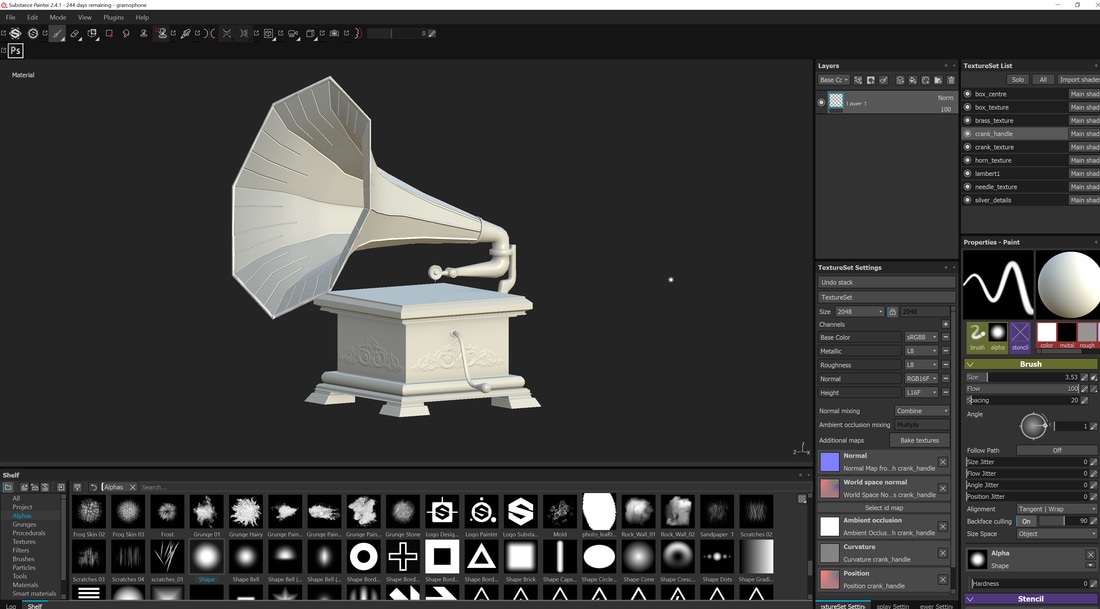 Few screen grabs of the finished process of the high to low poly bake using, mudbox, maya and substance painter. for the turntable I used the same process of making a high poly version of it in Maya so I could keep the edges I wanted crisp while making the disk look smoother than the low poly version. Then I baked the low poly model with the high poly model using substance painter. 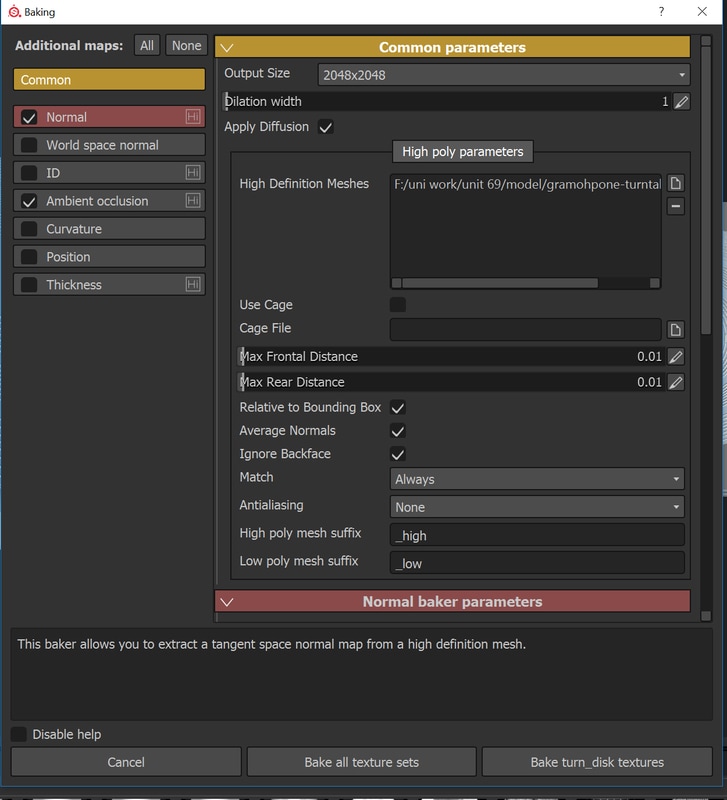 I needed to make my own alpha brush to make the bumps on the disk so I took a snapshot of the turn table us and opened them in photoshop. I used these as a size guidelines when making my first circle with the shape tools. I made sure to have my background black and the circles white as when using the height map it will read white as height and black as low. I made multiple circles, having different sizes in between the circles as shown below: 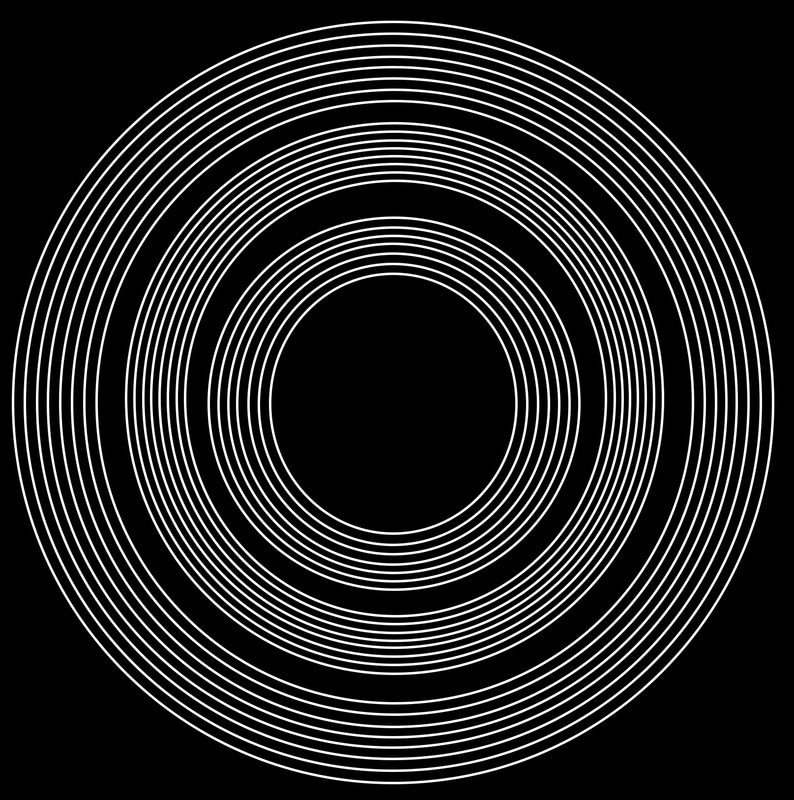 After I made the alpha brush I imported it into substance painter and applied it as a stencil and increased the height map of my brush and stenciled the circles on top of the disk as shown below: 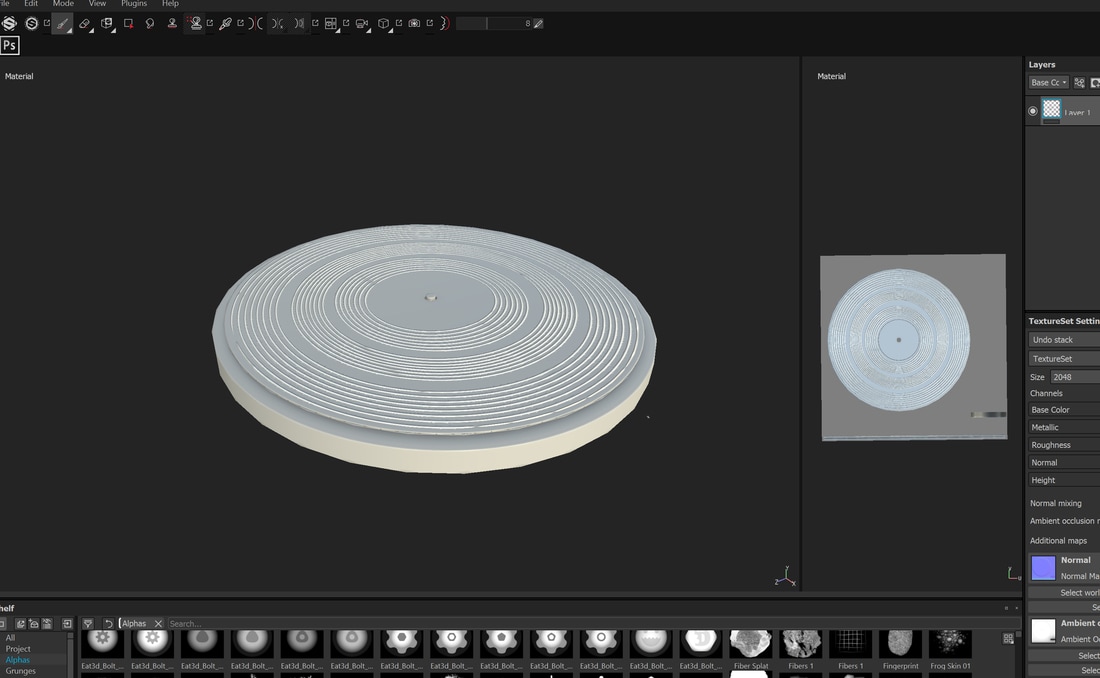
1 Comment
1/16/2024 08:15:39 am
Transform your animation process with our advanced rigging techniques. Our specialized rigging services ensure seamless character setup, offering sophisticated rigs with minimal manual effort. Ideal for animators at any level, this streamlined approach enhances productivity, allowing you to focus on the creative aspects of character animation. Experience a time-saving and intuitive rigging process that optimizes your animation workflow, ensuring dynamic, engaging, and lifelike character movements. Elevate your animation projects with the precision and efficiency of our cutting-edge rigging technology. Leave a Reply. |
AuthorWelcome to my blog about my game design and 3D modelling work Archives
February 2017
Categories
All
|
 RSS Feed
