Unit 69
For this unit I have to create one asset that is going to be a main feature of the game I am building for unit 18, it has to be below 8,000 trails, fully textured and have a high to low poly bake as well.
|
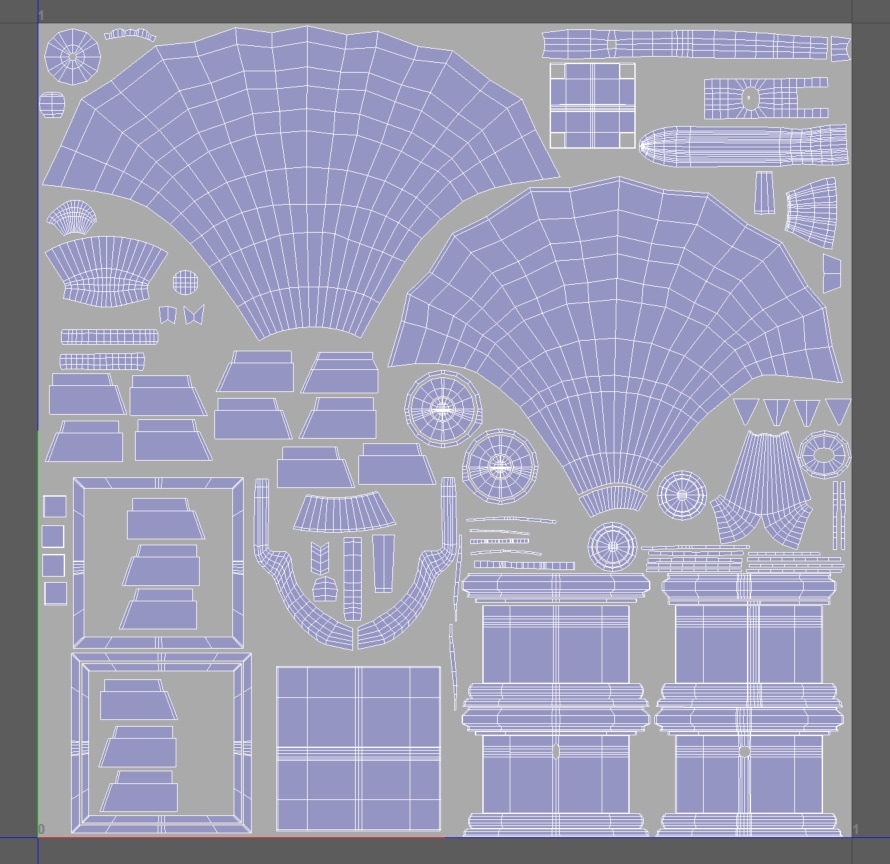
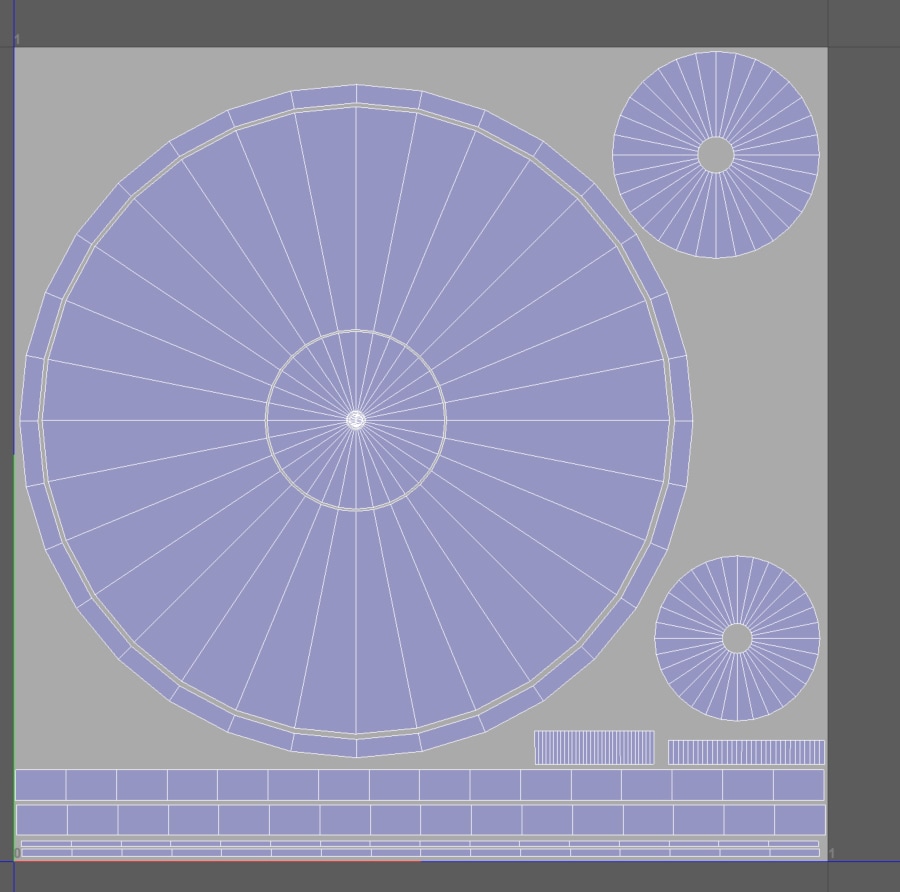
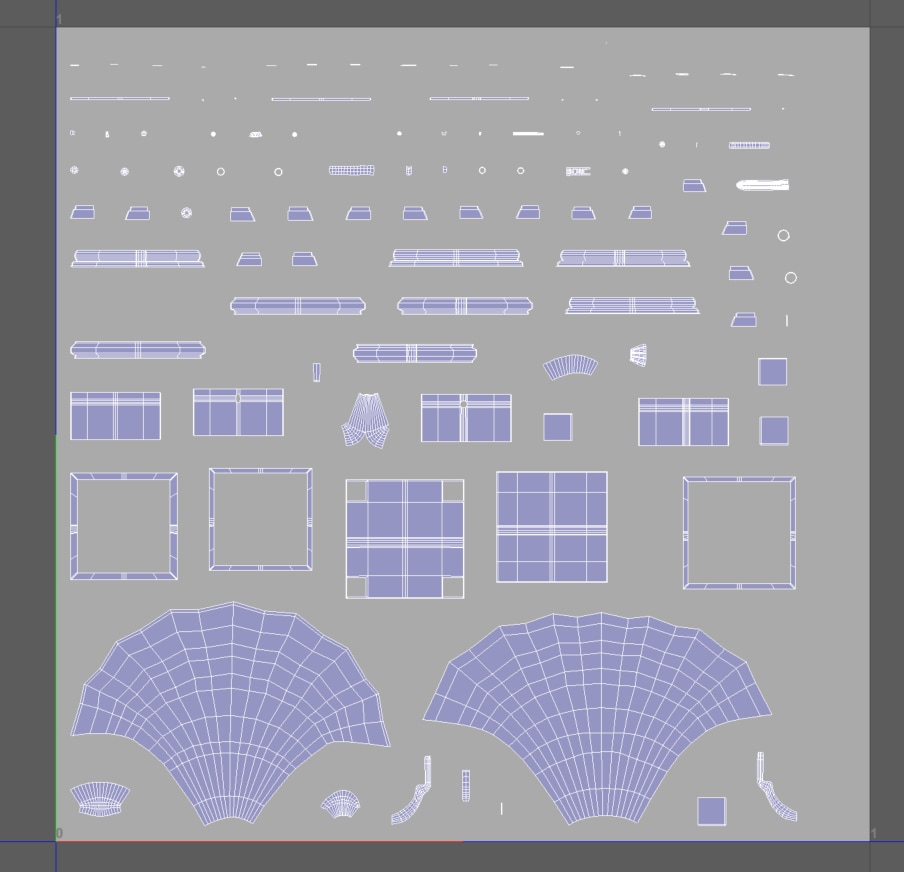
After doing my research on how to do the UV's correctly for my model, I then applied all the techniques to my model and created the UV for it. I made sure all the squares were as even as possible to stop stretching and made sure there was no overlapping and enough space between each shell so there would be no bleeding when I paint on the uvs later on with substance painter.I also tried to avoid having seams in the middle of the model and kept them to edges and hidden from the players view. in the images below you can see my UV for the gramophone and how I have laid them out.
In the image below you can see the gramophone with a checkered image onto to show how event the square are to avoid stretching and distortion. 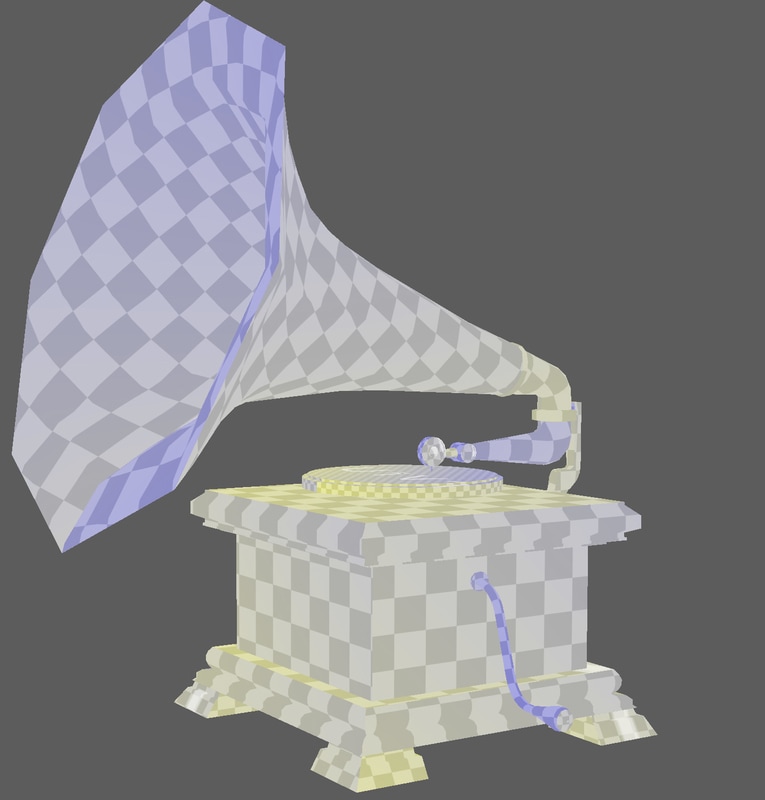 After I created the waves I copied the waves into a new layer and rename them lightmaps I then applied a layout of 2%, which should give enough space between the shells to avoid shadow bleeding in the game.
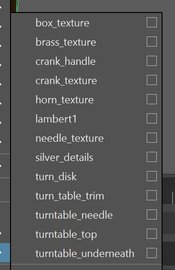
After I got my UV sorted I placed a lambert texture on each of the areas I felt will have different types of materials, this will help me when I come to textering and painting in substance as it will break down each lambert texture and place it into its own layer.
1 Comment
Uv maps UVs are two-dimensional texture coordinates that use the vertex information from the model geometry. UVs are important to the model because it tells the model how to apply the texture onto the surface. The XYZ axis are already used in the 3D space, we have to use U and V for the axis in the 2D space. So when these two are applied together U and V axis of the 2D texture it projects its coordinates onto the 3D models axis of XYZ. In the image below you can see 10 vertex selected in the model and in the UV map you can see where it corresponds to the 2D texture 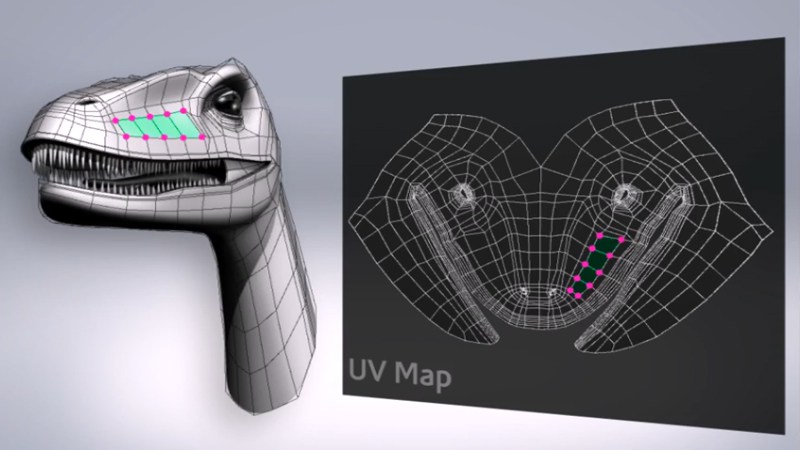 The UV map needs to unfold and flattened out and have no overlapping UV coordinates to stop texture deformations. Also, using a checked texture is ideal so that you can see where the texture would be stretched and if it has even squares. As shown in the image below, is bad UVs, stretched and distorted and not perfect squares 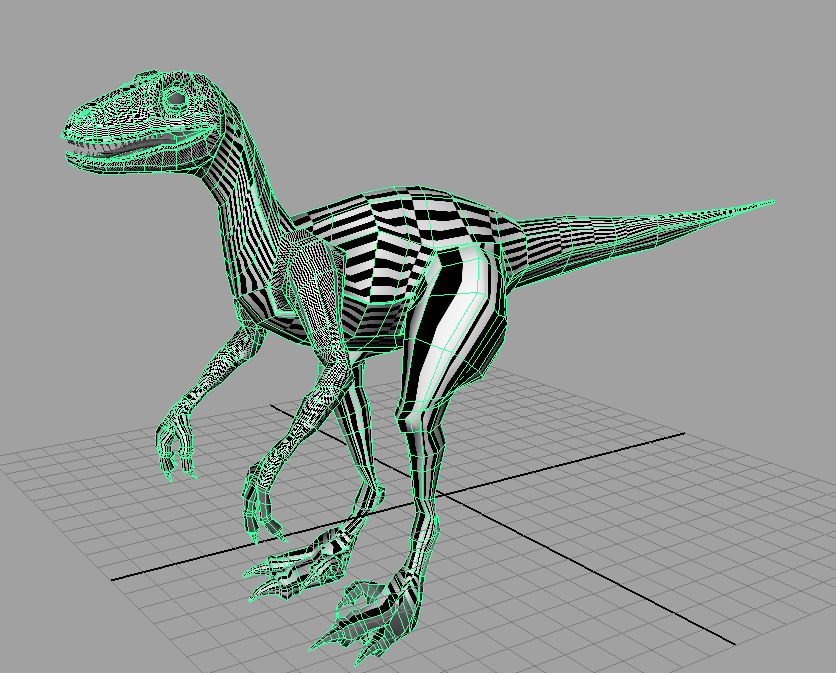 In the image show how correct UV unfolding looks like as there is no stretching or distorting. This is shown by even squares throughout the model 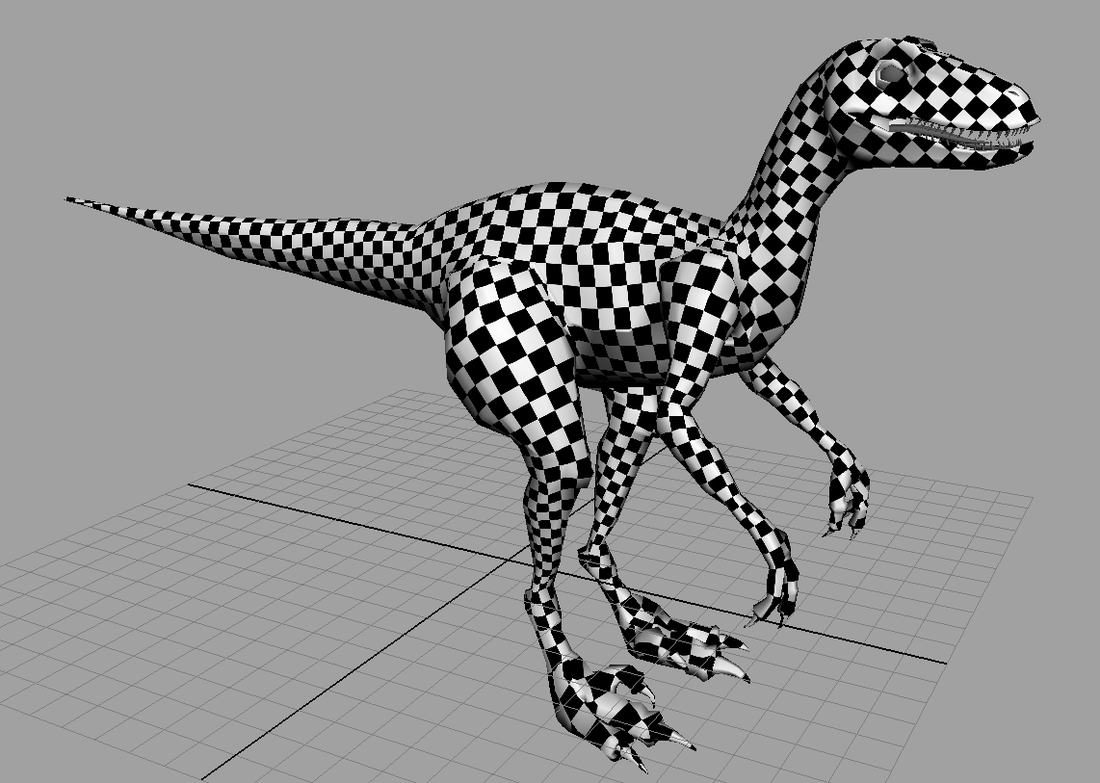 References https://biocinematics.blogspot.co.uk/2010_04_01_archive.html http://blog.digitaltutors.com/understanding-uvs-love-them-or-hate-them-theyre-essential-to-know/ Lightmaps Lightmaps are based off the models UV texture coordinates placed into a new UV layer. They are pre-rendered in the game engine and turned into a grey scale texture. When a light shines onto the model has cast a dark grey shadow of the diffuse texture coordinates. Lightmap UV's need more space between each shell so there is no overlapping and cause a shadow bleeding as shown in the image below what happens when lightmaps overlap and cause a shadow bleed.  The image below shows how correct lightmaps render in the game engine. 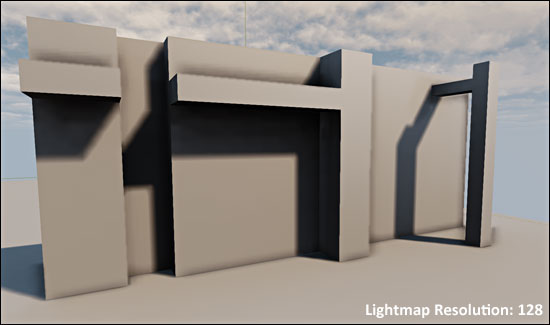 |
AuthorWelcome to my blog about my game design and 3D modelling work Archives
February 2017
Categories
All
|


 RSS Feed
