Unit 69
For this unit I have to create one asset that is going to be a main feature of the game I am building for unit 18, it has to be below 8,000 trails, fully textured and have a high to low poly bake as well.
|
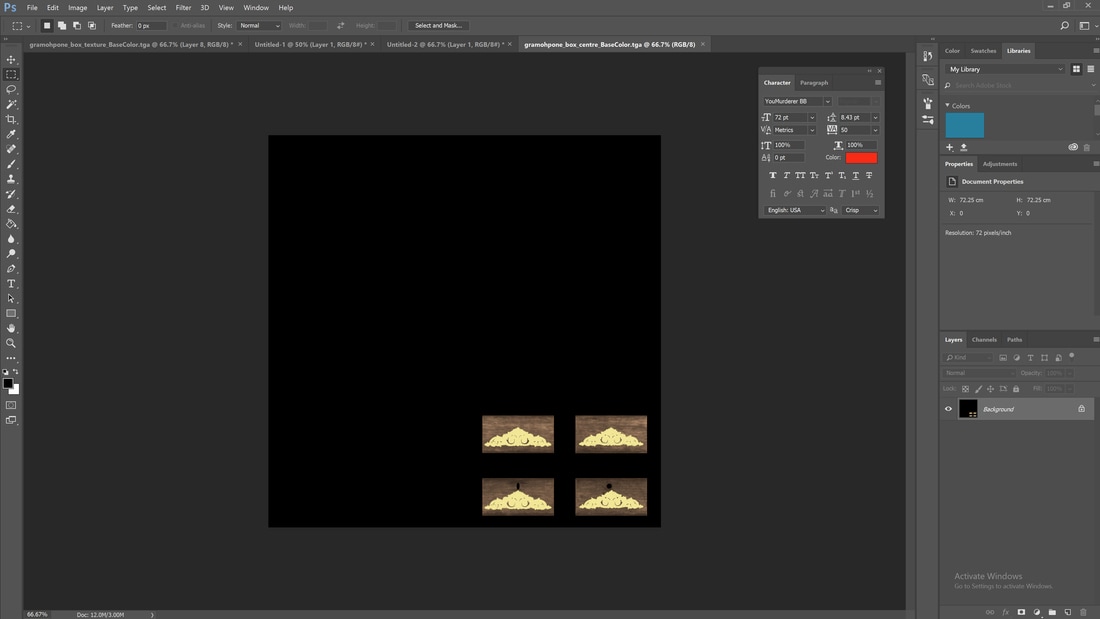
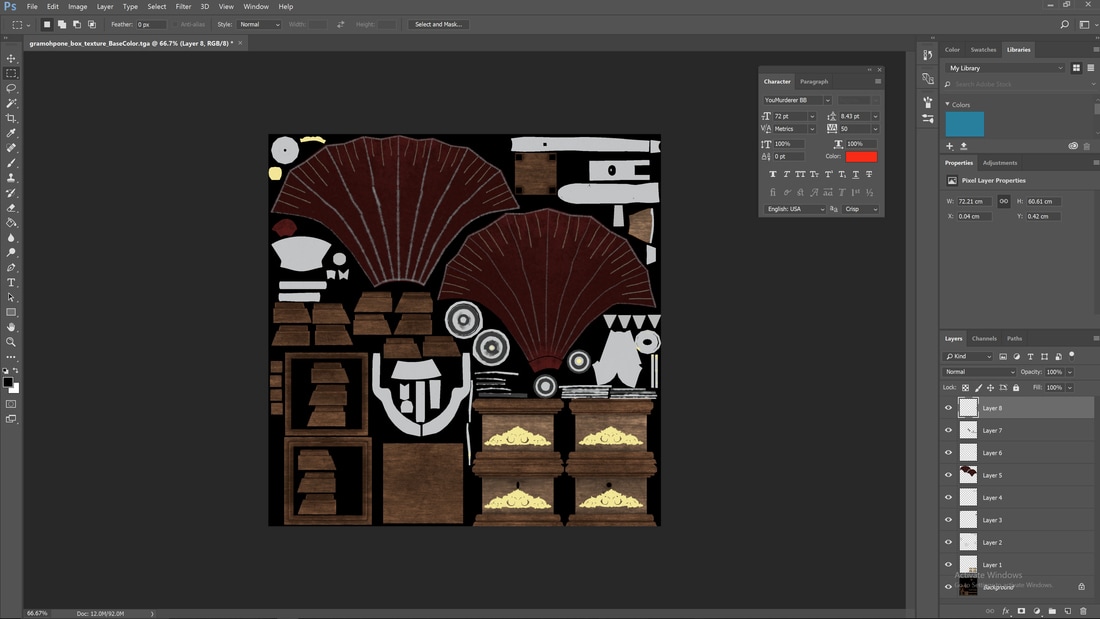
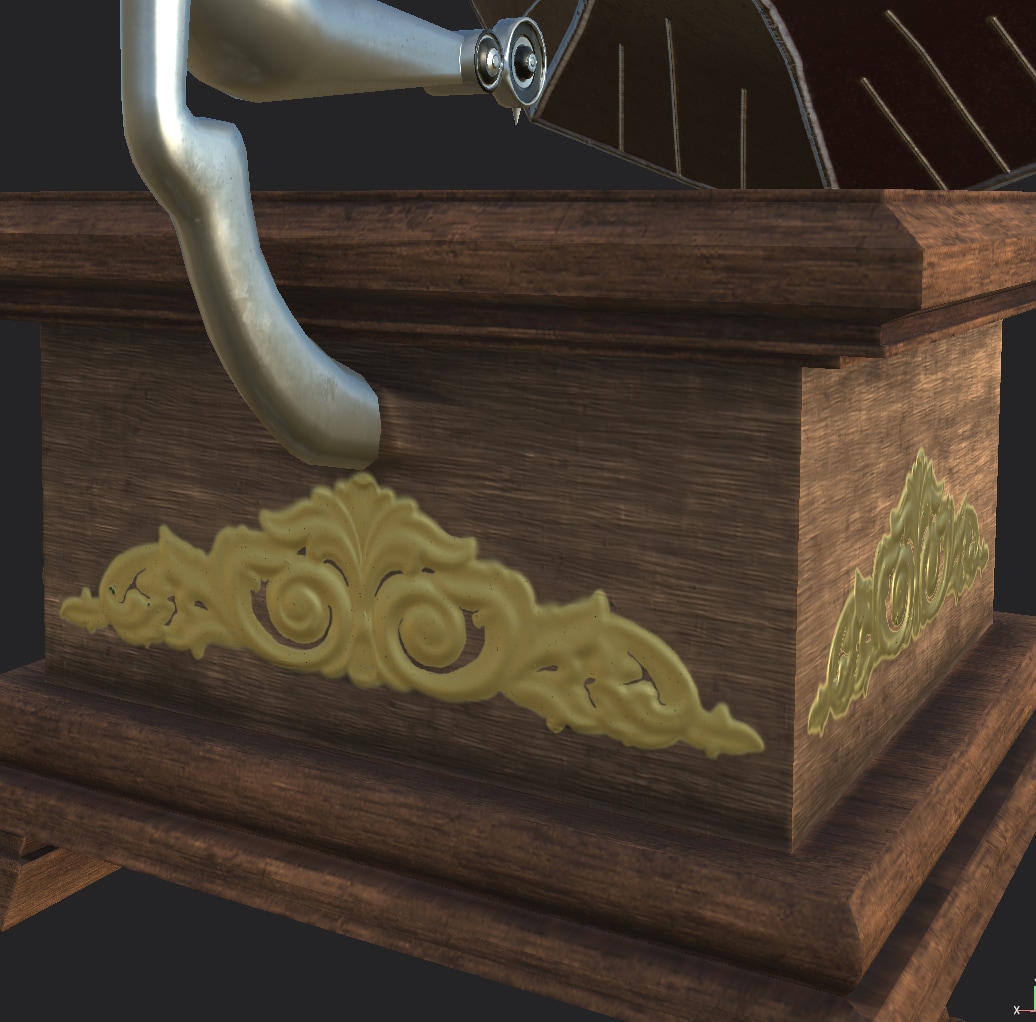
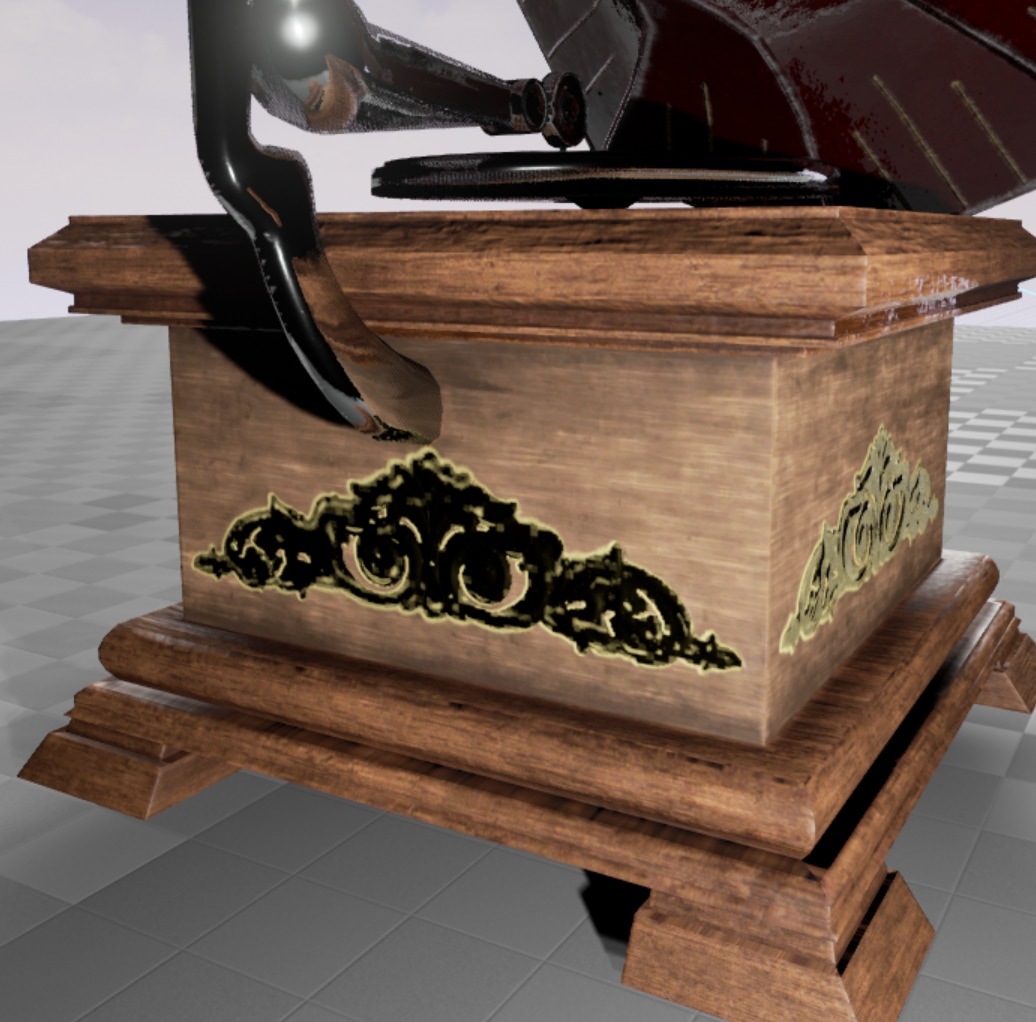
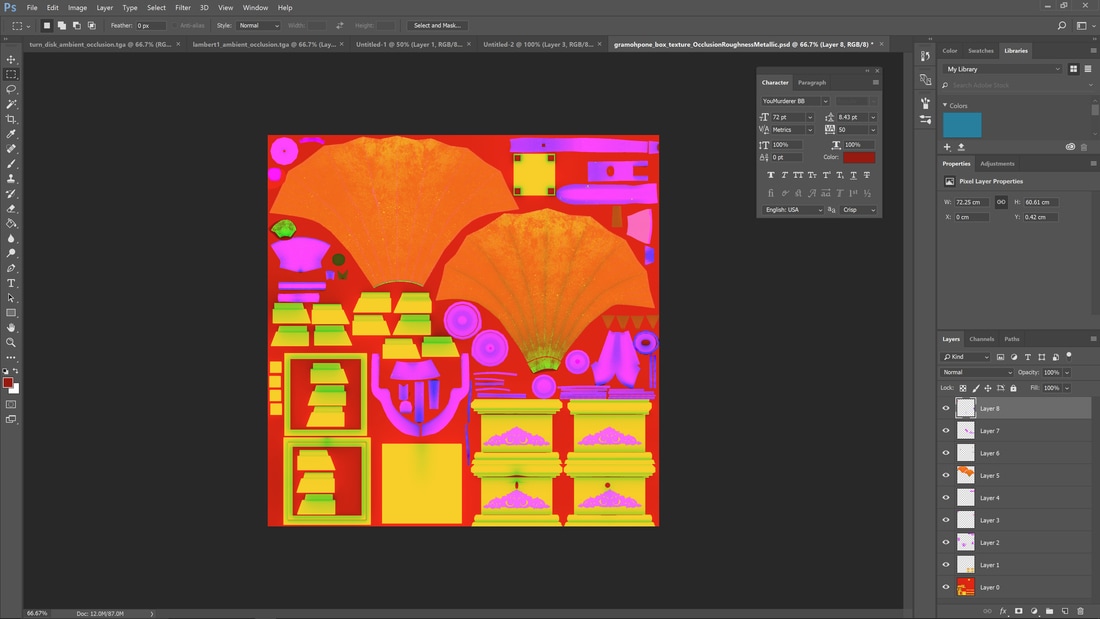
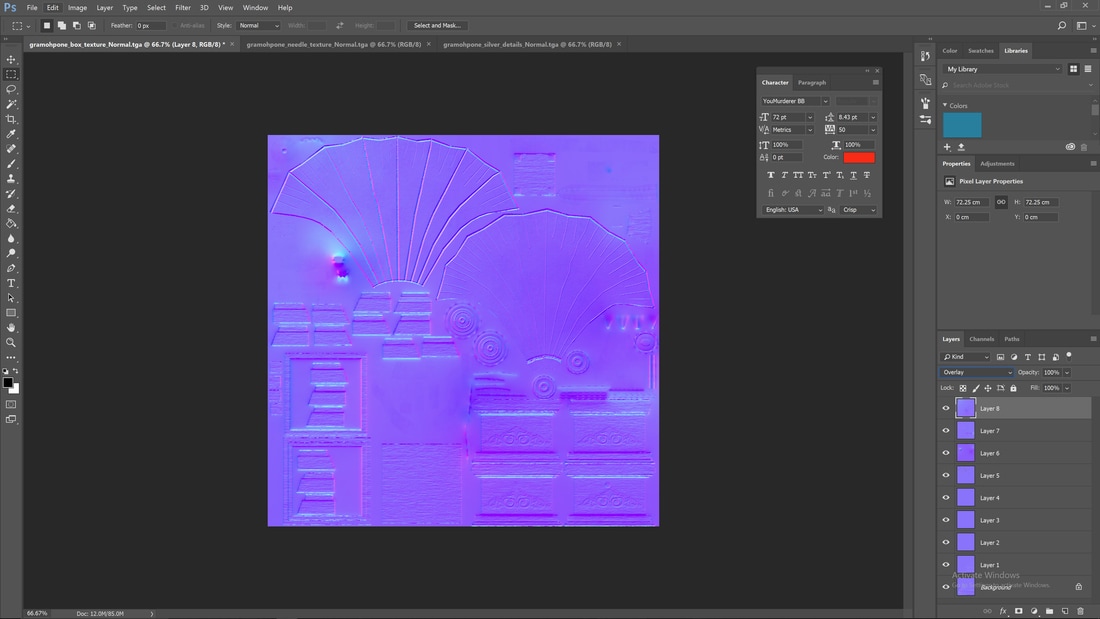
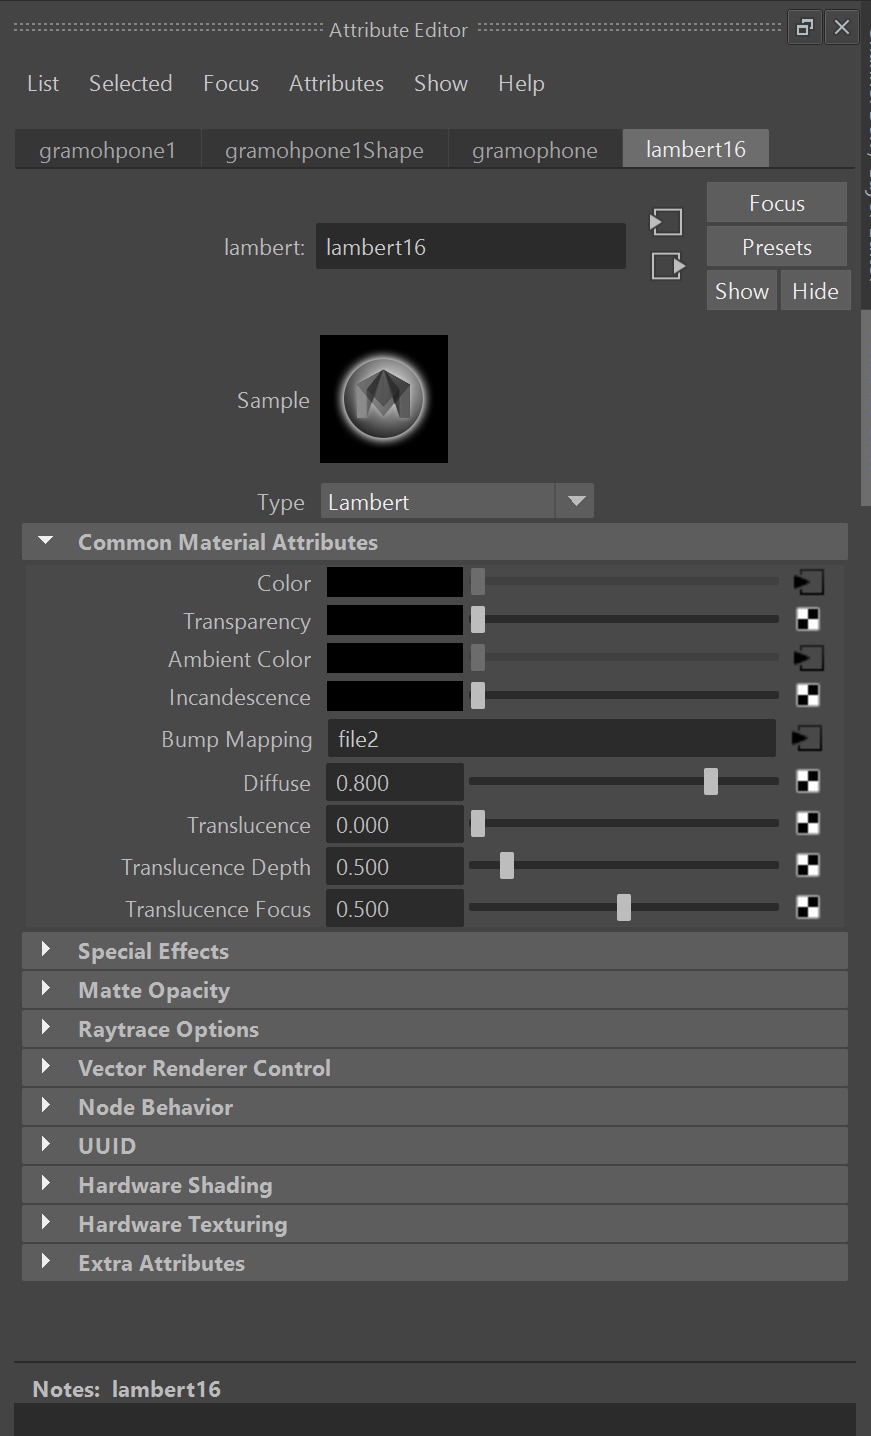
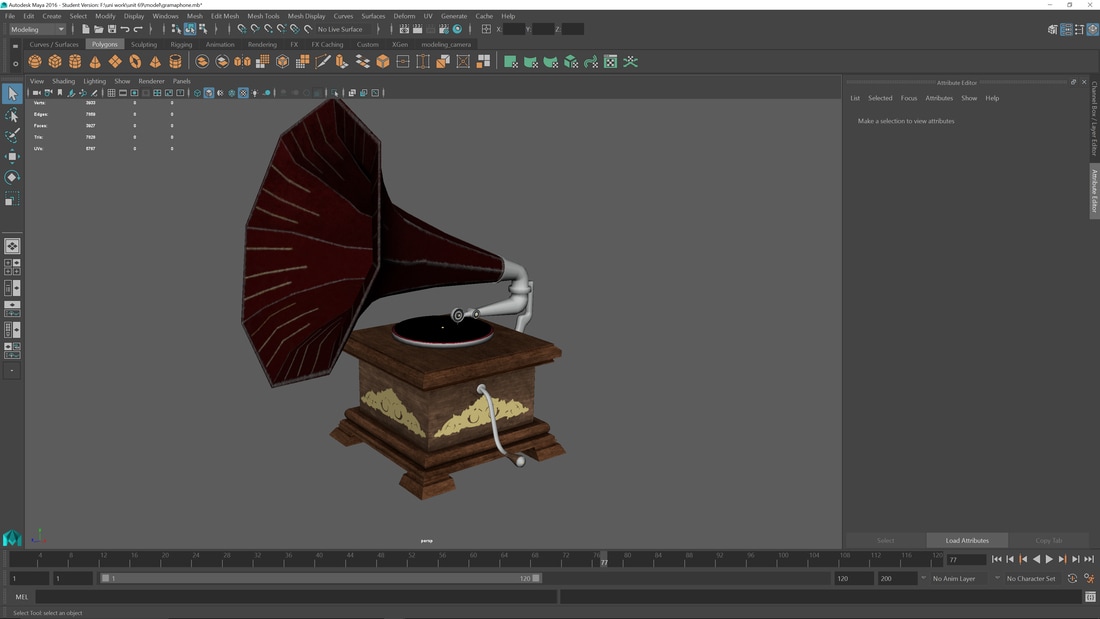
I decided to use substance pointer as my main Texturing tool and then use photoshop as a touch up / editing the textures when once exported. When by substance painter, I mainly used materials and smart materials for the base coats, then I used white and black masks to overlap and use a new material to add / remove the new material away from the old one. This worked brilliantly for the brass effect on the box and from scratch and line the details of the horn. I used the same process for the turntable, but this was a lot quicker as there was no defined detail that I needed to paint on compared to the main part of the gramophone. This is a time lapse video of how I painted the gramophone and how I used masks to use multiple textures. 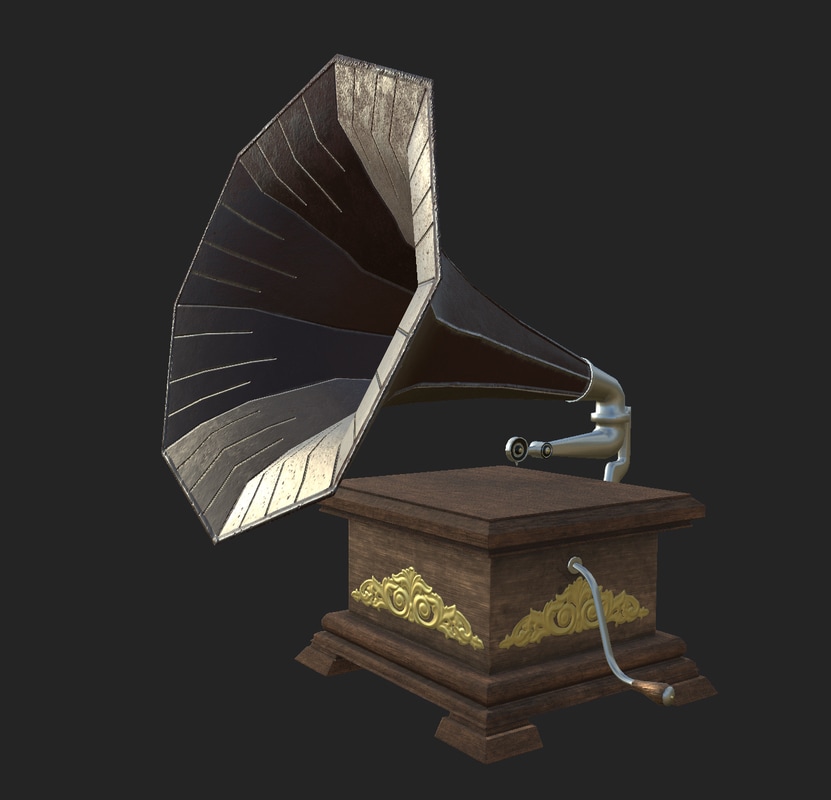 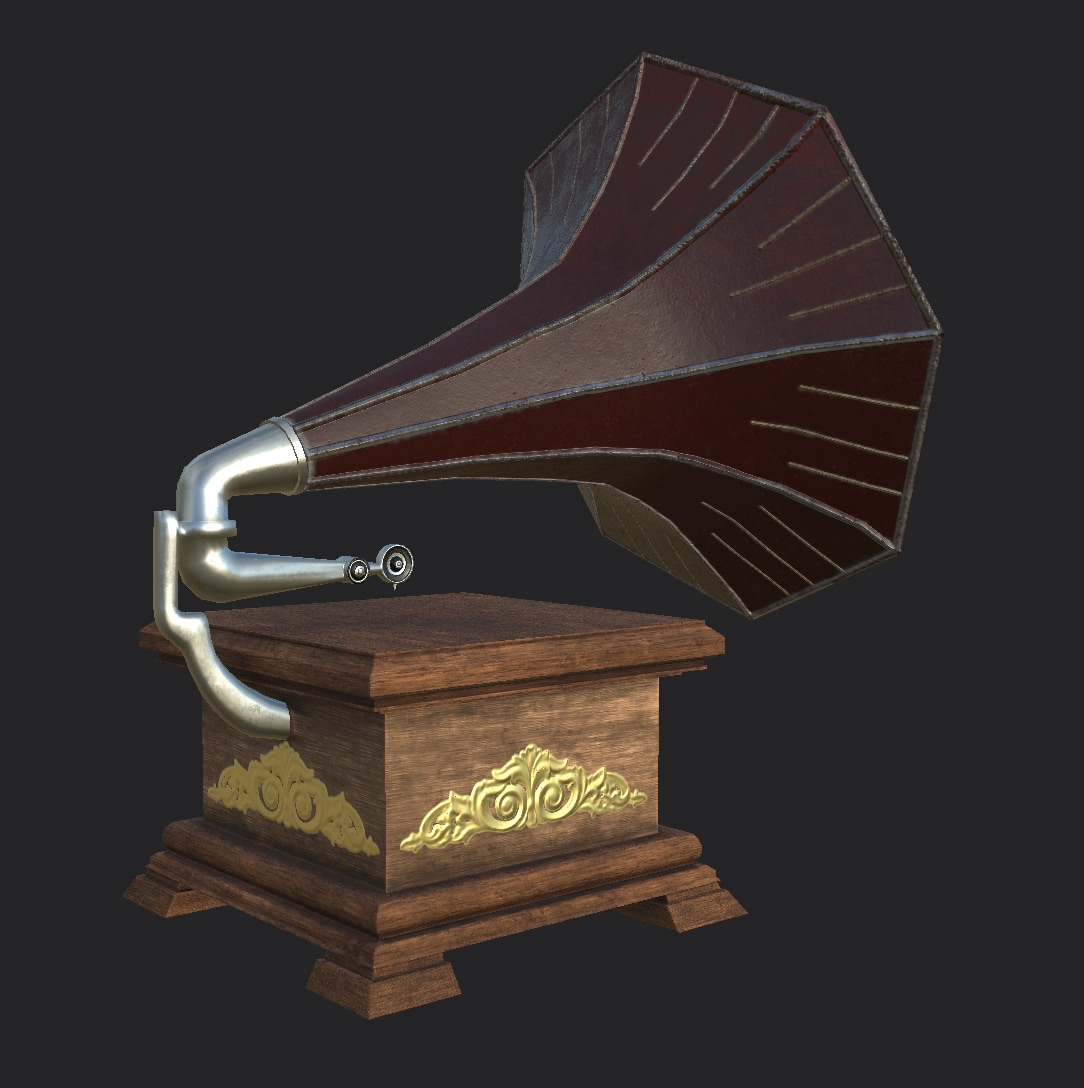 After I finished the painting of the model I needed to export the textures. After doing my research I knew there was an option for unreal engine and it would compress the AO, metallic and roughness into its own channels in the textures. So I selected that option and changed the format to target because it has an alpha channel. I then changed the common padding to dilation + transparent because I wanted to merge all the textures into one file as having 9 separate texture files for one model is not practical and can effect the performance so I decided to merge the 9 layers into one in photoshop. 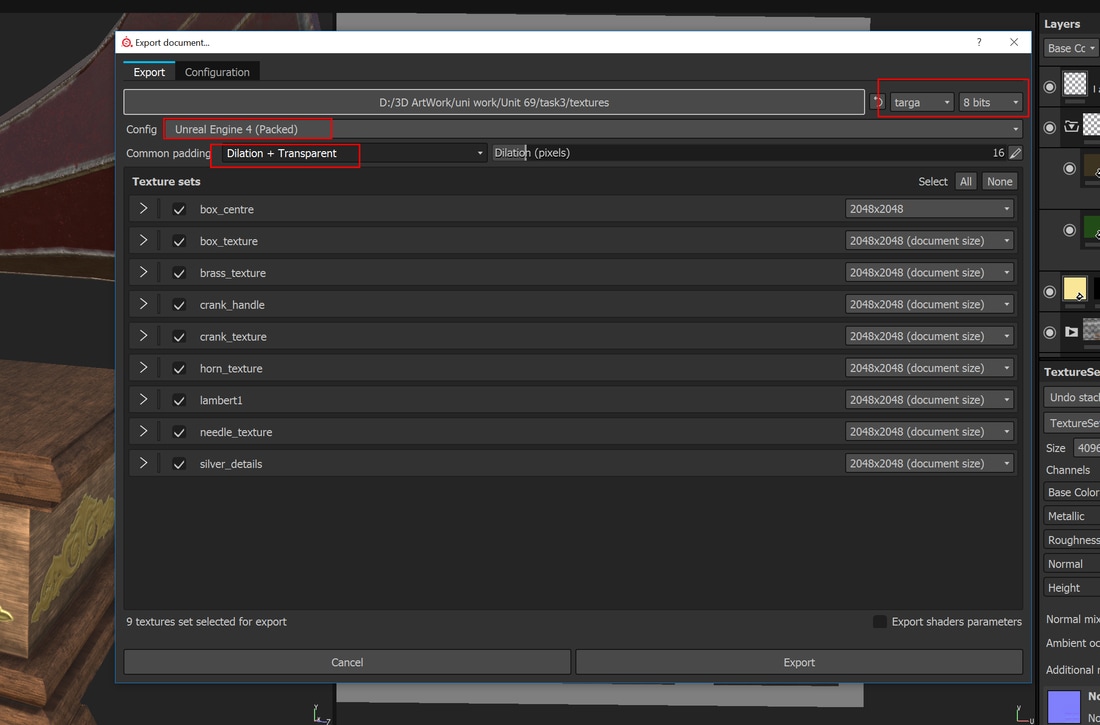 Once in photoshop I opened all the colour id maps and added them all into one image on their own layers. Because I selected for the background to be transparent, it has exported it as black which made it easy to select around the image and delete the background to revile all the layers underneath. I didn't need to edit any of the textures as I felt happy with how they looked. When I was painting the model I noticed that there was something wrong with the normal at the back of the model. I then waited till I could see what was happening when I photoshop and it looks like the normal map think it was raising out so I used the clone tool and removed the imperfections to make it all level. 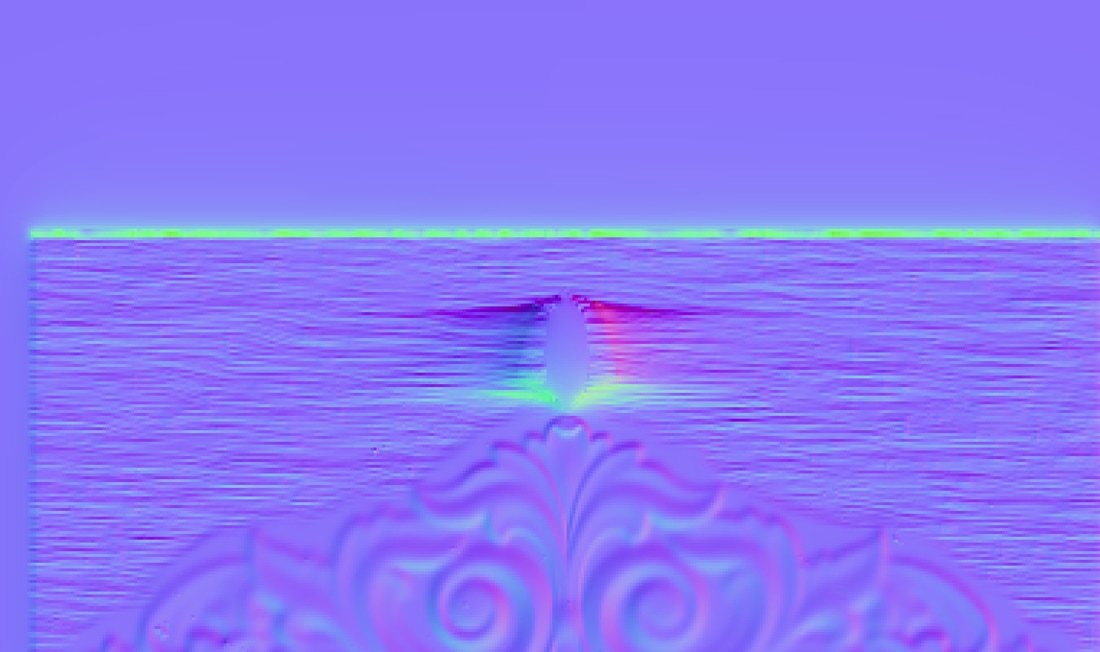 In the photos below you can see the before i edited the normals and after I did the same procedure I did with the caller id map with the remaining maps by placing each one into its own layer and removing either the background or overlaying them I wasn't happy with how the ambient occlusion map came out so I went back into substance painter and just exported an AO map and combined the 9 texture maps together in photoshop like I did with the other maps and got a better result. 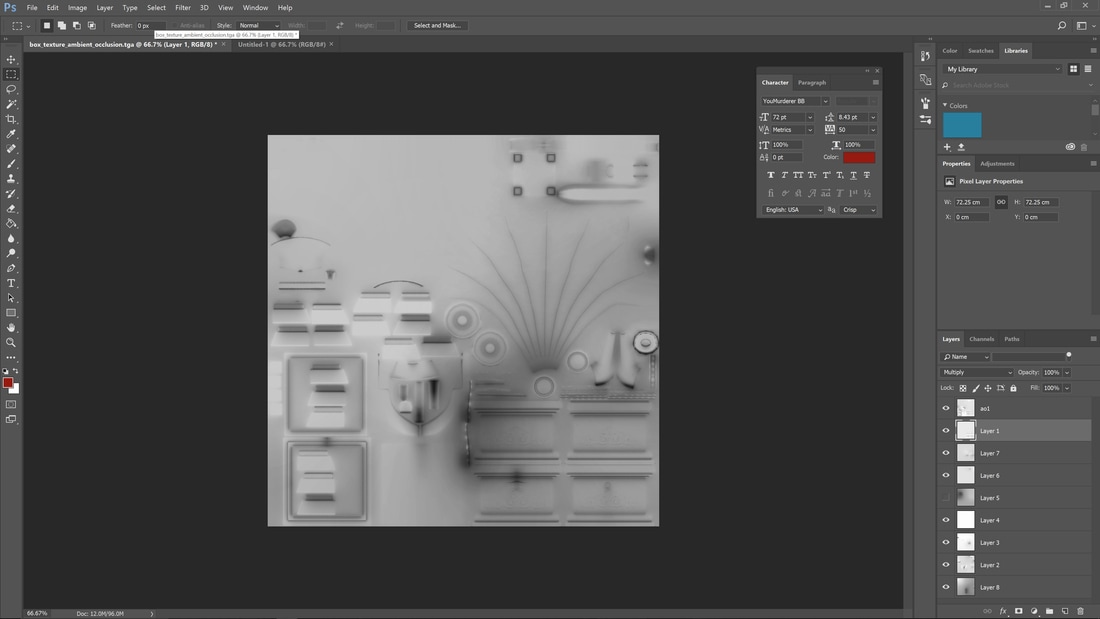 When it comes to connecting the texture maps in unreal engine I will just use the green and blue channel out of the compressed texture map and the so will use its own node. After I have finished the gramophone texture maps I did the same process with the turntable by combining its texture maps into one. I then went into Maya and changed the gramohpnoe model so that it only had one lambert texture connected to it and same with the turntable. Then I applied the caller id map, normal map and AO map to the lambert and made sure the model has preview texture enable on it. I used this method to see if the textures sat correctly after being edited.
1 Comment
1/16/2024 08:14:35 am
Transform your animation workflow with our advanced rigging solution. Ideal for animators at any level, our tool streamlines character setup, delivering sophisticated rigs with minimal manual effort. Enhance productivity by focusing on the creative aspects of character animation, while our automated system ensures a seamless and efficient process. Experience a time-saving and intuitive approach, optimizing your animation workflow and guaranteeing dynamic, engaging, and lifelike character movements. Elevate your animation projects with the precision and efficiency of our cutting-edge automated rigging technology. Leave a Reply. |
AuthorWelcome to my blog about my game design and 3D modelling work Archives
February 2017
Categories
All
|
 RSS Feed
