Unit 69
For this unit I have to create one asset that is going to be a main feature of the game I am building for unit 18, it has to be below 8,000 trails, fully textured and have a high to low poly bake as well.
|
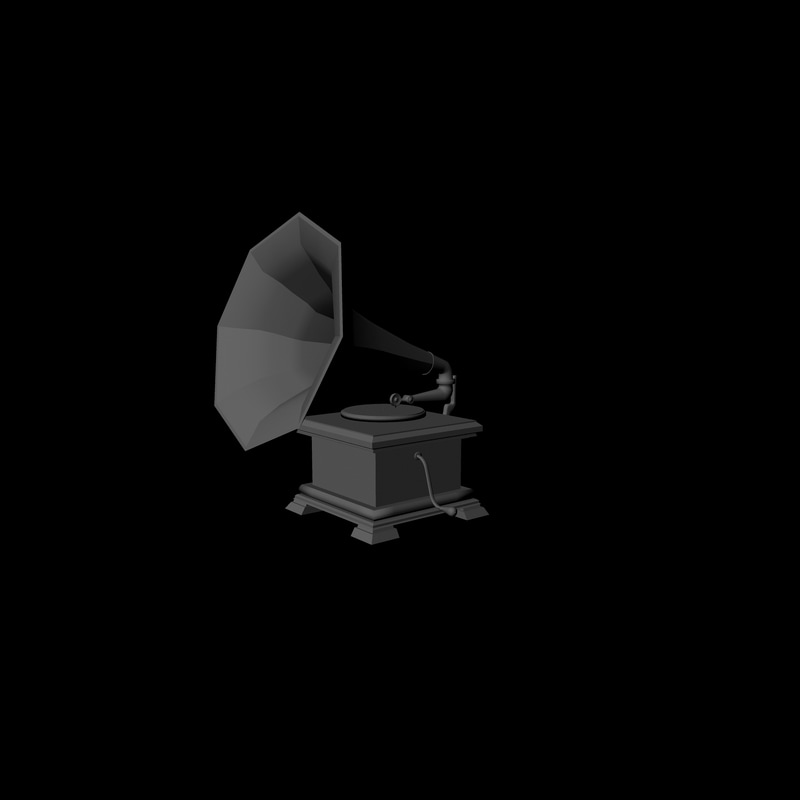
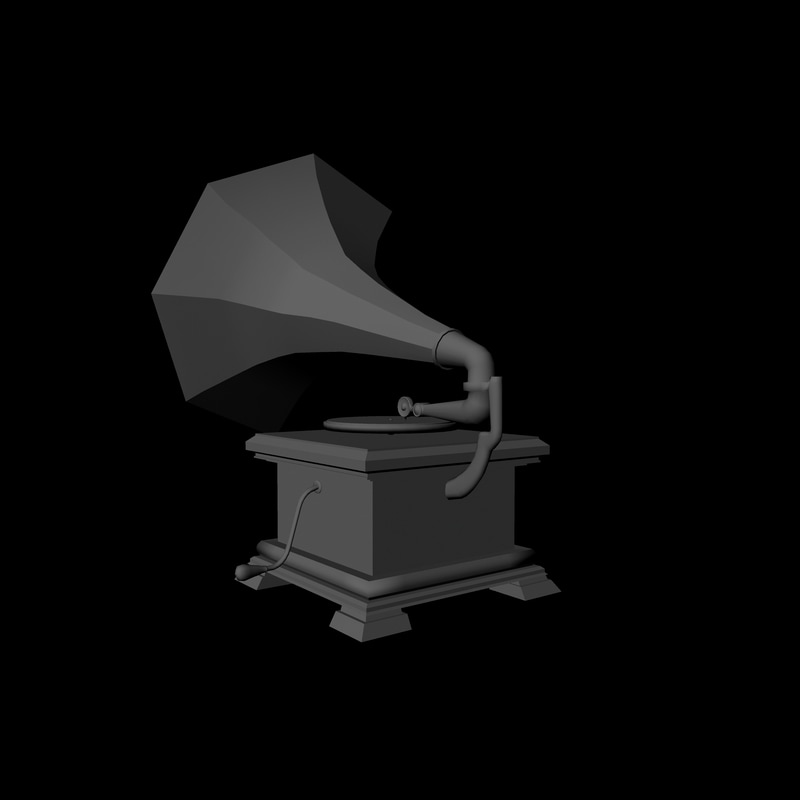
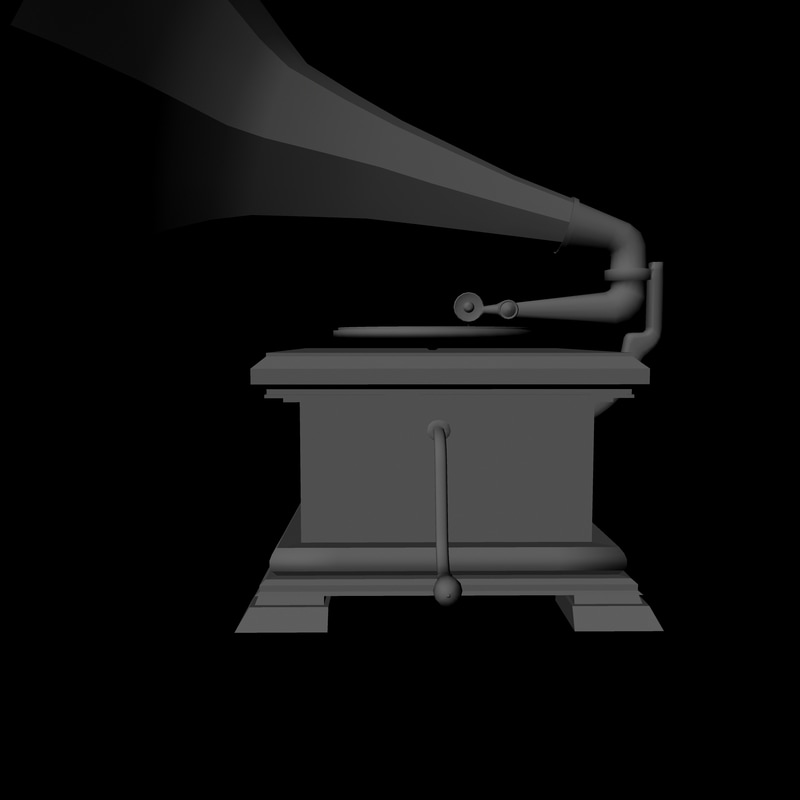
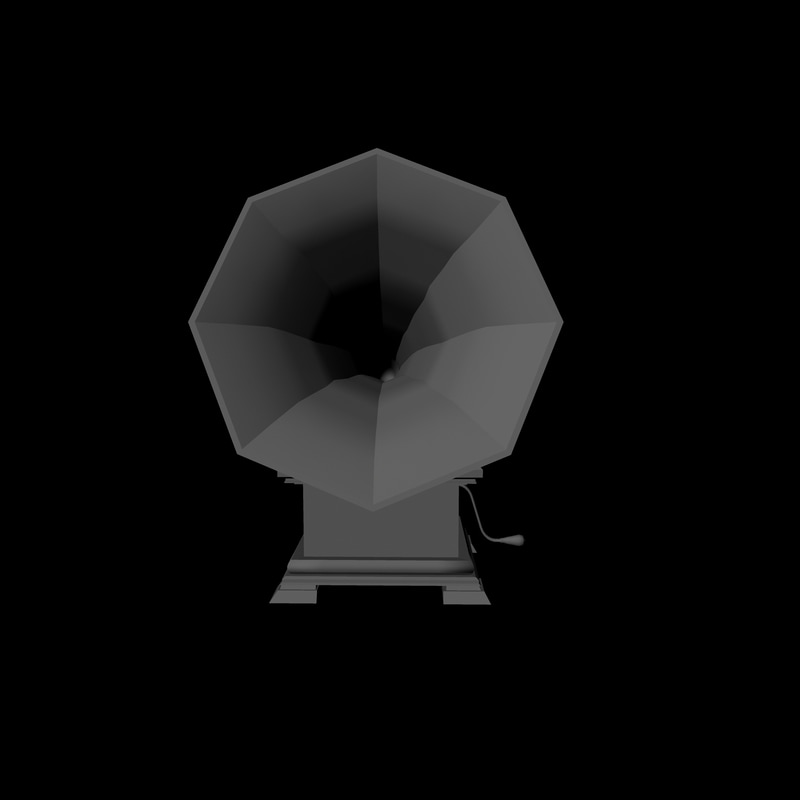
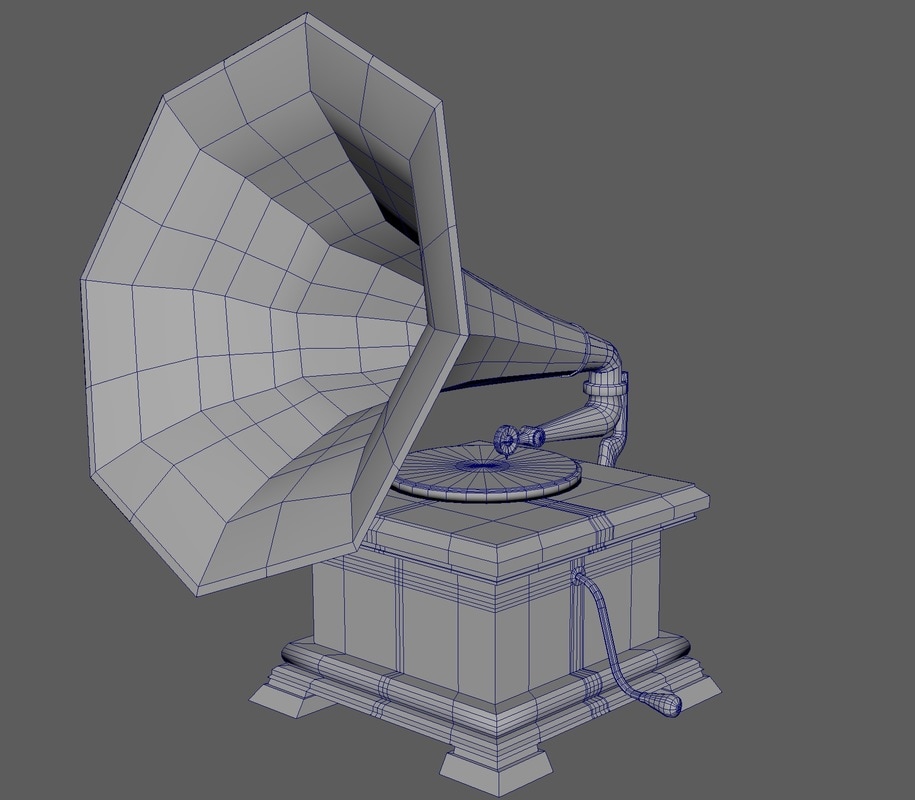
After researching good and bad topology I started to make my gramophone, I found a reference photo to use as guidance which I imported into Maya onto a background plane. 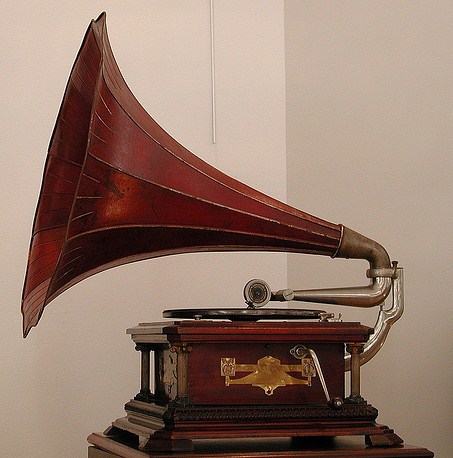 I decided to break the model down into four sections and model them all sepertley and then combinded them all together. I started off with the horn using a tube with 8 sides, I made one end big and wide and the other end the pursuit and resized the remaining edges to give a smooth transaction. After that I added an edge loop to the smaller end and extruded out from this to make a lip on the metal. I then got another tube and used a deform nonlinear bend, I used this process for the arm that attaches the horn to the box. After that I added extra edge loops to the horn and target welded the two together. Then I used two cylinders and target welded these to the end of the new horn. I then created the box using a cube, I added edge loops around the top and bottom of the box and then extruded out from these to add a bevel and detail to the top and bottom edges. on the bottom I added extra edge loops after this and moved the edges out to give the effect that there is a small smooth bevel. I then extruded the feet from the bottom of the cube and positioned the bottom edges out to give a sloping effect. After this i made the turn handle by using a cylinder and using the nonlinear bend tool again and then extruded out at the end to make the handle. The difficult part was attaching a cylinder to a cube and i had to place a lot of edge loops on the cube to connect the handle to the box The final bit of the model I made was the turntable, which is a cylinder that I used extrude on to add the effect that is a disk on the turntable and a pin it rotates around. I decided to not attach this to the rest of the model as it can be used as moving parts. For all the cylinders I removed the pole and bridged the caps and then used the Multi-cut tool to cut two or 3 lines in the centre to make the cap of the cylinder have quads for subdivided later. I also used soft and hard edge to effect the surface normals so on the areas that are smooth e.g the tube of the horn and the handle I use the soft edge tool and for the box where there is crisp lines I used the hard edge tool. In the images below are a few render shots of the model and a wireframe image The main tools i used inside maya to create my gramohpone are:
The tools that I used the most were the edge loop tool, it was great for adding extra lines to the geometry so I could connect each section to each other. I also found targeted wield and the bridge tool for connecting faces and vertices together, as well as recapping the top of a cylinder and using the append to polygon to finish the ends that I could not bridge. The extrude tool was also another major tool for me, I used it a lot to extrude out of shapes to add more geometry to either add extra detail or more shape.
1 Comment
1/16/2024 08:17:18 am
Transform your animation workflow with our specialized rigging services. Tailored for seamless character setup, our skilled animators provide sophisticated rigs with minimal manual effort. Ideal for both experienced animators and beginners, our automated rigging system enhances productivity, allowing you to focus on the creative aspects of character animation. Experience a time-saving and intuitive approach, optimizing your animation workflow and ensuring dynamic, engaging, and lifelike character movements. Elevate your animation projects with the precision and efficiency of our cutting-edge rigging technology. Leave a Reply. |
AuthorWelcome to my blog about my game design and 3D modelling work Archives
February 2017
Categories
All
|


 RSS Feed
